
Happy (belated) Thanksgiving everyone! I know food may be one of the last things you want to think about right now, especially after that triple helping of mashed potatoes…just me?! However, these cake pops are too good not to share with you guys.
The last post on here I talked about summer fading and pumpkin season coming in (which I was all too excited about). Now I feel the same way about fall- the burnt orange leaves have cluttered the yard, the Christmas tree has found its way into our living room, and holiday season is upon us!
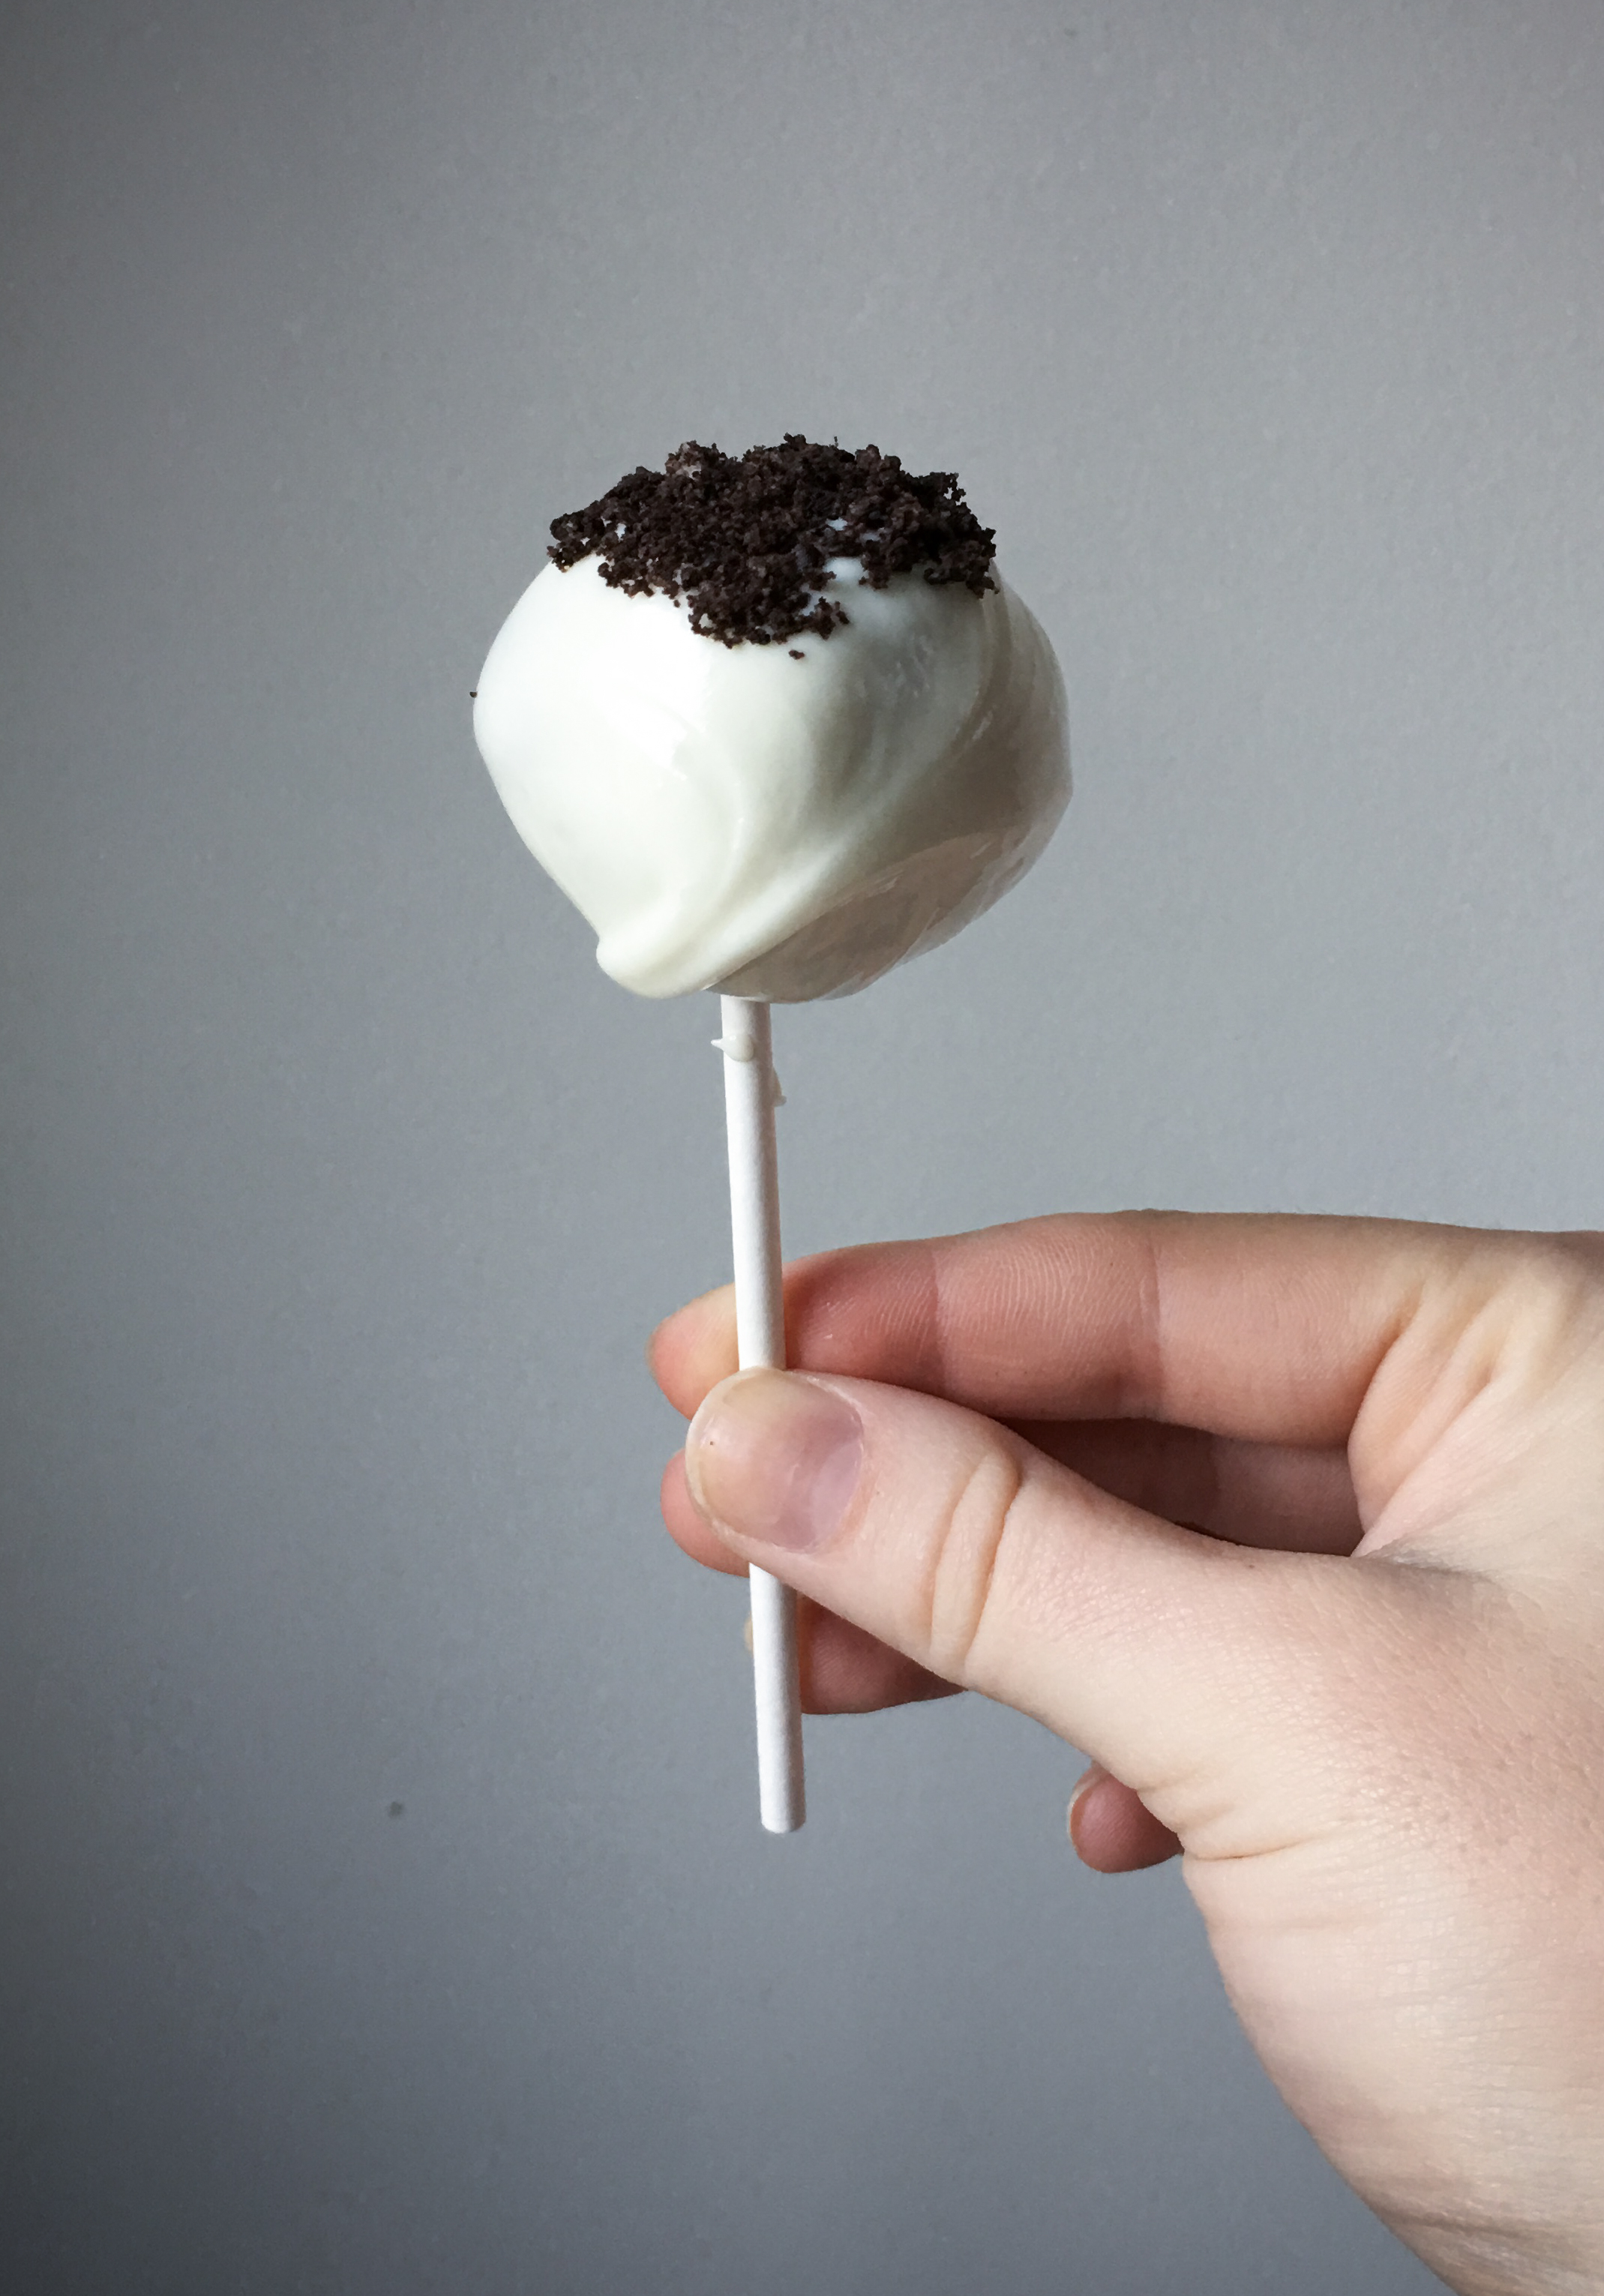
Holidays mean parties, and whether you’re hosting or attending, usually a gift is involved. If you want to win guest of the year, skip the monogrammed dish towel and Christmas cactus, and bring cookies and cream cake pops instead. They’re fudgy, moist (sorry), just sweet enough on the inside, and coated in creamy white chocolate on the outside.
You can either make them as cake truffles, or turn them into cake pops by using a lollipop stick. I guarantee your host would much rather receive a bouquet of these than Trader Joe’s carnations!
Besides how good they are, they’re only three ingredients! Perfect when the grocery has been trampled by stress stricken shoppers who’ve frantically grabbed every ingredient you could possibly want off the shelves. So grab a package of Oreos, cream cheese, and white chocolate chips, and let’s get started:
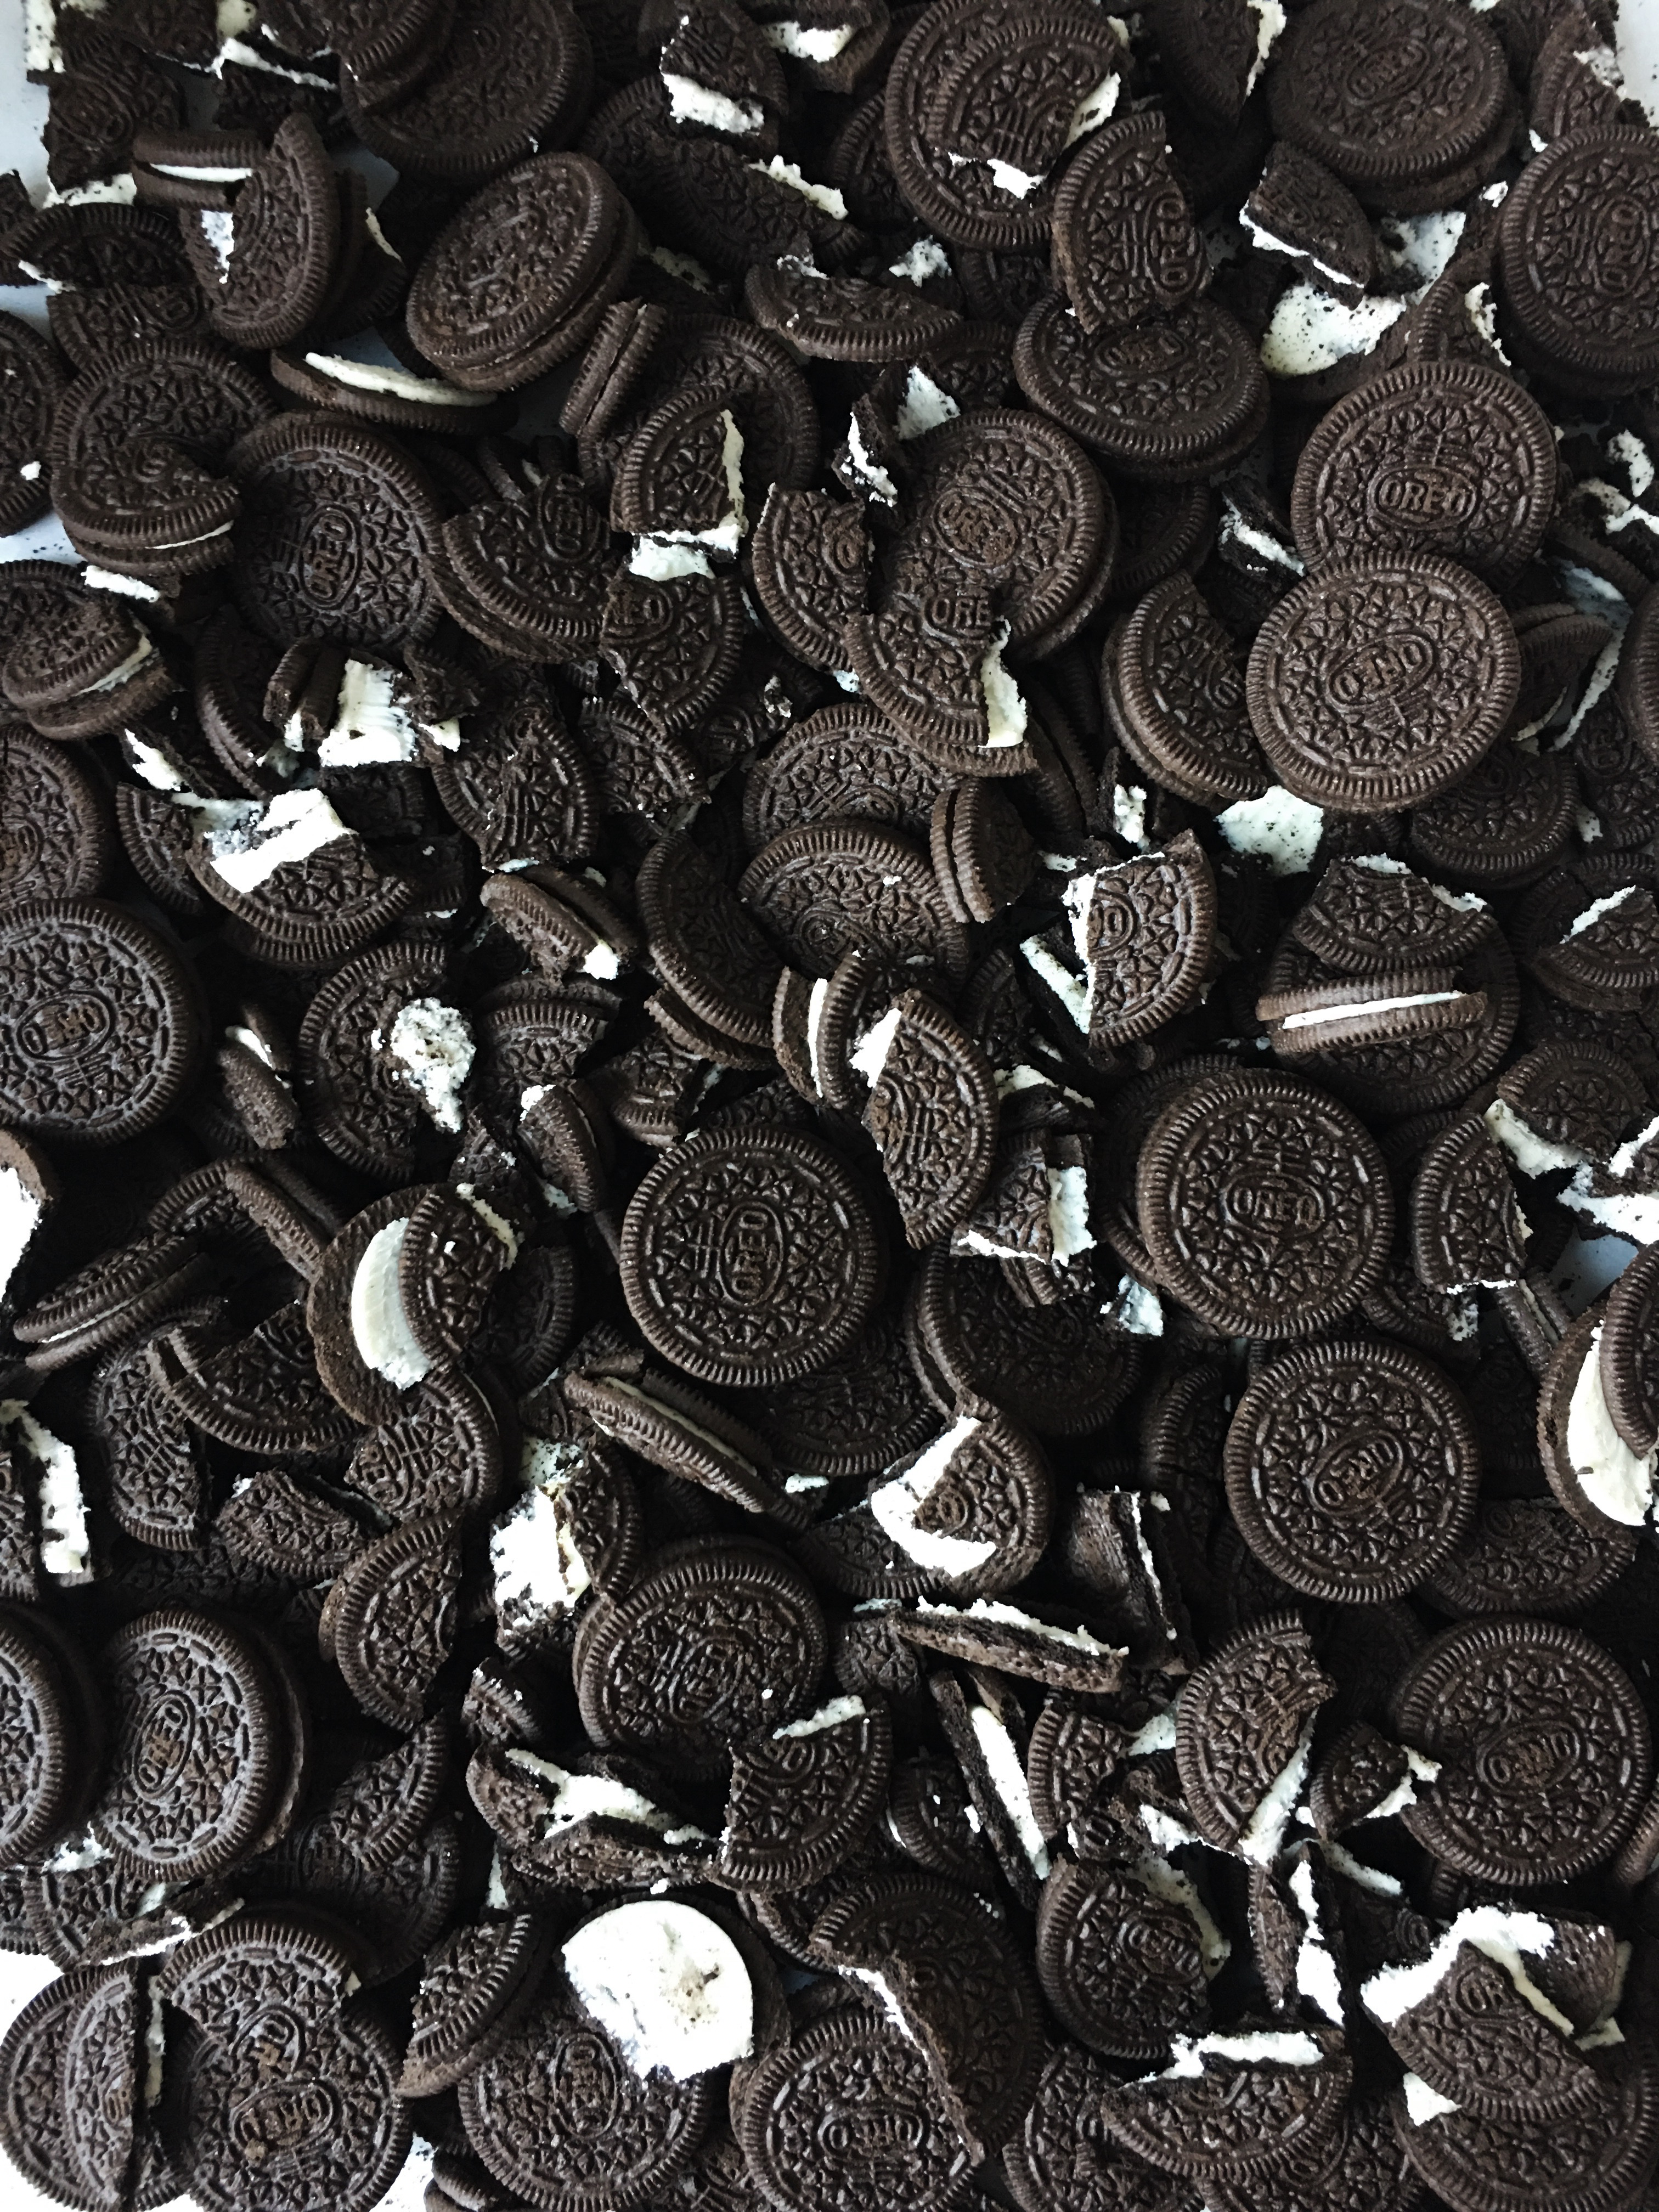

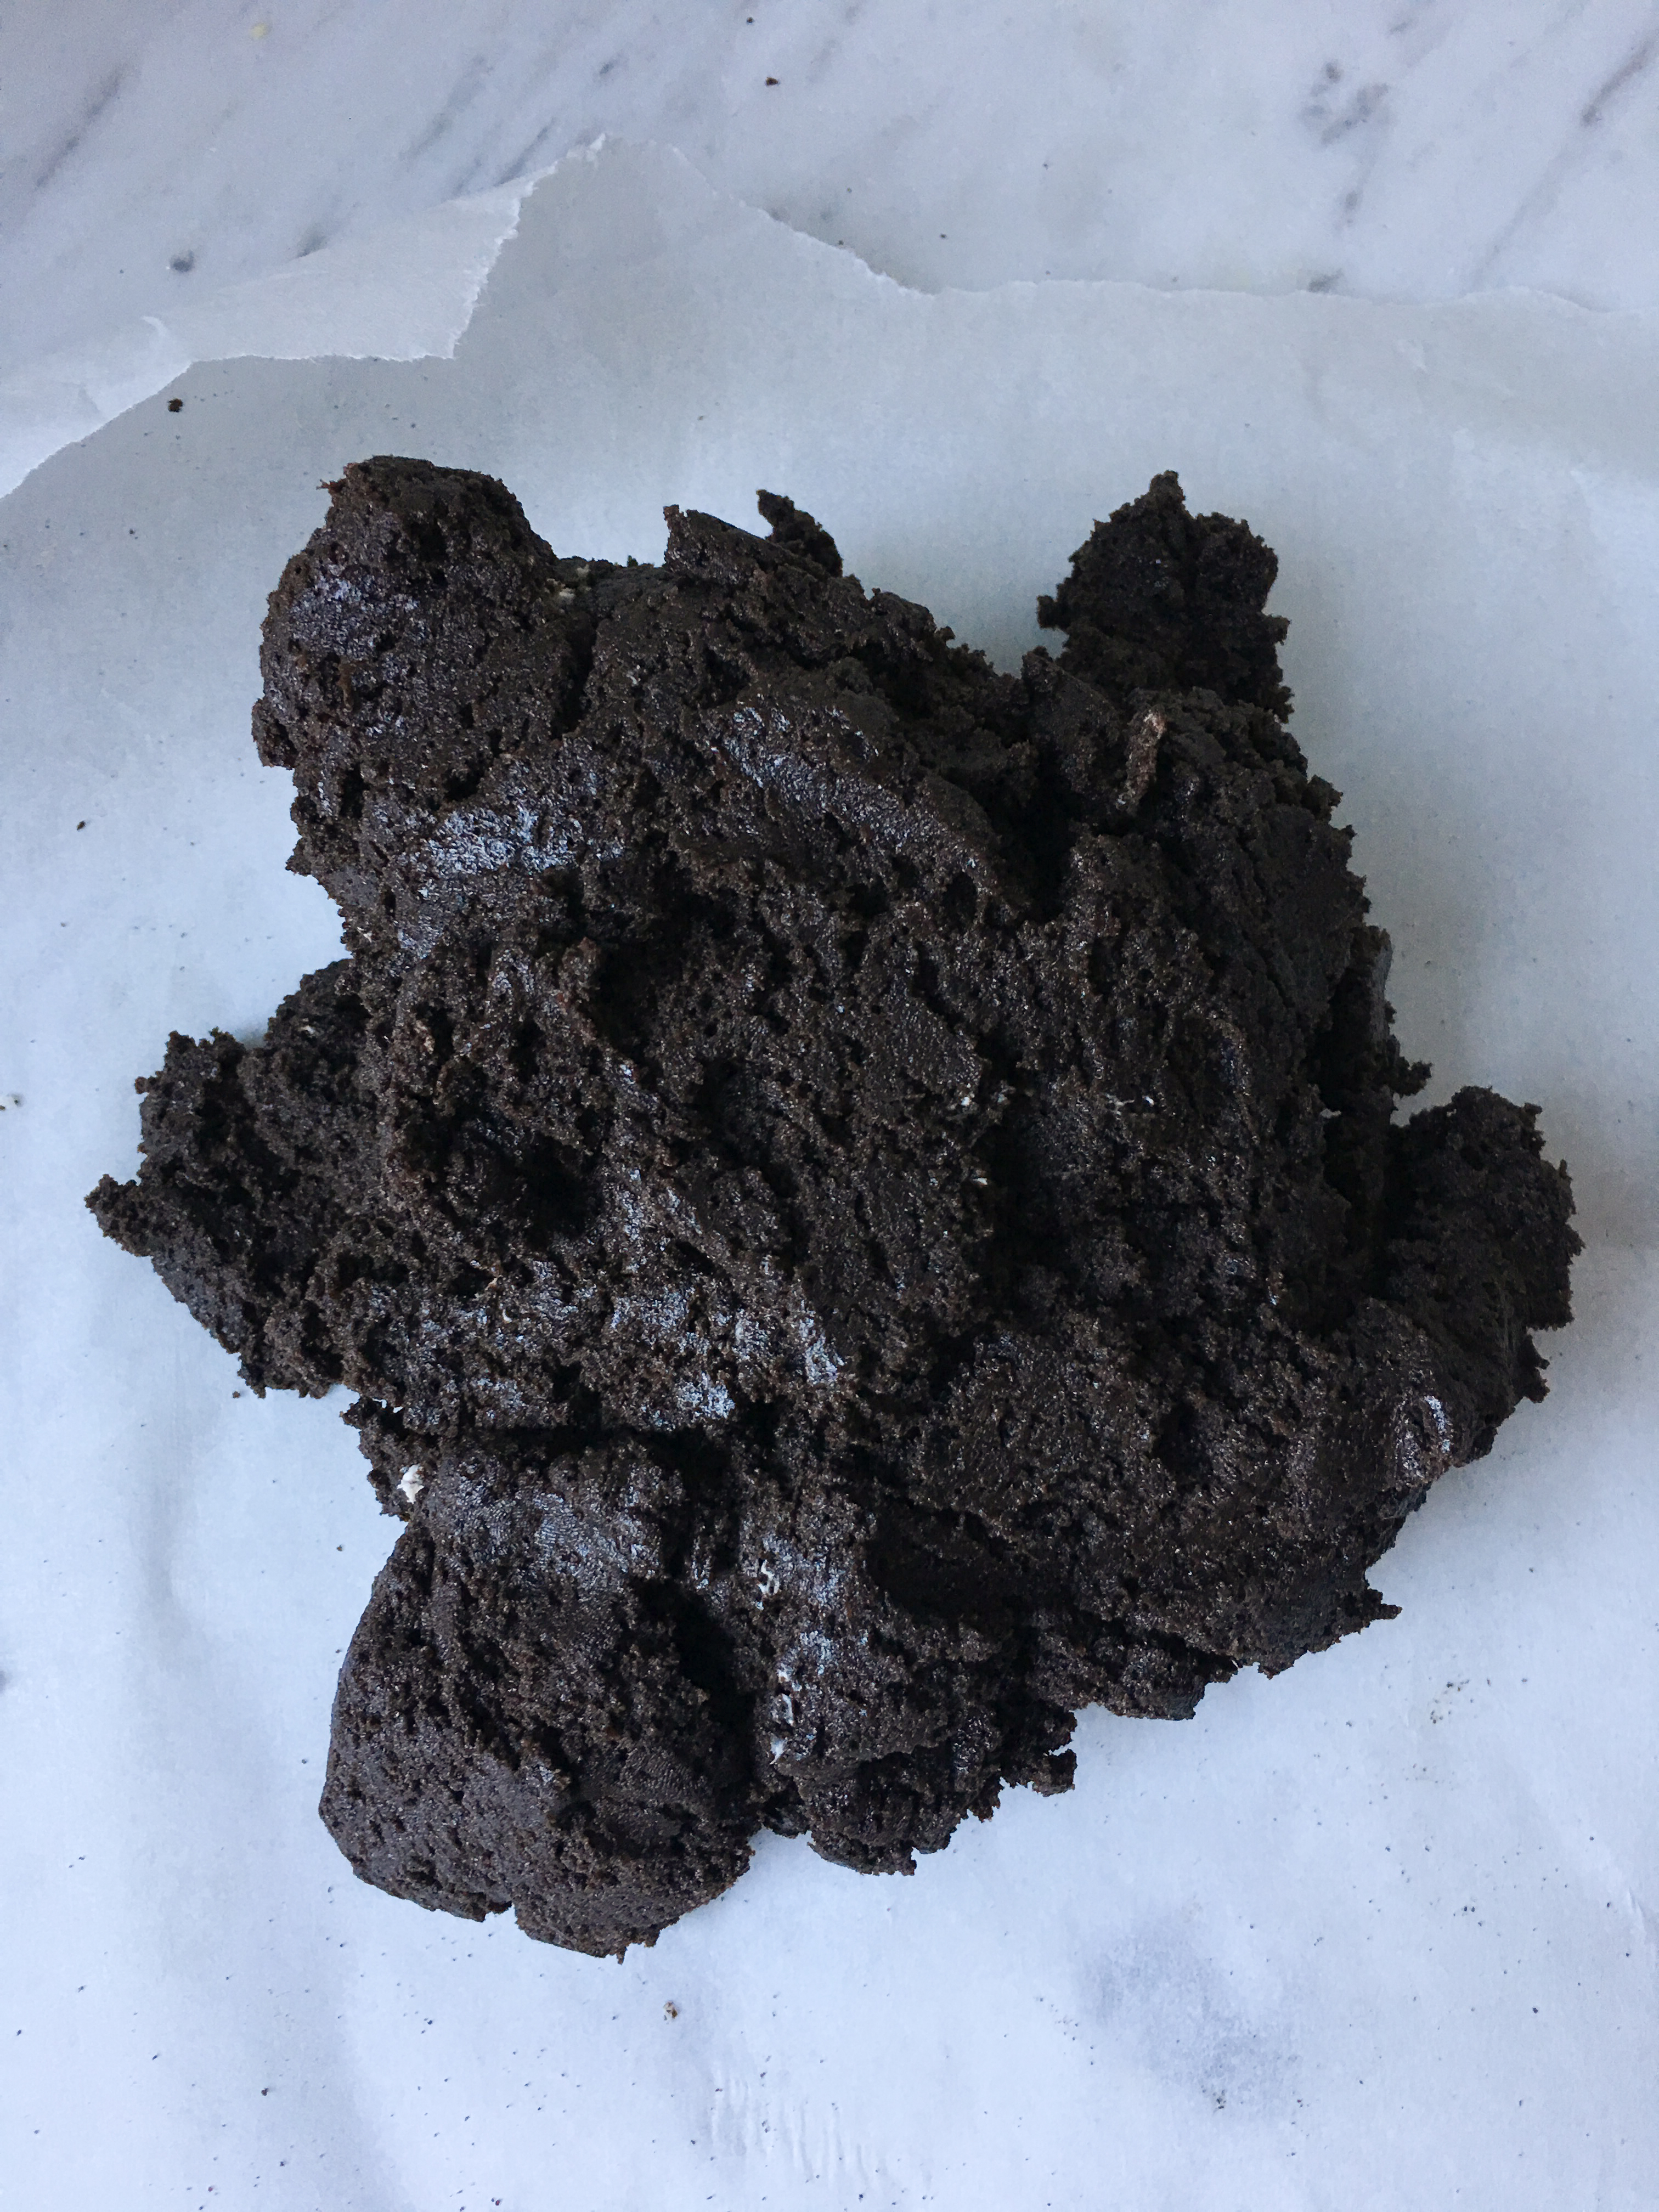
This is my shortest blog post for a reason, it’s hardly a recipe! Pulse Oreos (filling and all!) in a food processor until they’re crumbs. Combine crumbs and a block of cream cheese in a stand mixer, and mix until a dough forms.
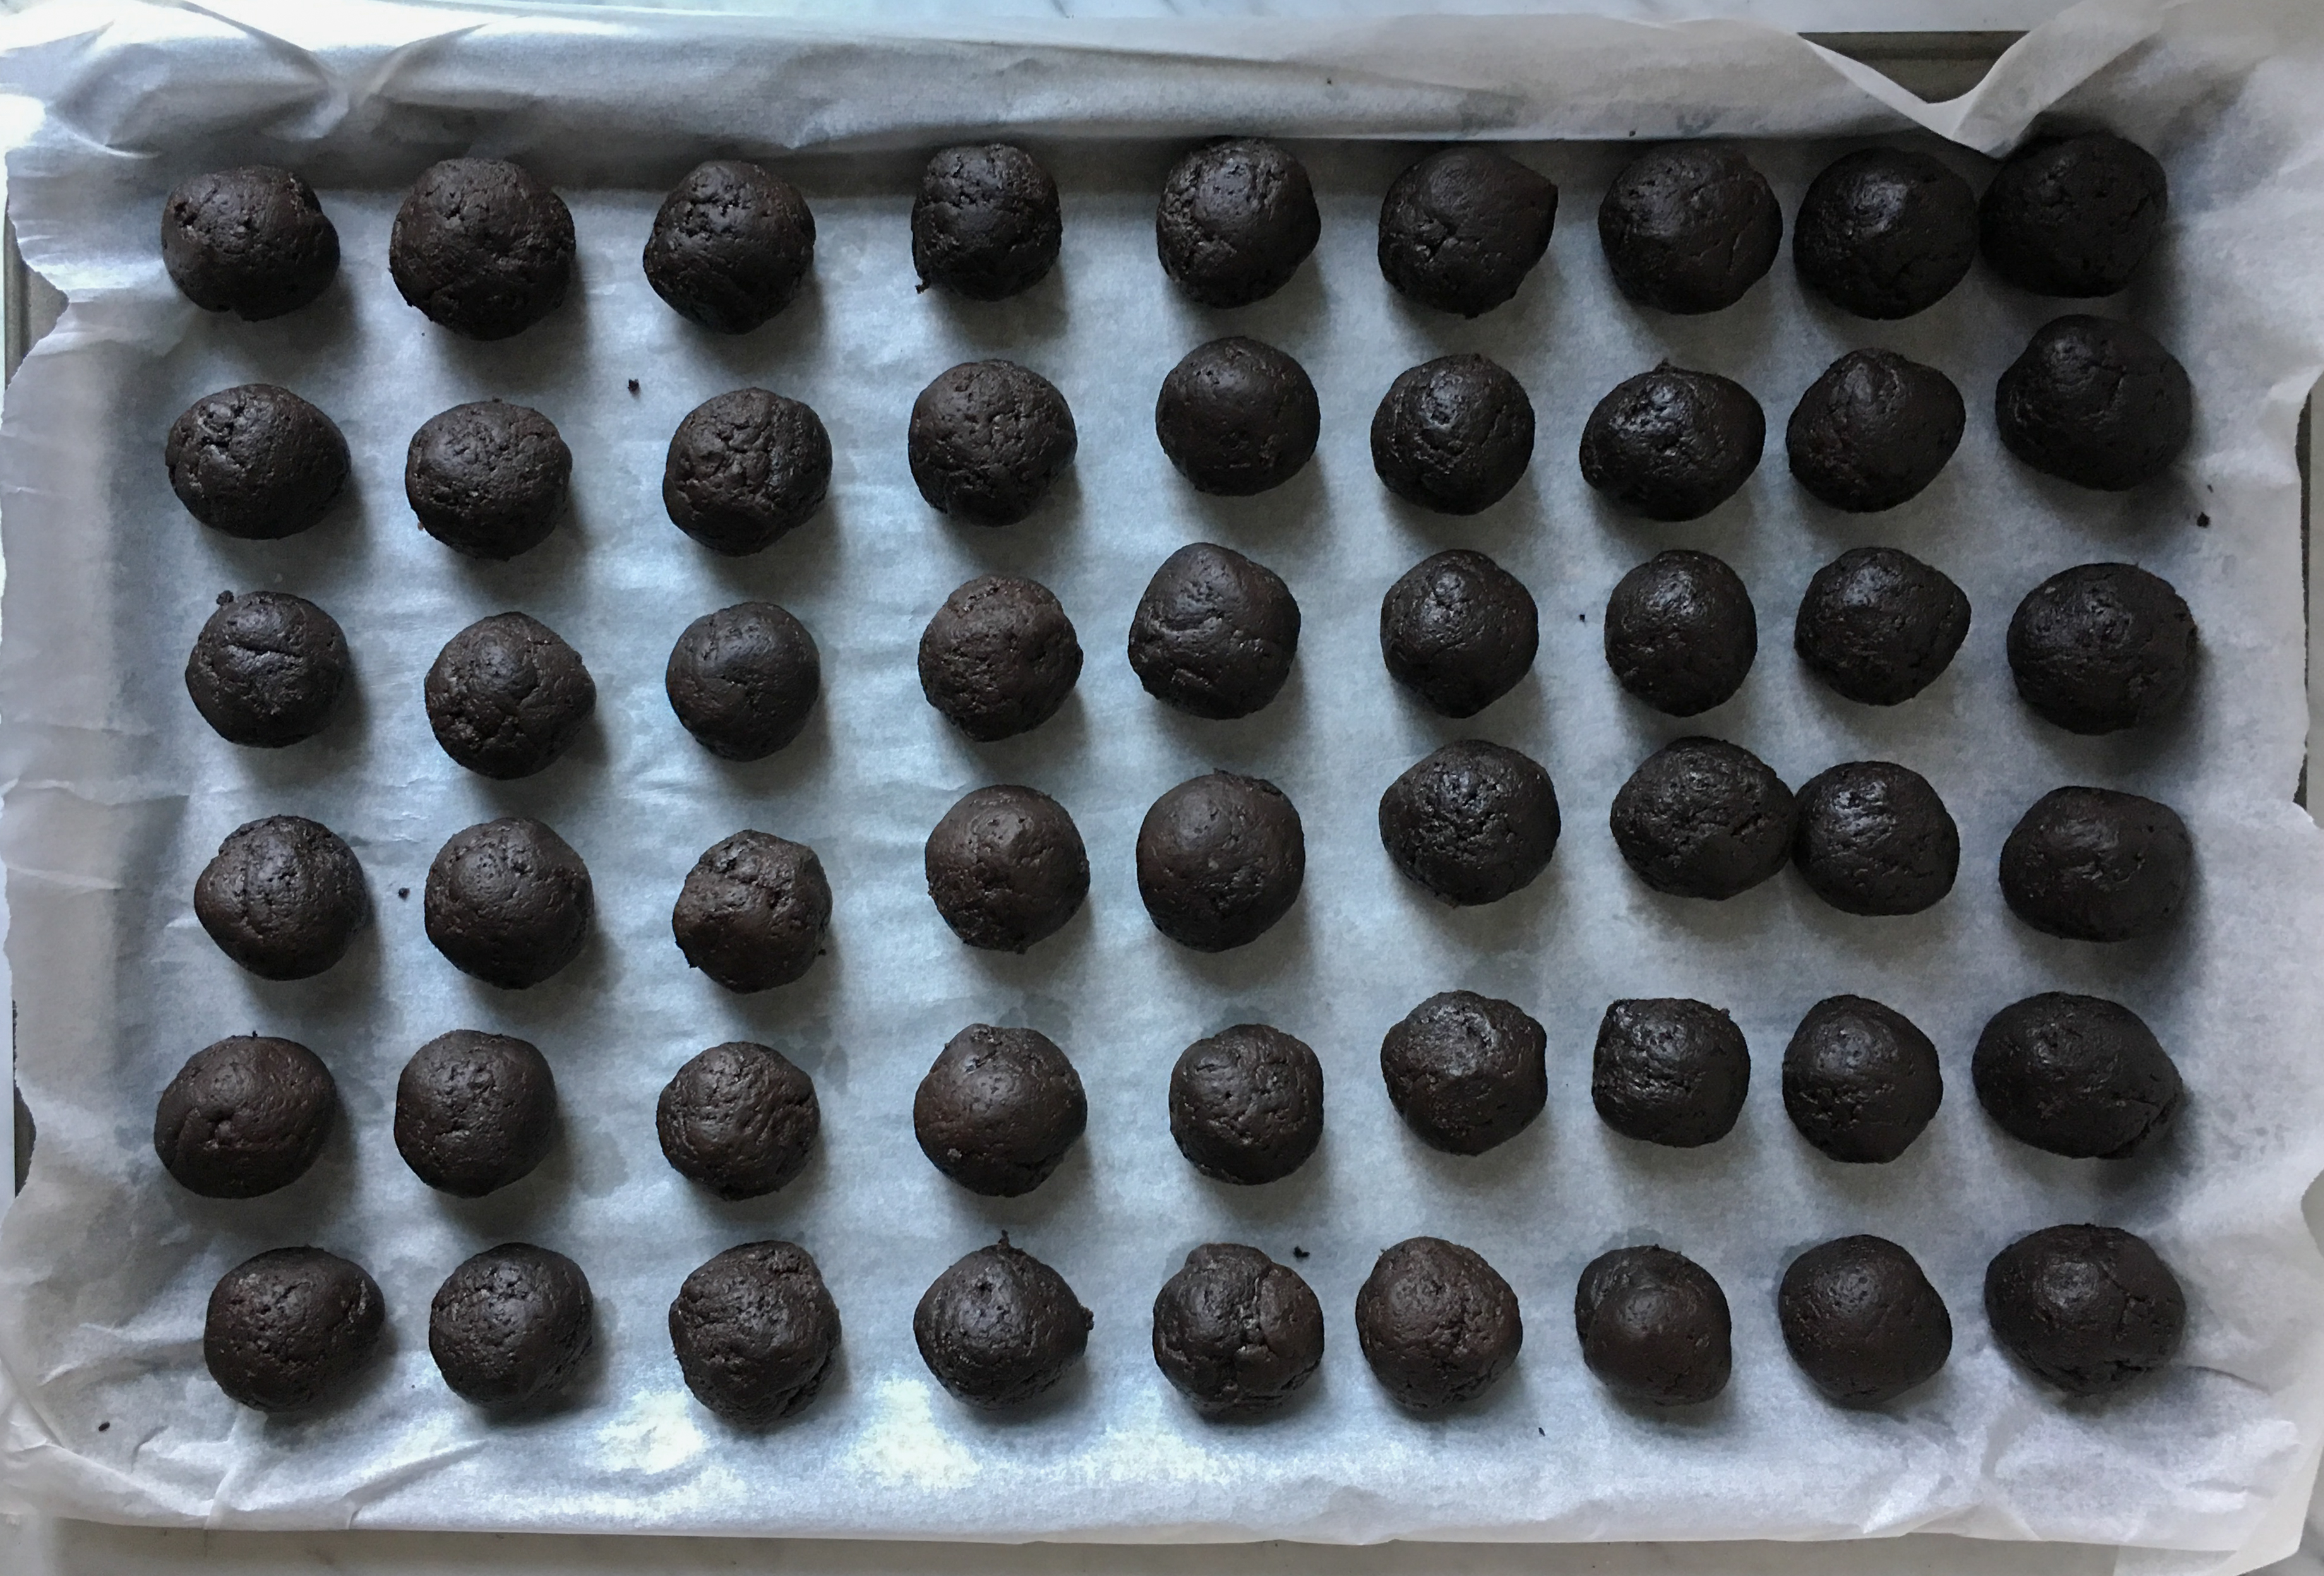
Roll the Oreo dough into little balls, and pop in the fridge.
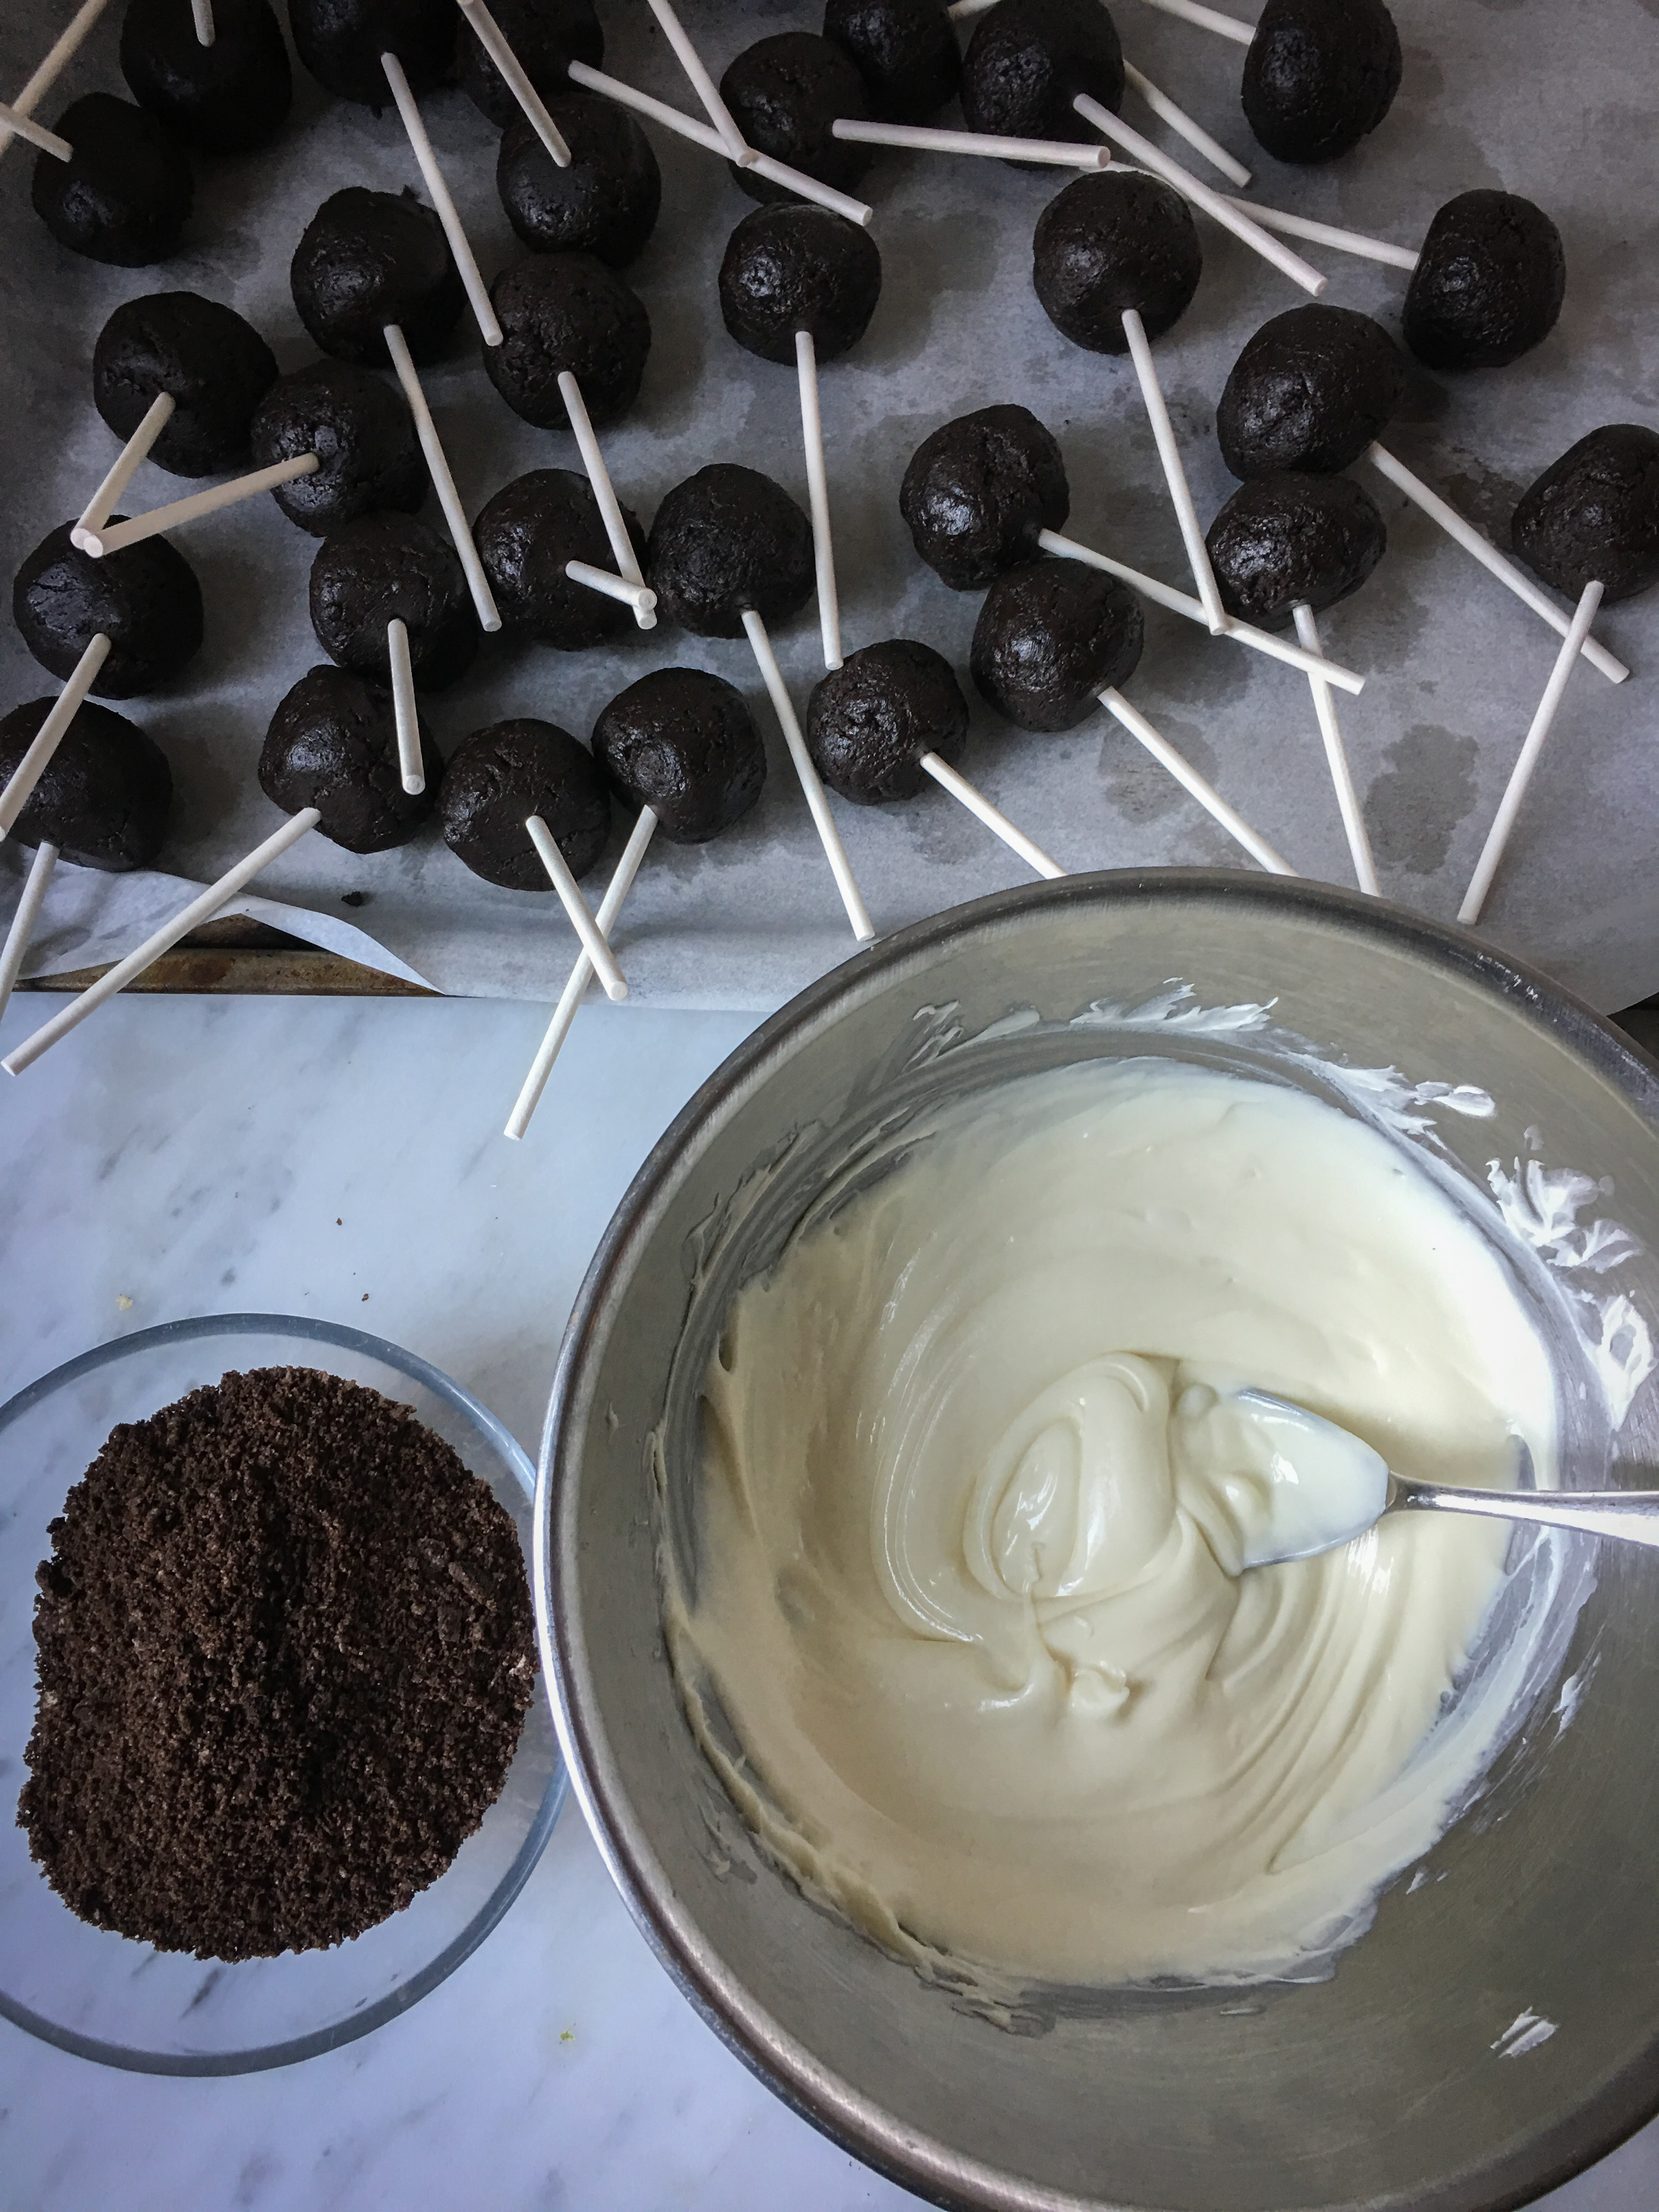
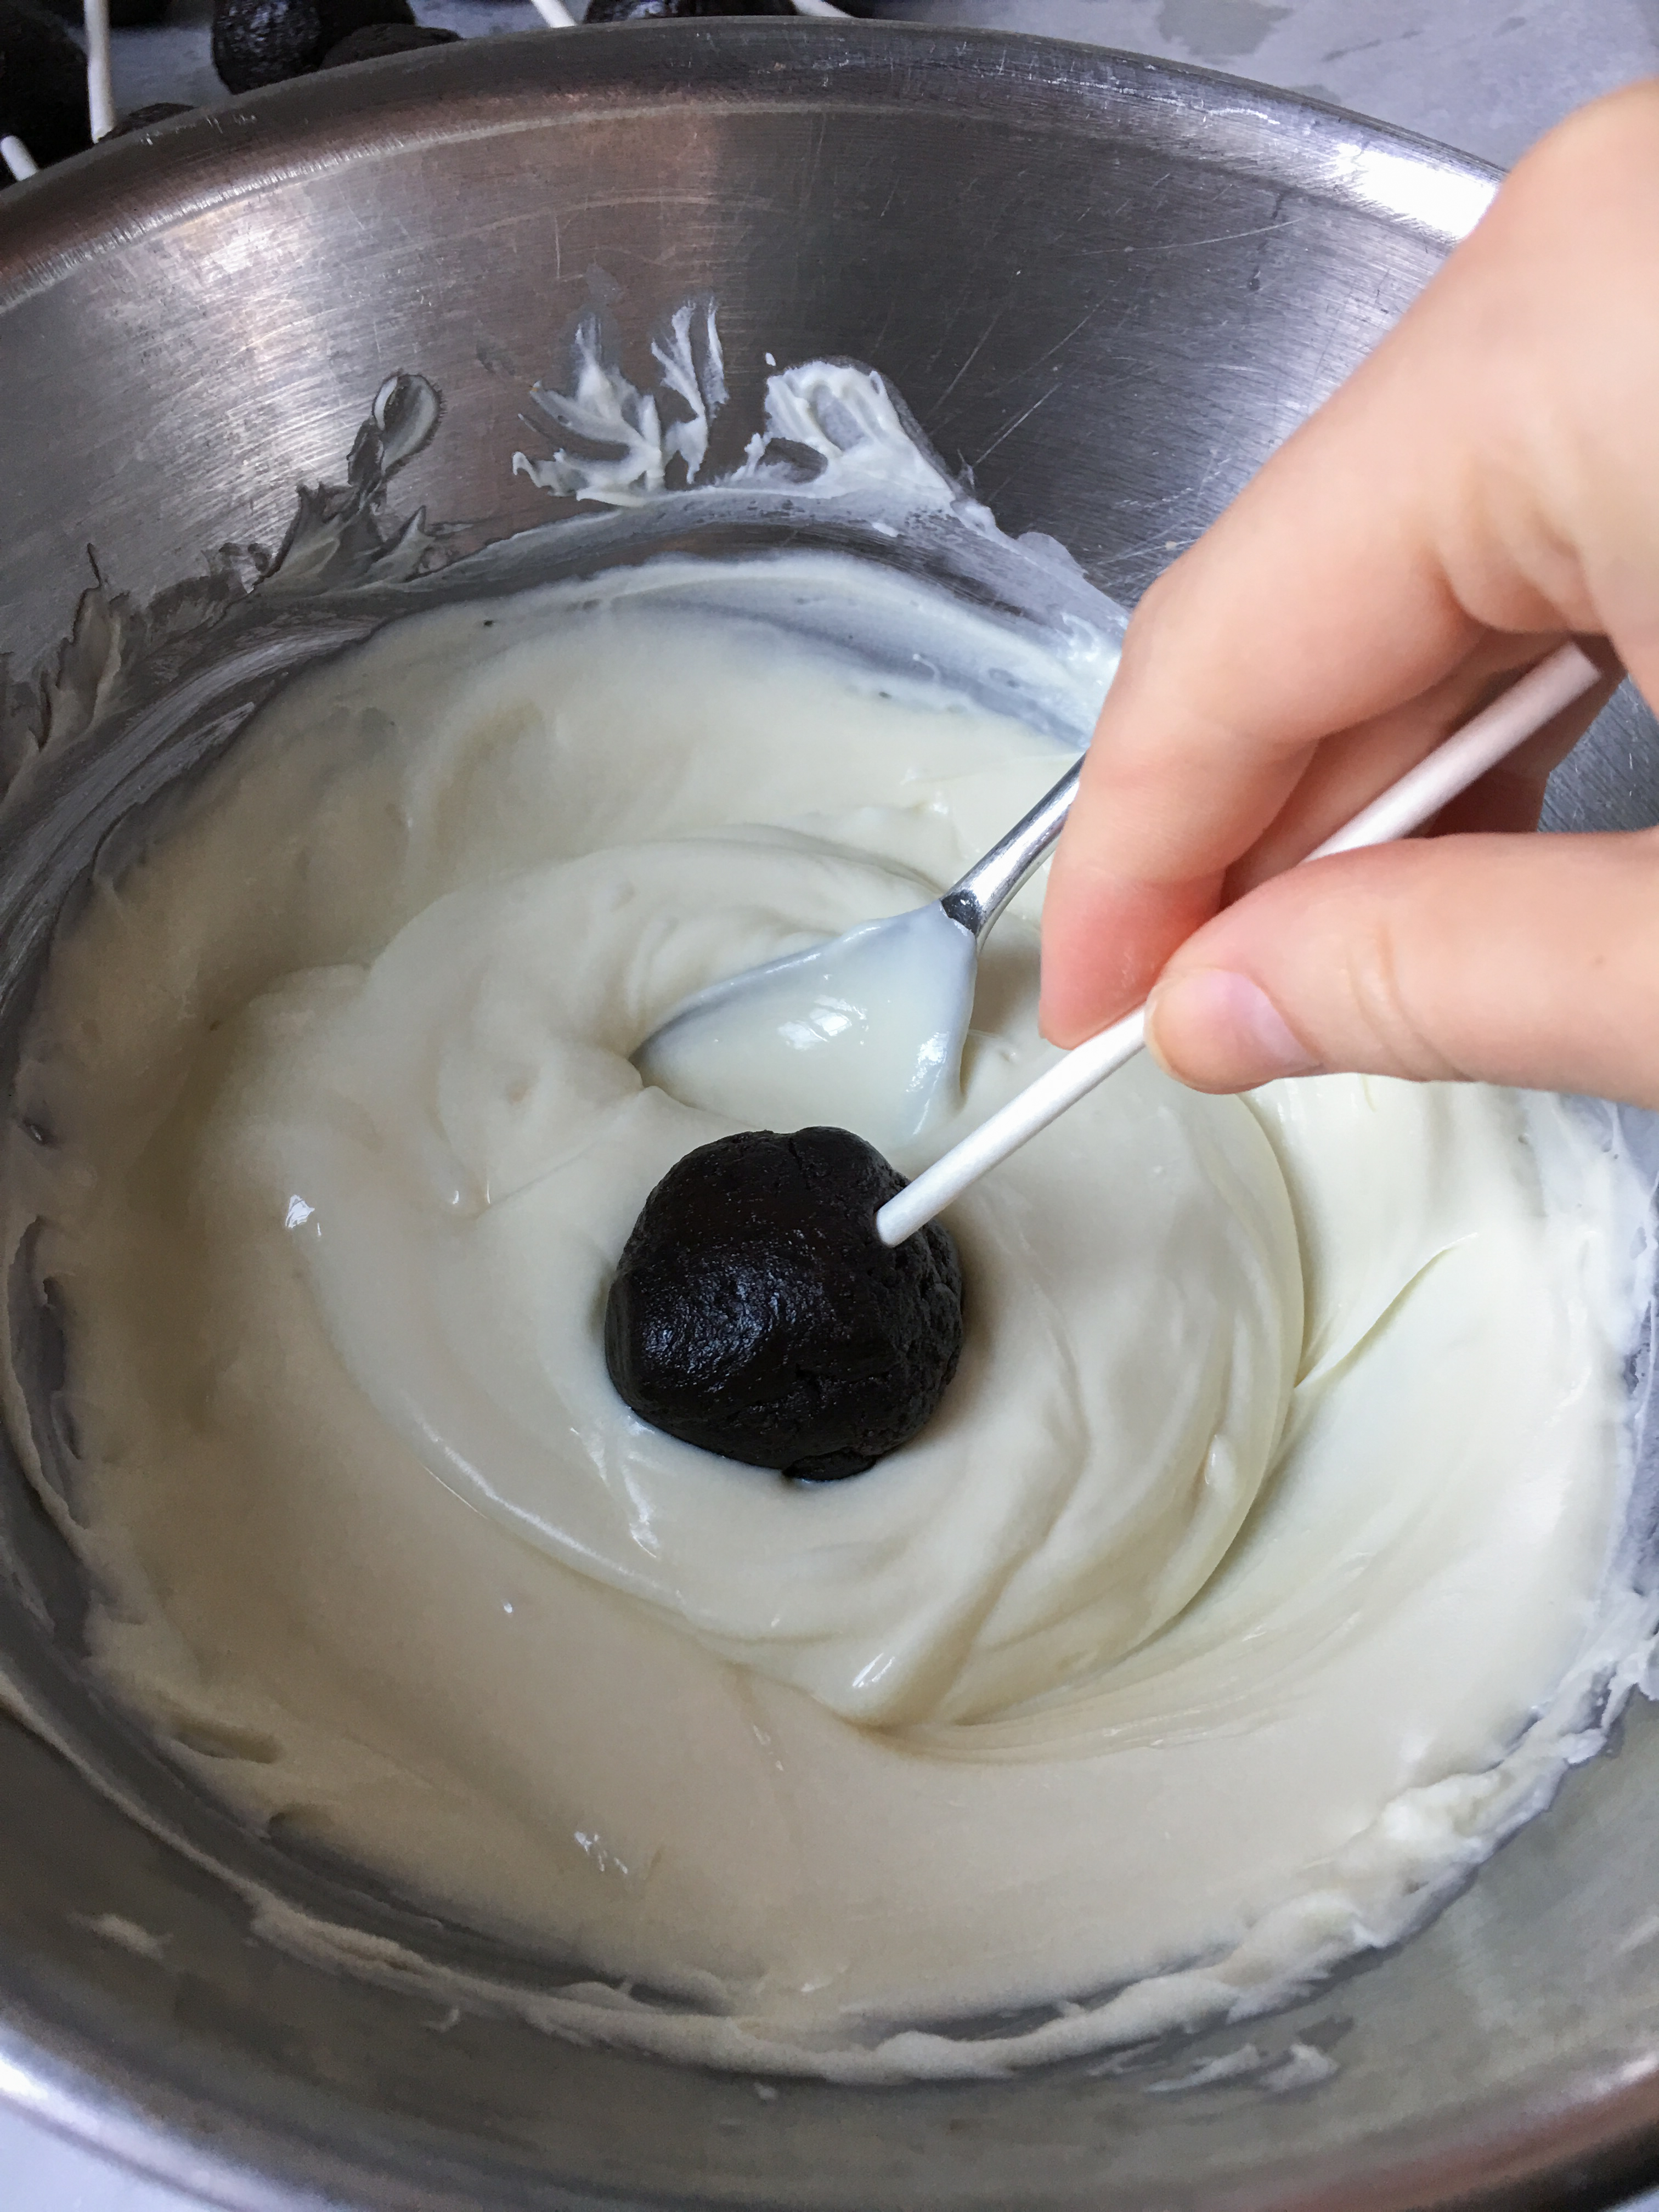
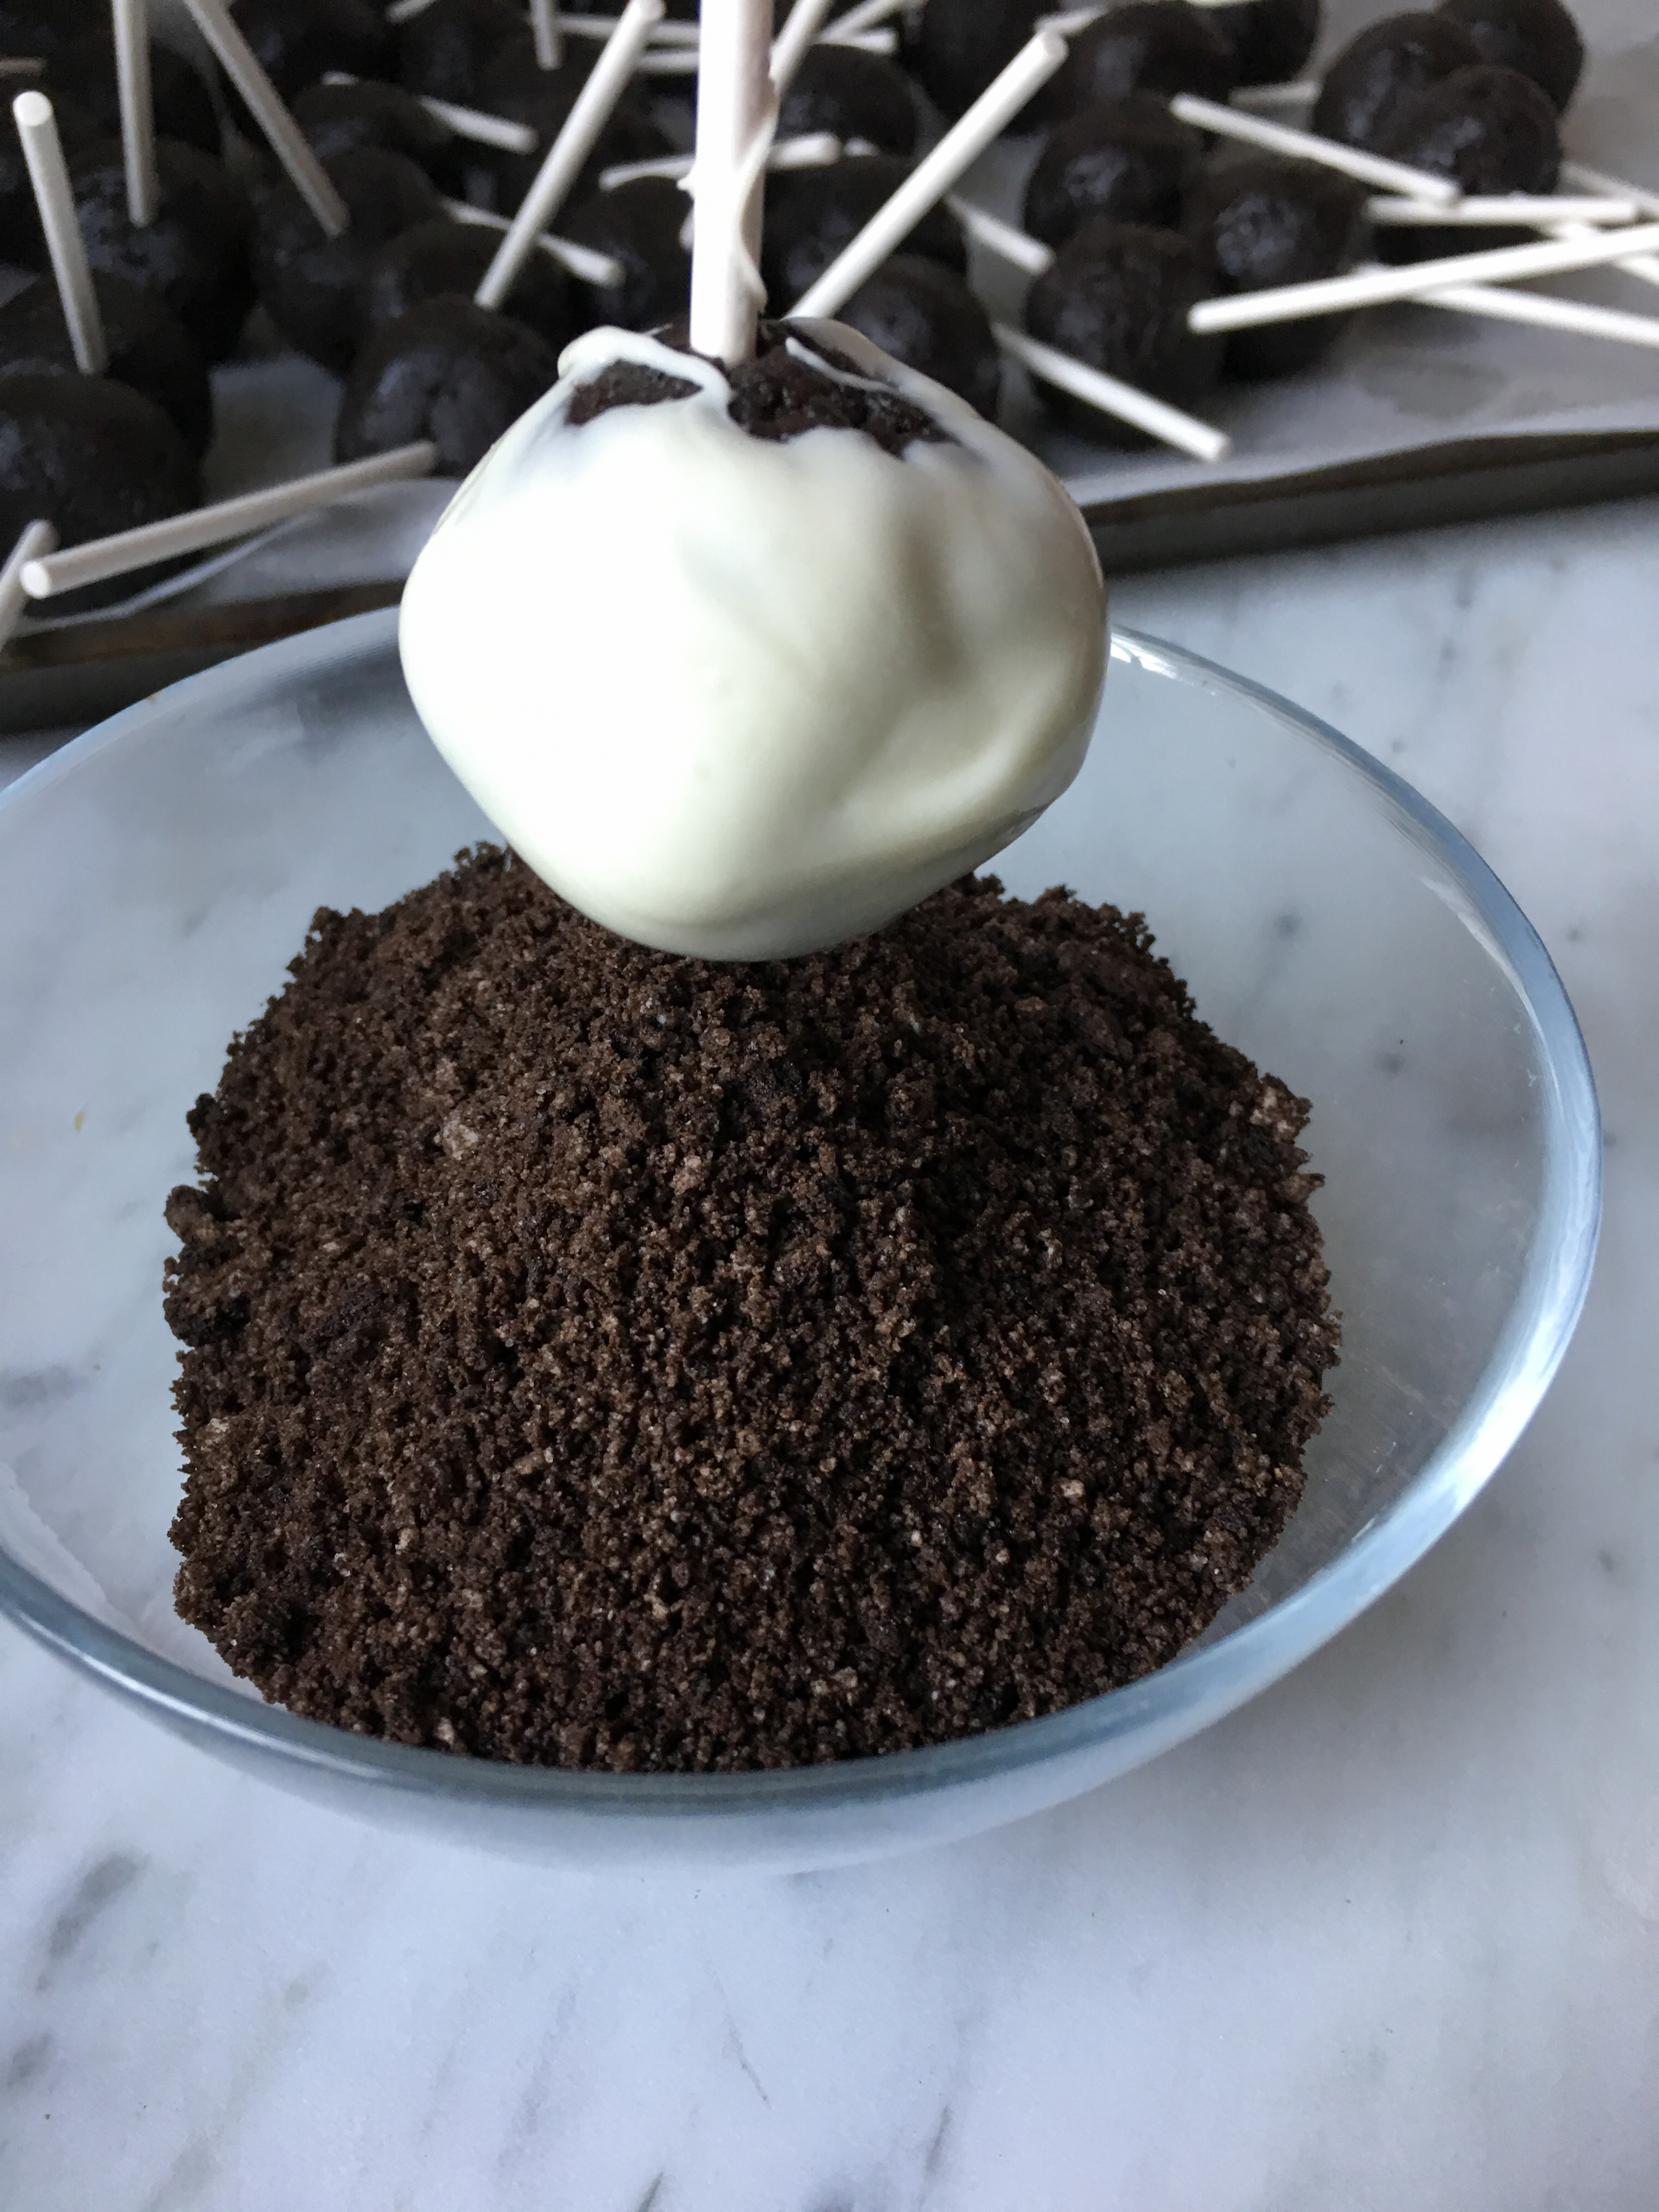
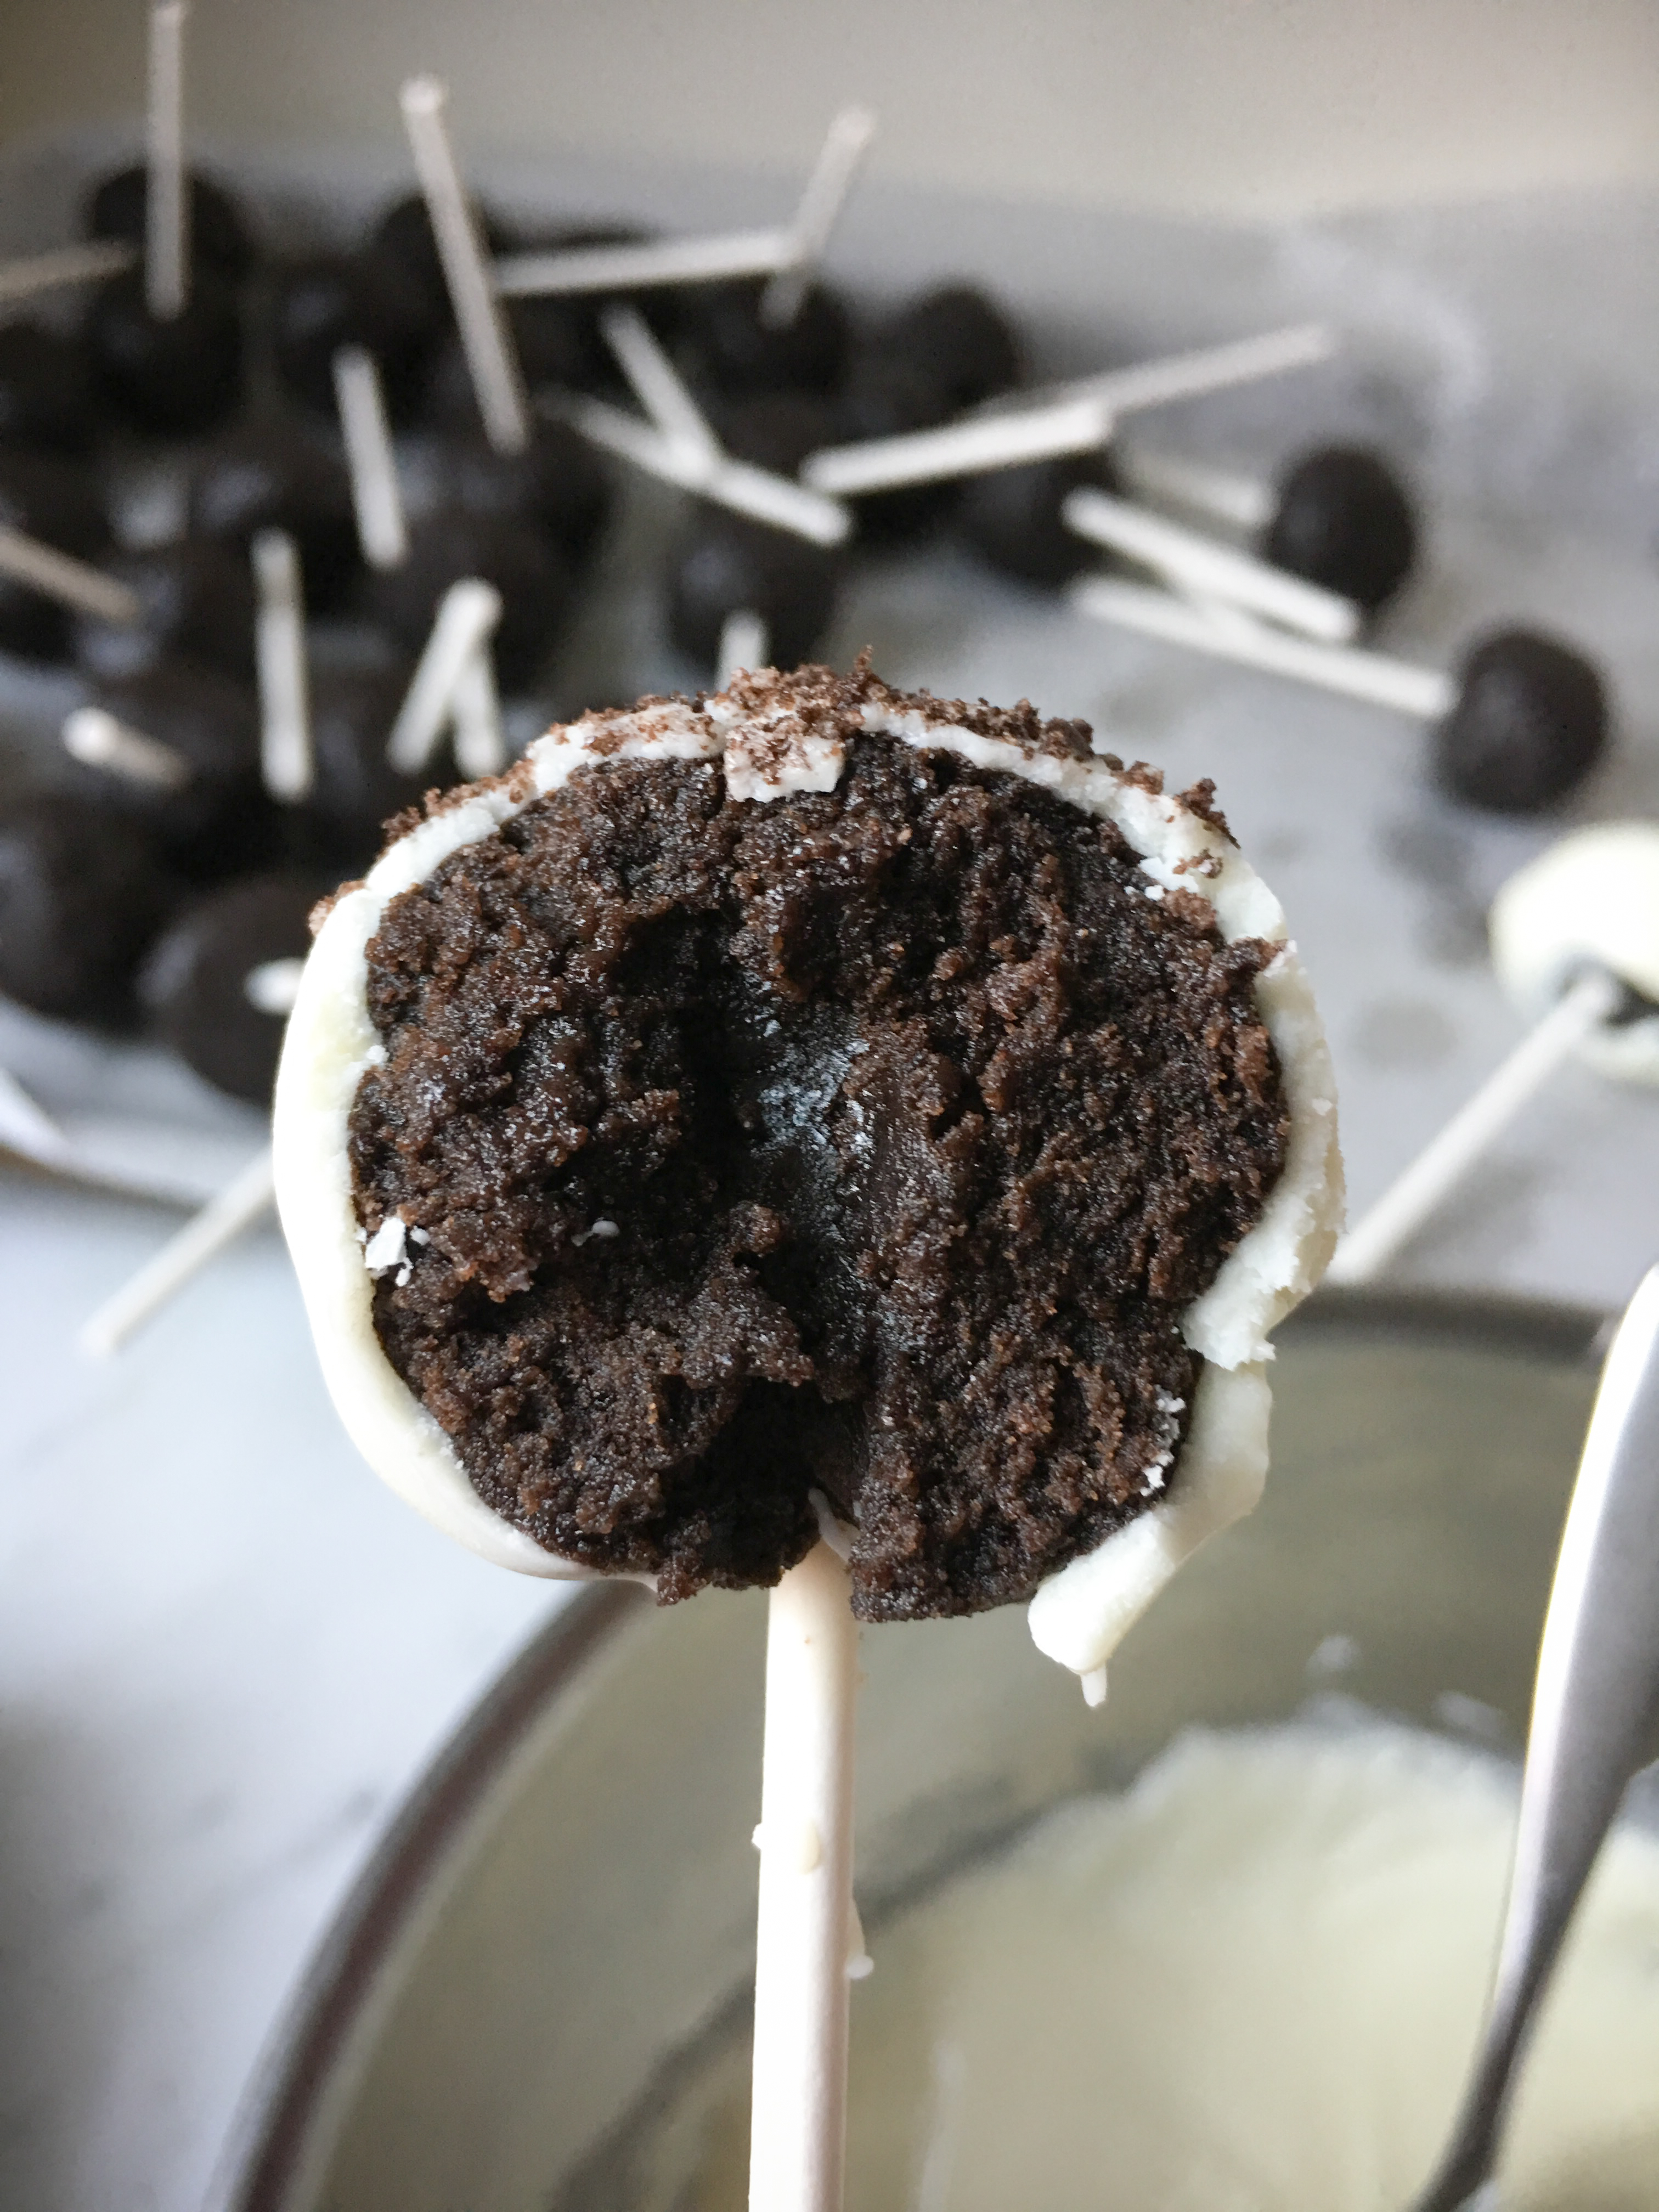
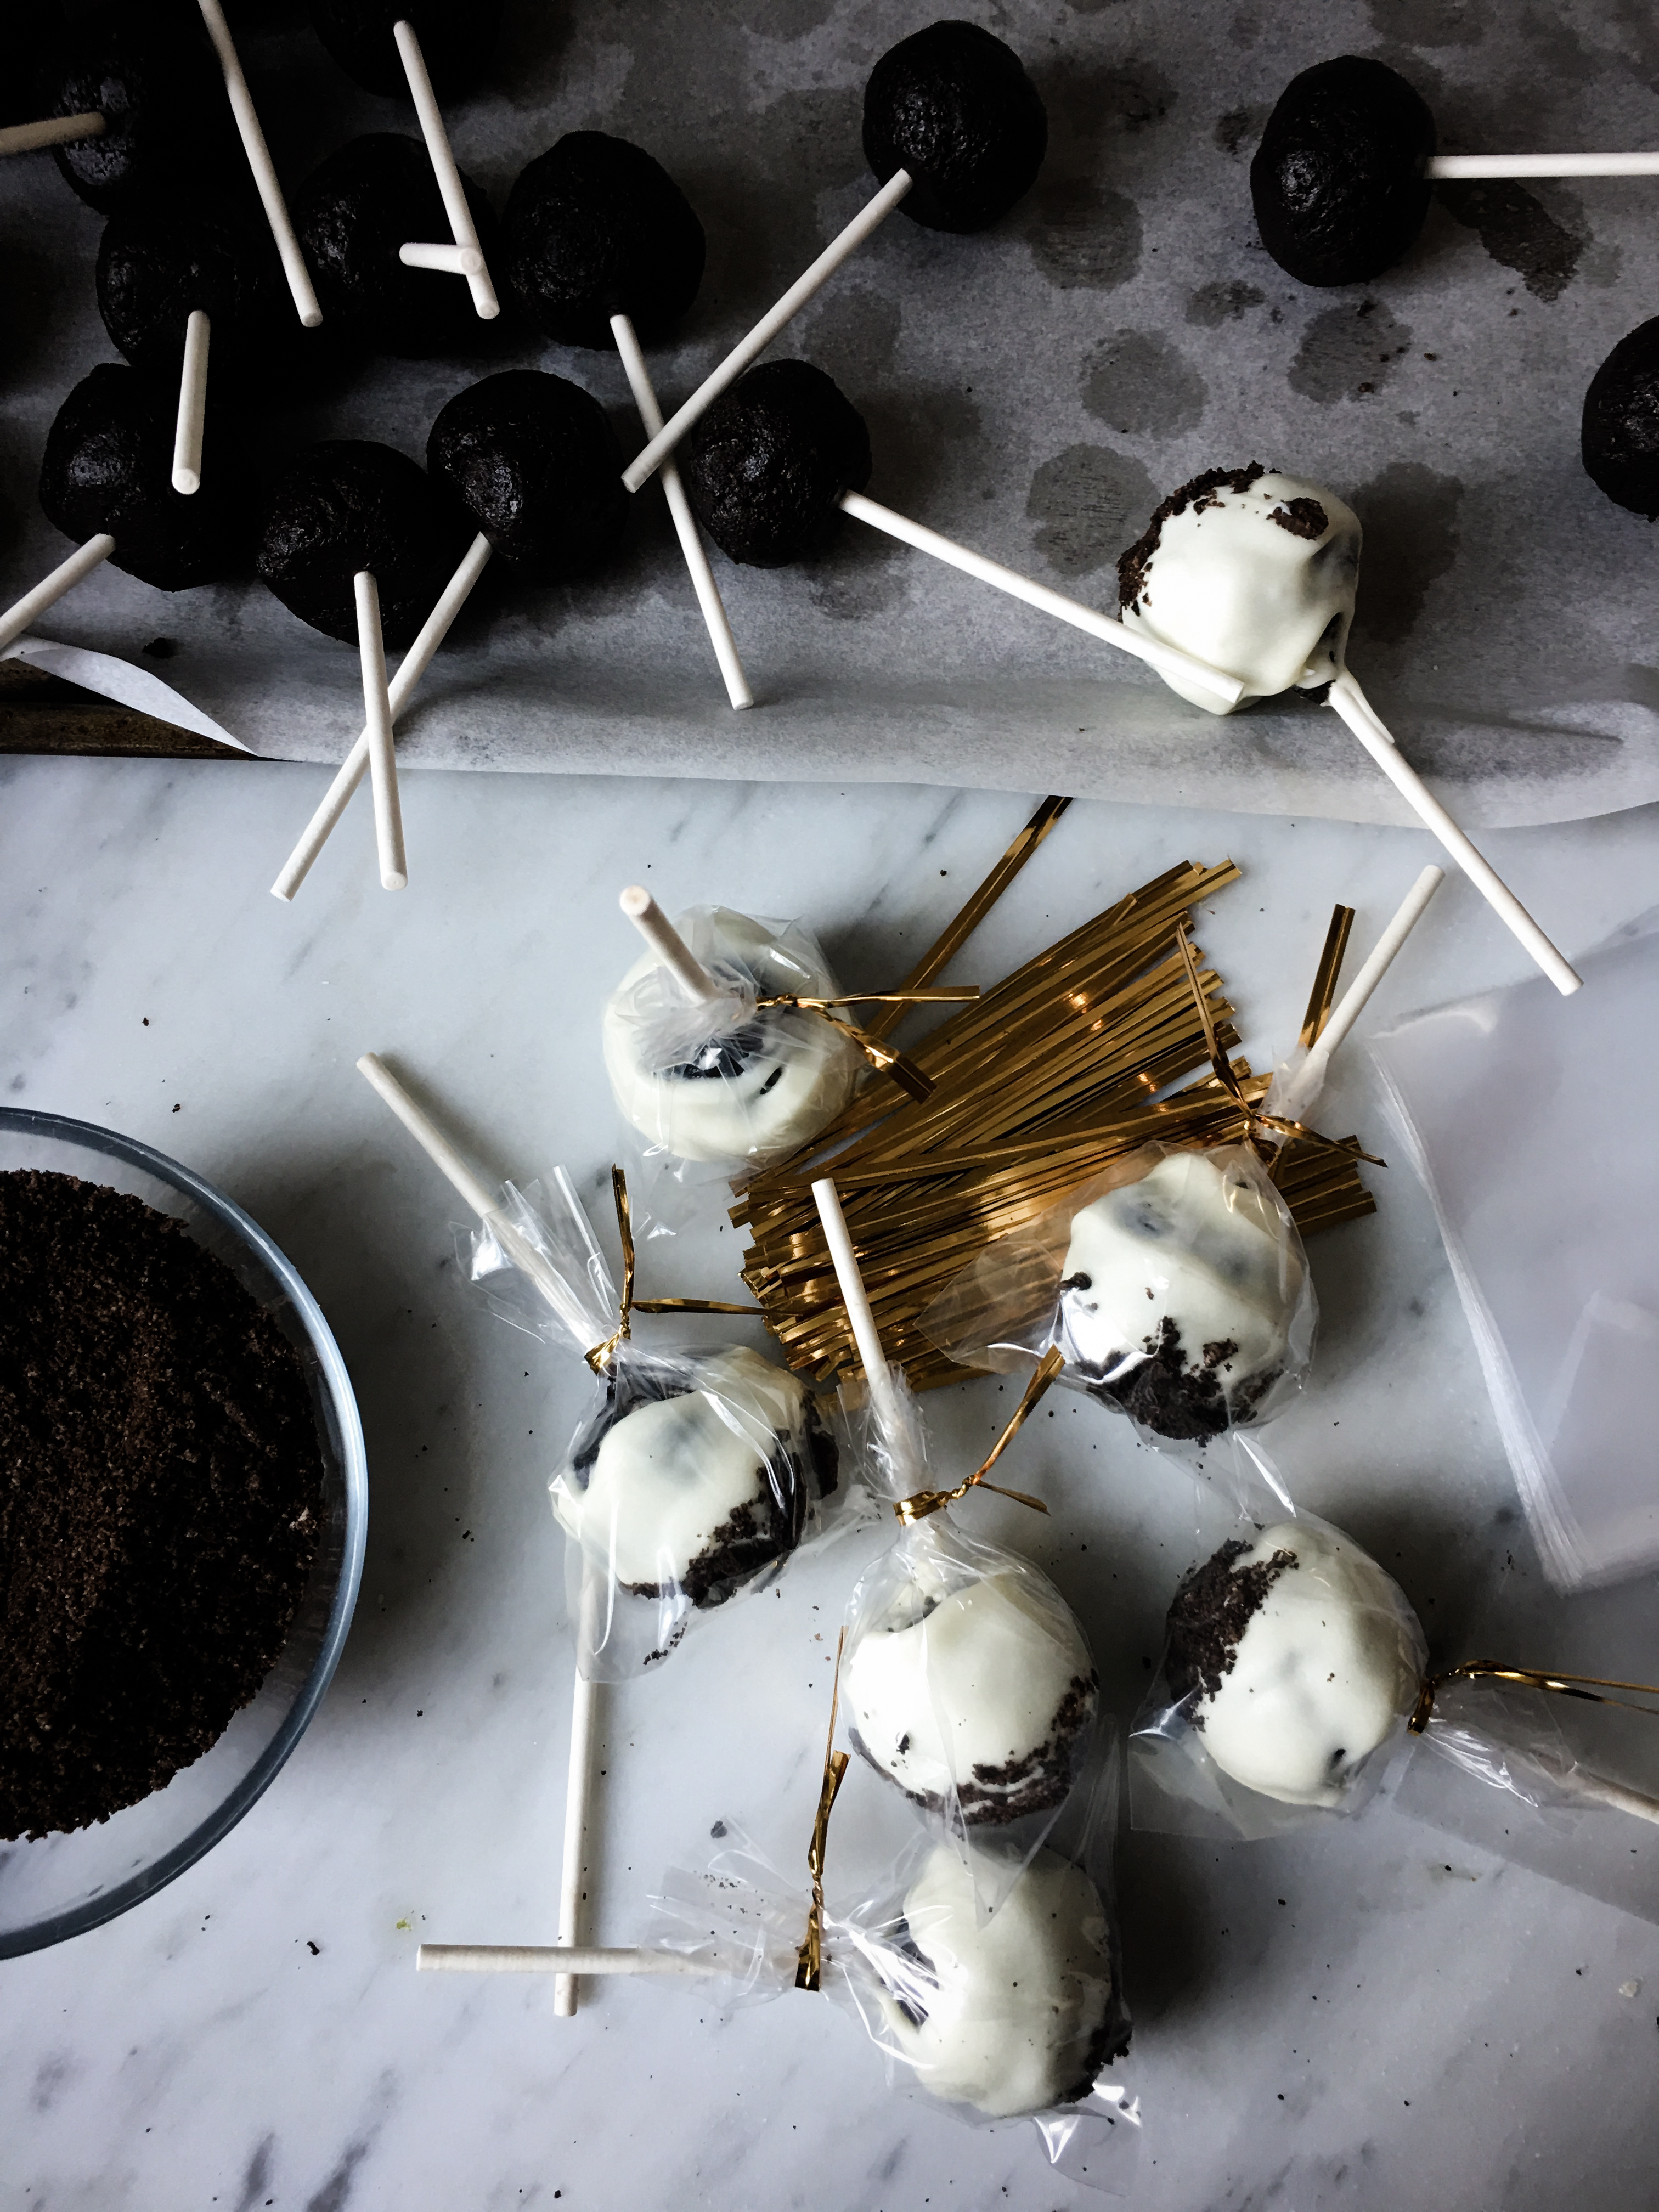
Melt white chocolate, and decide if you want to make these cake pops or truffles. If you pick cake pops, put a lollipop stick into each one (I got mine at Michael’s), and dip the cake pops into the chocolate and then halfway into Oreo crumbs for a garnish.
If you decide on truffles, use a fork to roll the truffles into the chocolate, and then sprinkle them with Oreo crumbs. Trust me, they’re delish no matter how you serve them.
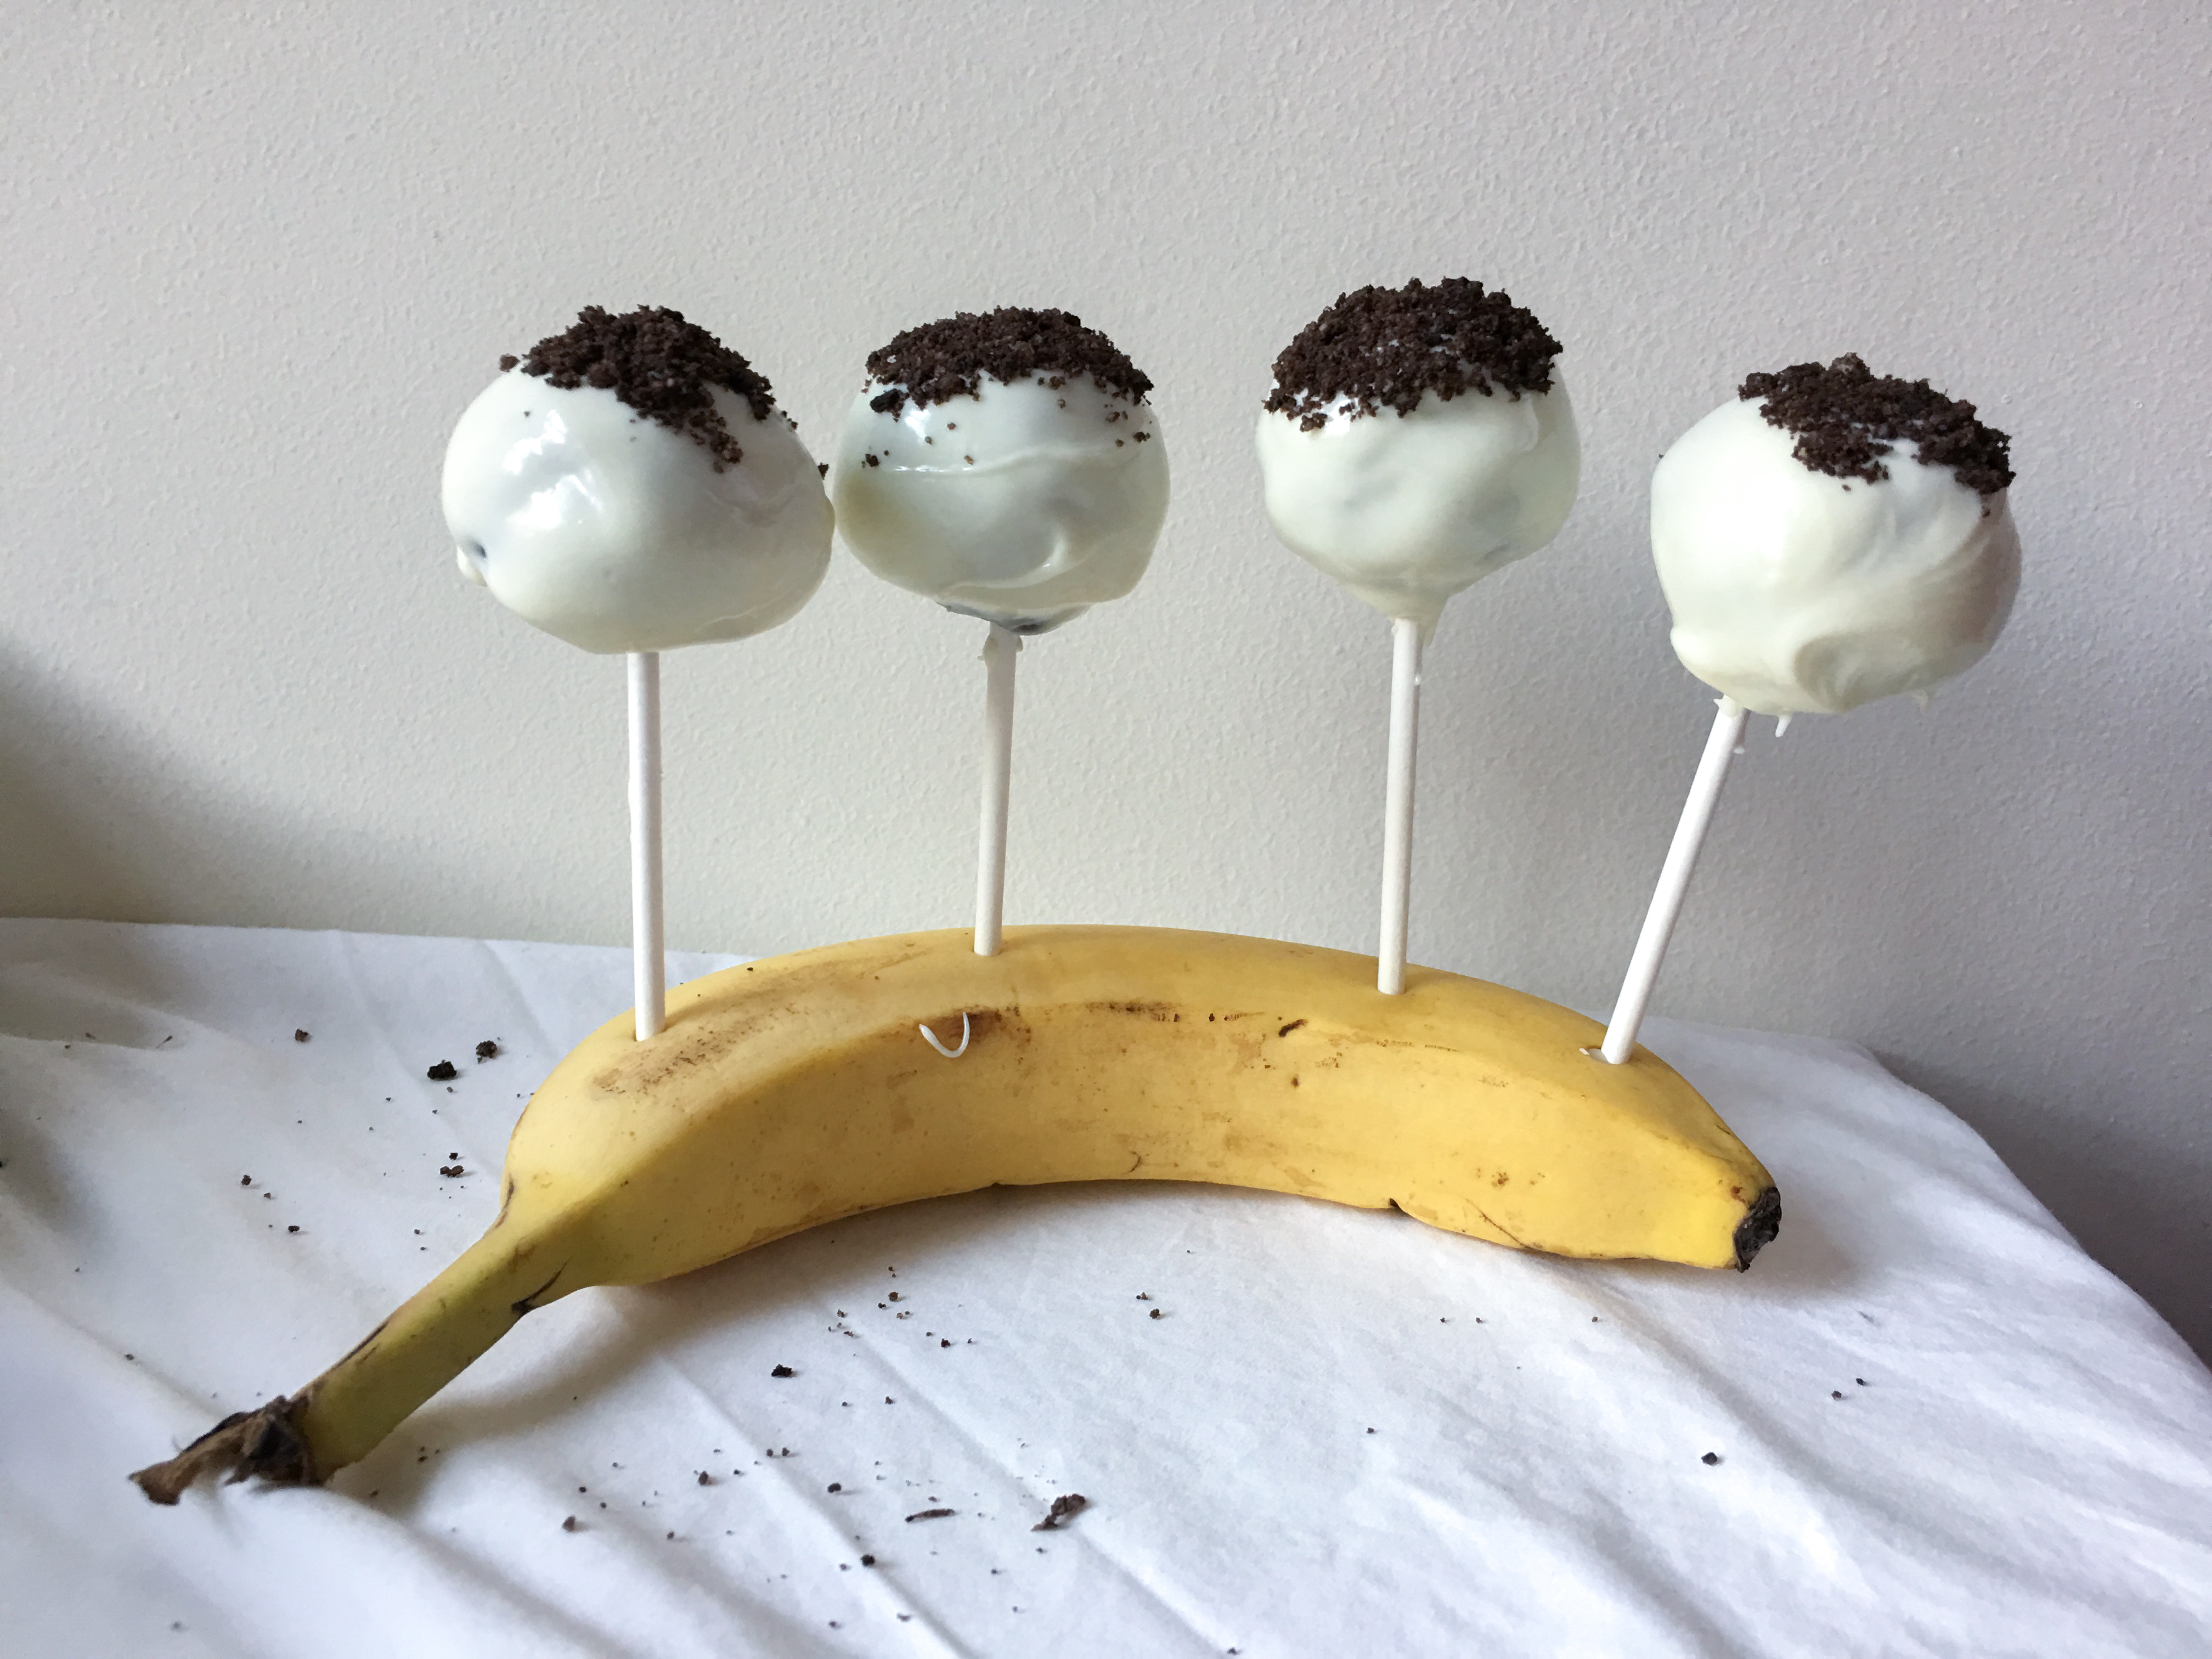
Note: I had a difficult time finding something to hold the cake pops in while they dried, so I used a banana!
If you have a piece of styrofoam, that works great as well.
So there you have it, a super simple holiday gift or dessert idea! I think these would also be great with other Oreo flavors too. Birthday cake truffles anyone?!
Cookies and Cream Cake Pops (makes 25)
- 1 package of Oreos
- 1 8 ounce package of cream cheese, softened
- 1 12 ounce bag of white chocolate chips
- Optional: lollipop sticks, mini plastic treat bags, twist ties
- Pulse the Oreos in a food processor until they’re fine crumbs, you may need to do this in batches. Reserve a few tablespoons of the crumbs to use as a garnish.
- Transfer crumbs to a stand mixer, and on low speed mix the Oreos and cream cheese until combined.
- Roll Oreo dough into small balls (about the size of a ping pong ball), and place on a lined baking sheet. Refrigerate for 30 minutes.
- Melt chocolate in a double boiler, or in the microwave, and then proceed to the next step based on how you want to serve them.
To make cake truffles (no stick): using a fork gently roll the truffles into the melted chocolate. Shake off excess chocolate, and then place on a baking sheet to dry. Sprinkle with Oreo crumbs while the chocolate is still wet, if desired.
To make cake pops: dip the top of the lollipop stick into the melted white chocolate, and then gently push the truffle onto the lollipop stick. The chocolate on the stick will act like glue and keep the cake pop from falling off! I missed this very important step and had truffles falling off many of the sticks. Don’t skip it!
- Refrigerate the un-dipped cake pop for a few minutes or until chocolate is dry. Once dry, dip into the white chocolate and then into the Oreo crumbs for a garnish.
- Refrigerate until the chocolate is solid, and wrap in treat bags!
Here’s a great video in case you want to see this in action: