First of all, hi. It’s been months since I’ve logged into this site, and this past week I’ve realized how much I missed blogging. Between starting a new job (ok, I’m 8 months in…), spending time with family (ok, I live at home), trying to see friends, keeping up hobbies, etc. it’s difficult to find time for the blog too.
I know those are bad excuses, so I’m promising myself I will make time. I figured there’s no better way to get back to blogging than with a three layer red velvet cake adorned with cream cheese frosting roses.
Saturday was my little cousin’s 8th birthday, and she decided to have a princess sleep over party, so I decided to bake this gorgeous cake for her to keep with the theme!
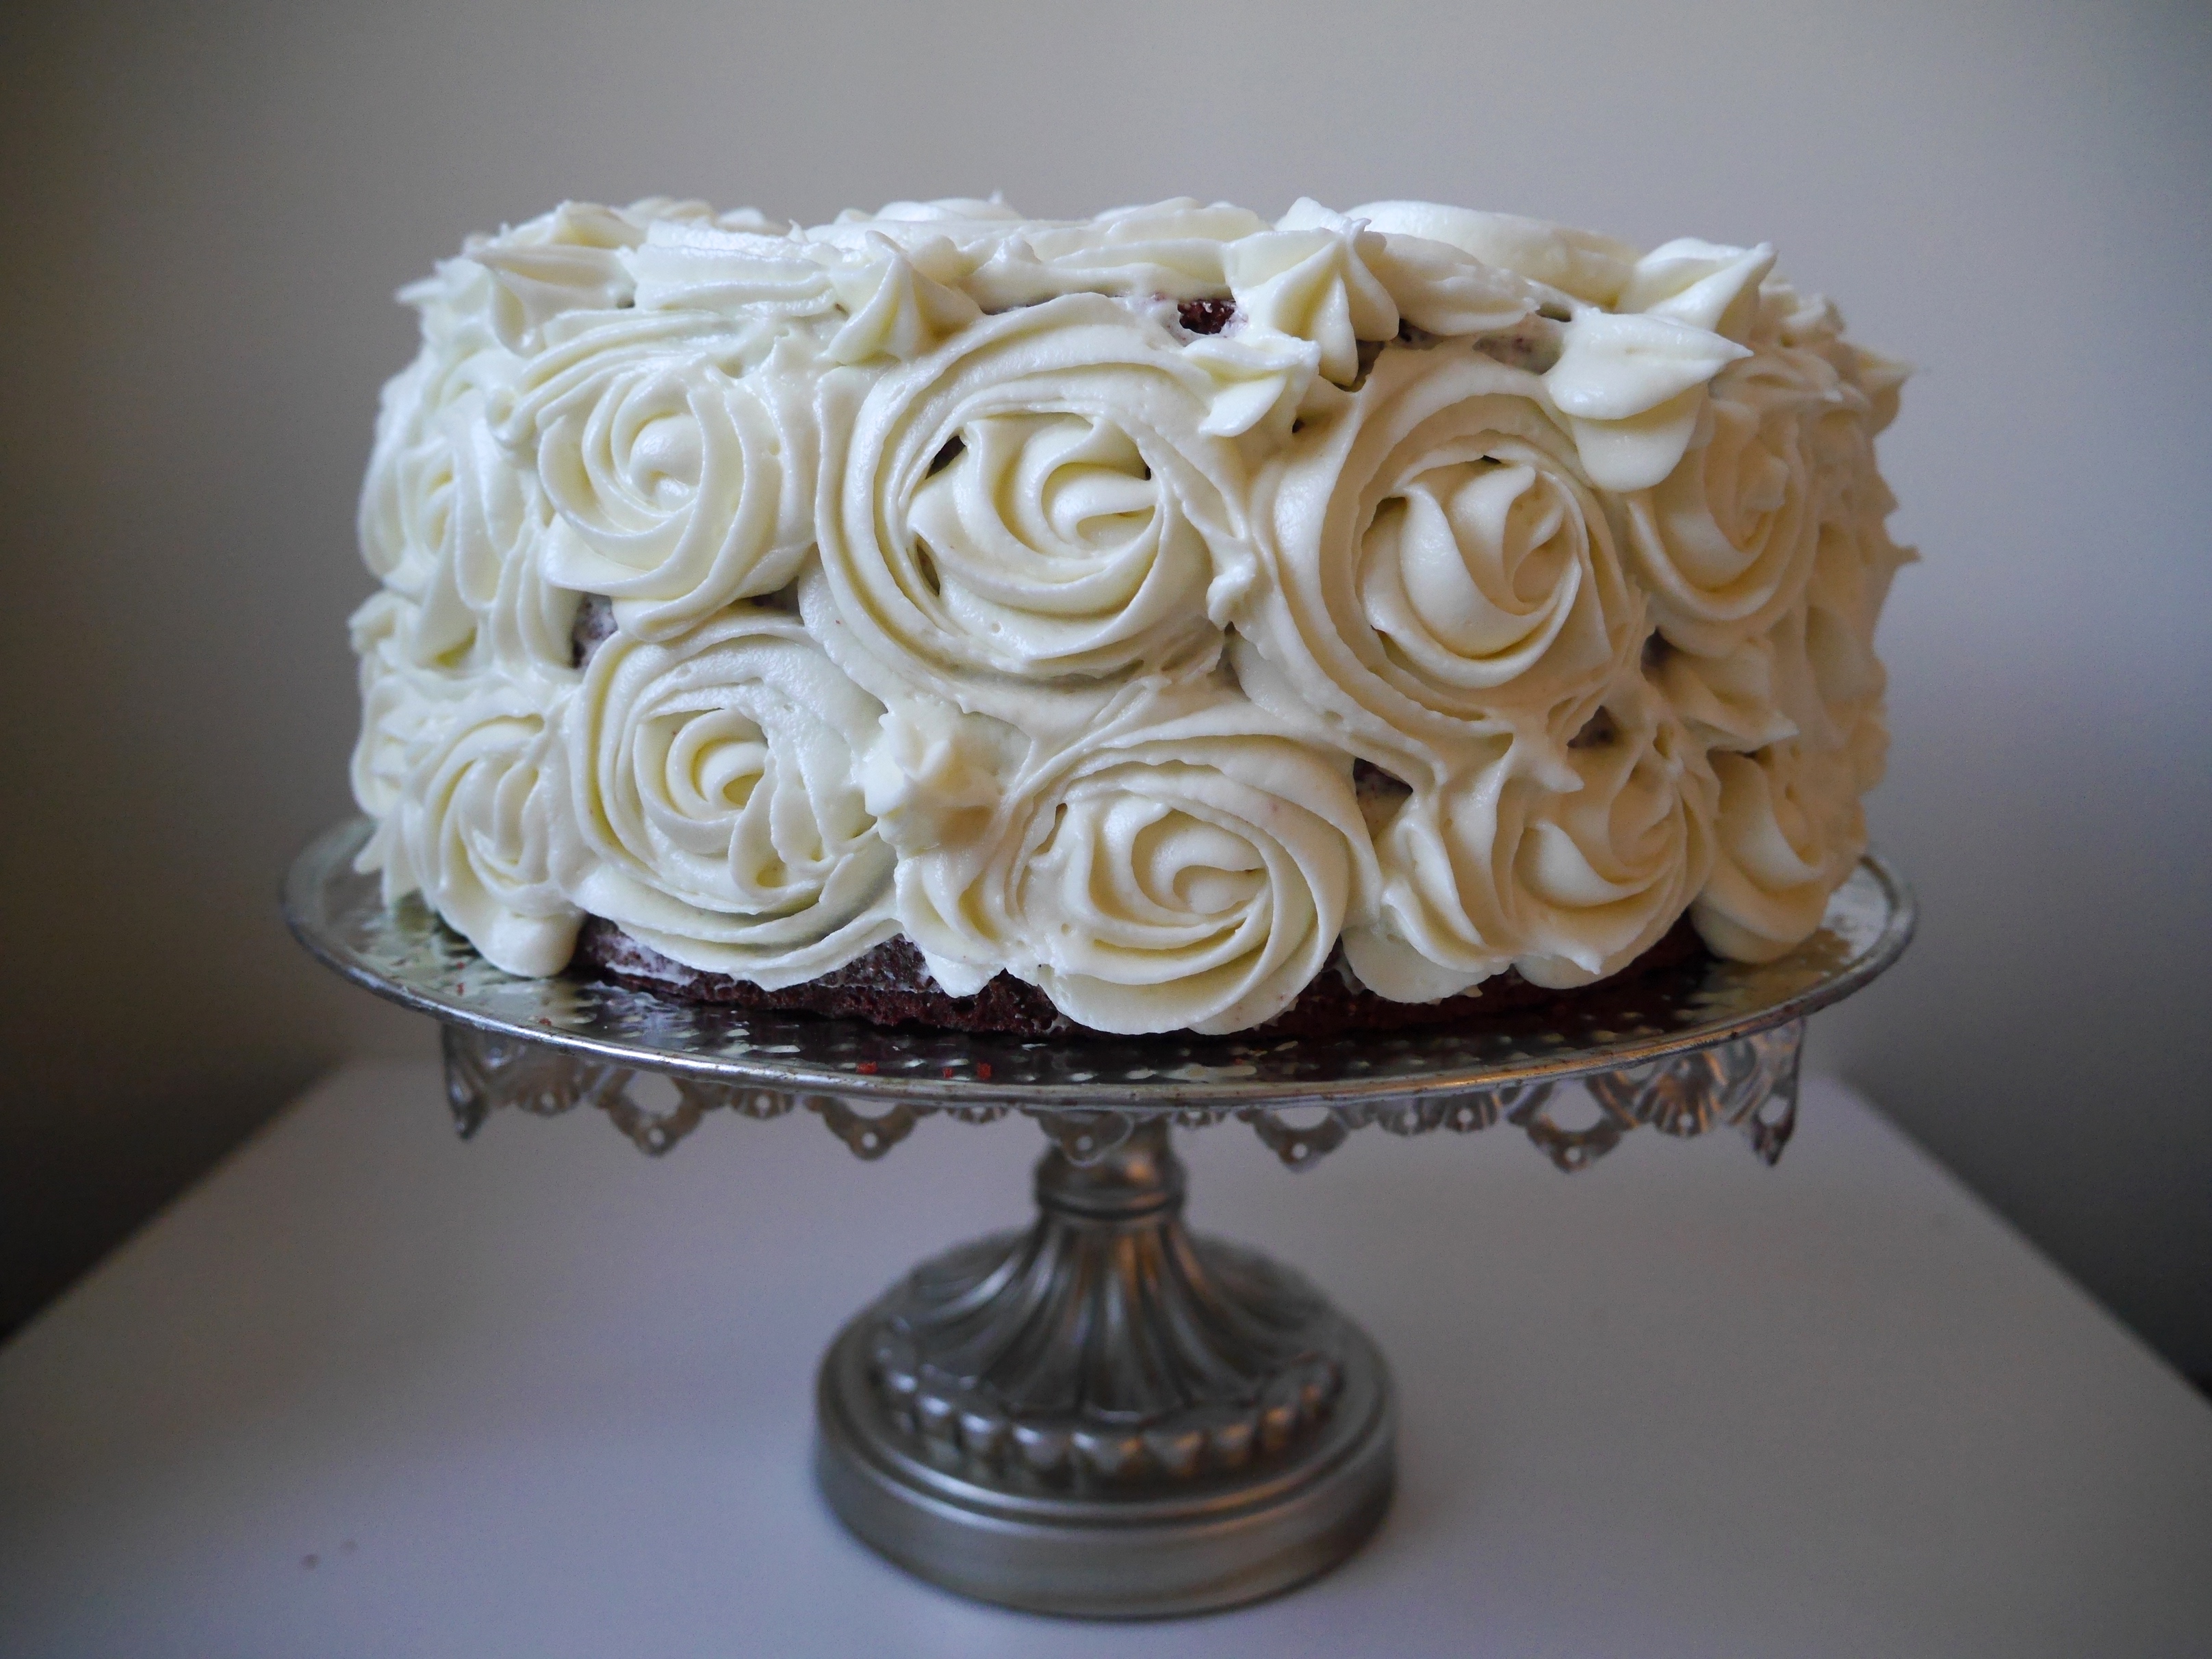
Moist vividly red layers of cocoa scented cake are glued together with the perfect tart-yet-sweet cream cheese frosting. This cake may look difficult, but I promise it’s the same amount of work as making a cake from box mix. Here, I’ll show you how:
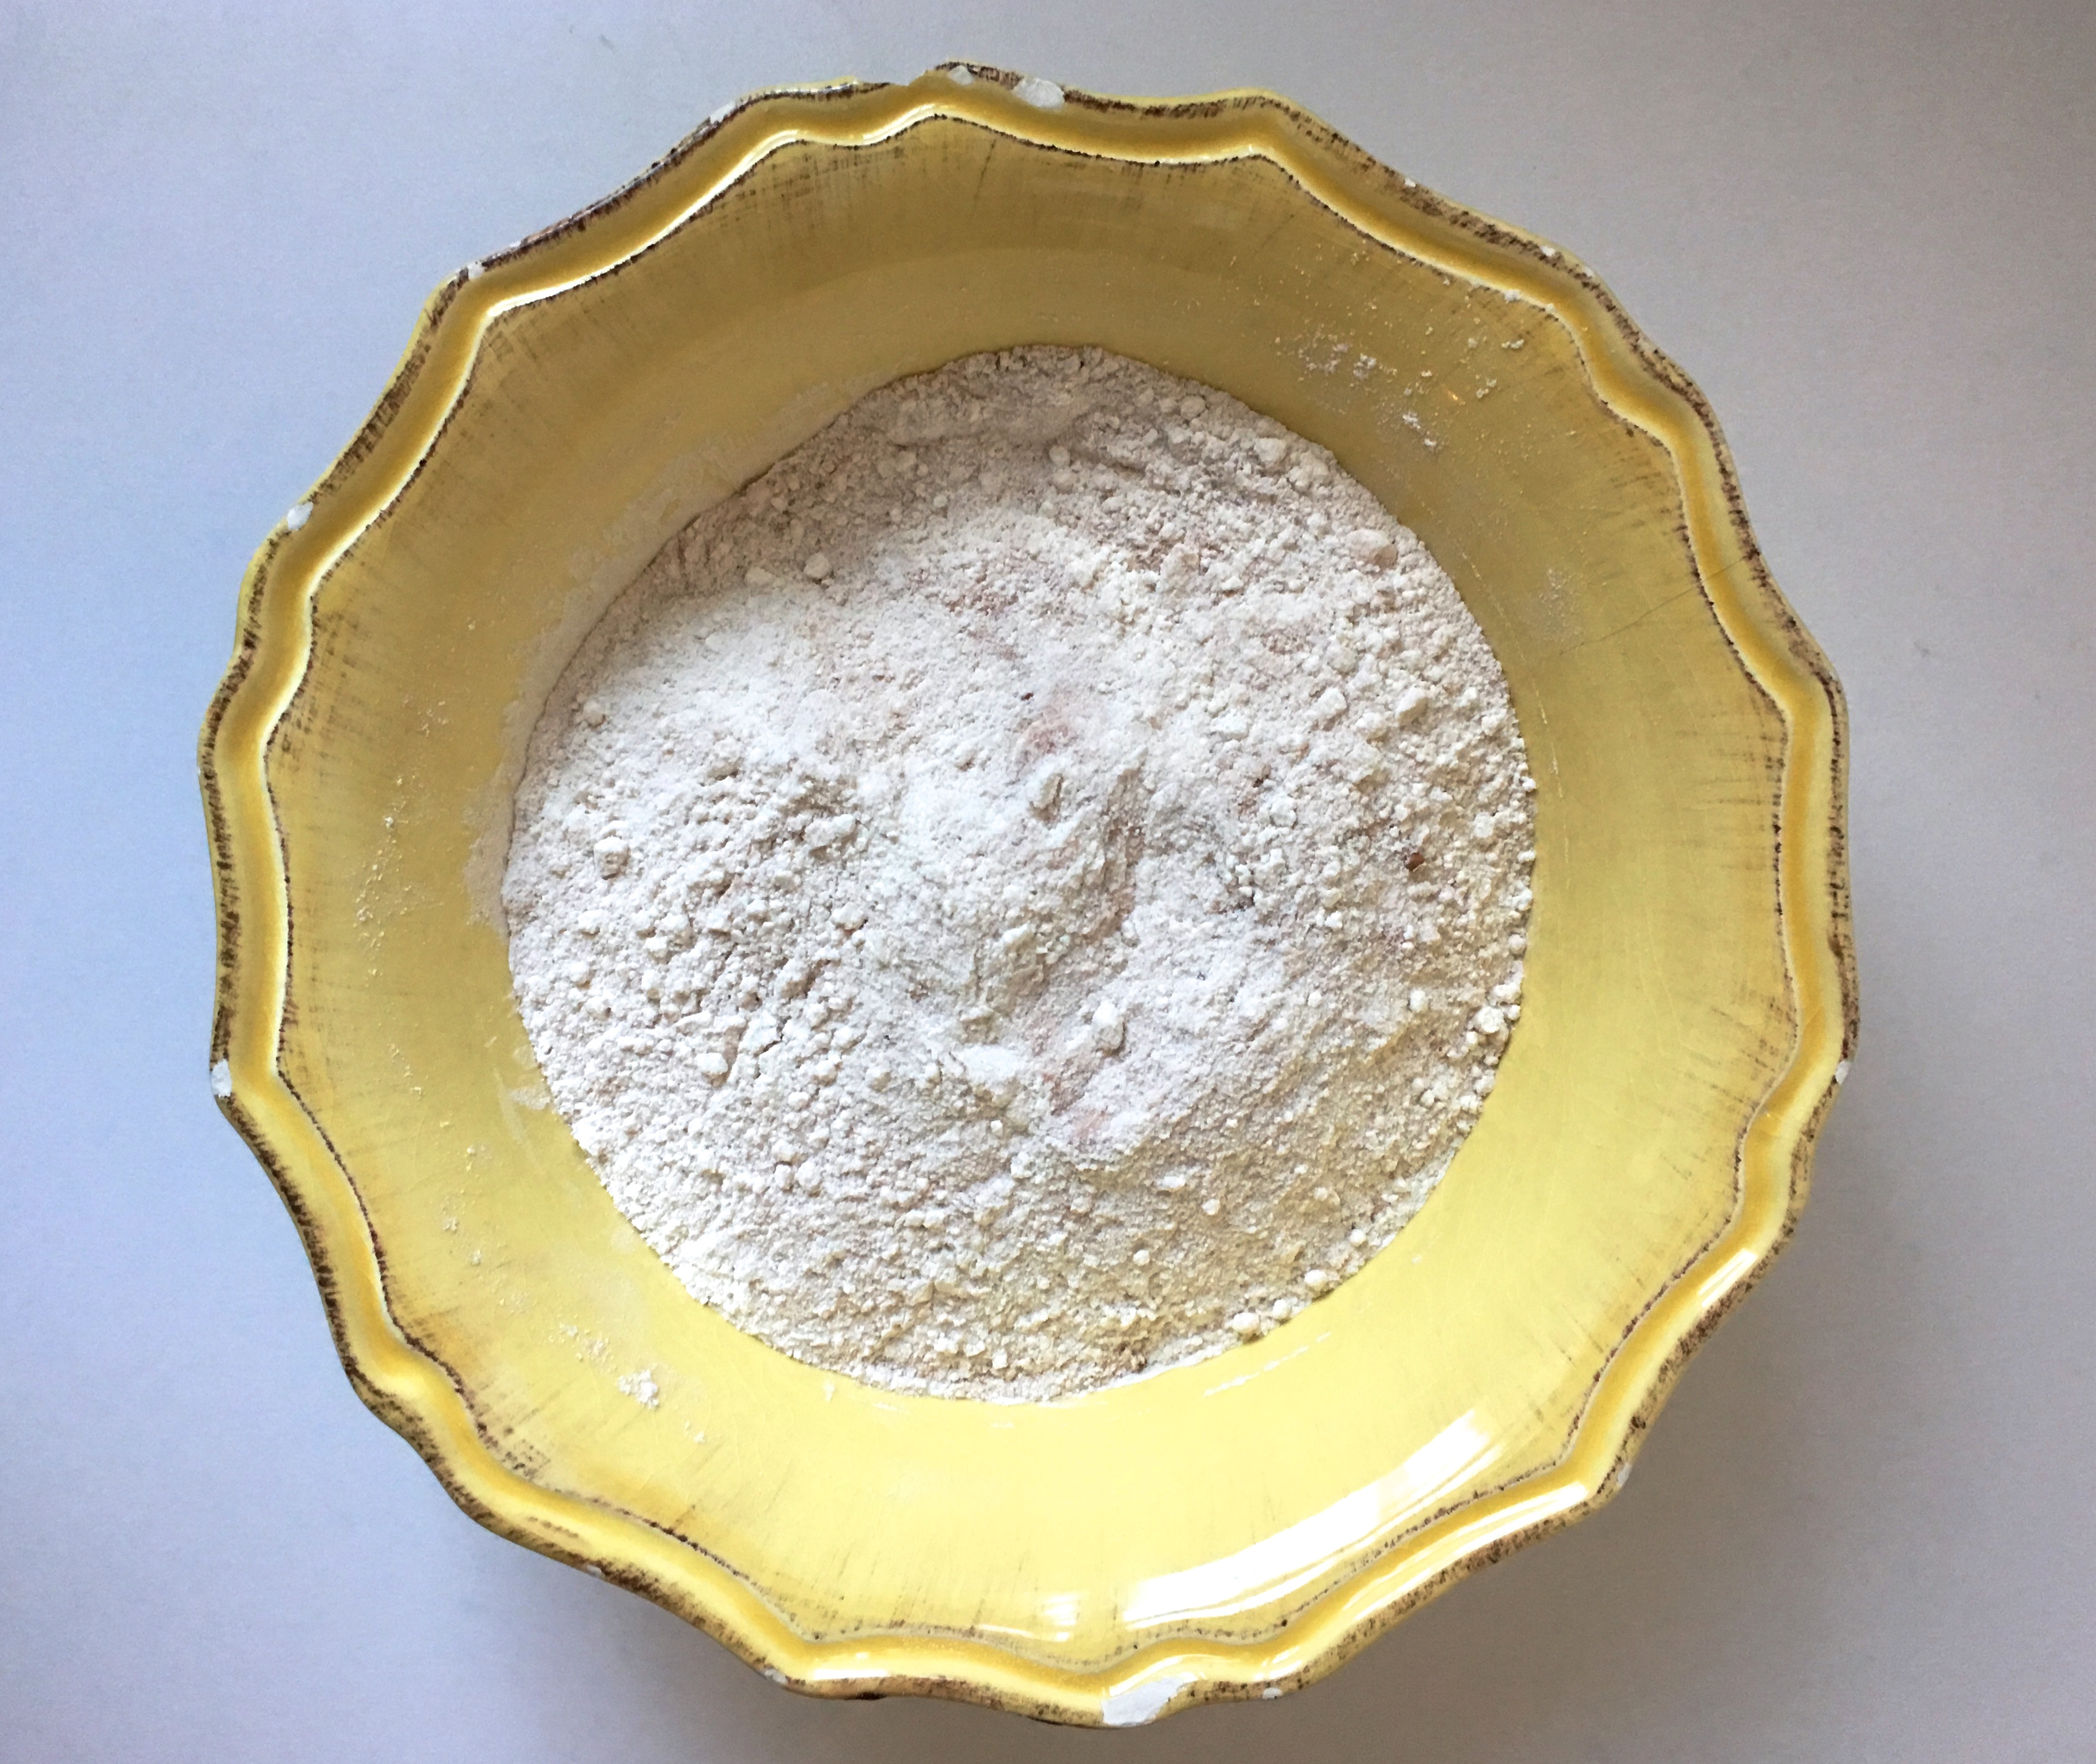
Combine flour, cocoa, baking soda, sugar, and salt in a bowl.
In a separate bowl combine eggs, milk, oil, vanilla, vinegar, and food coloring. Vinegar…..In a cake? Yes! It reacts with the baking soda to make the cake extra fluffy.
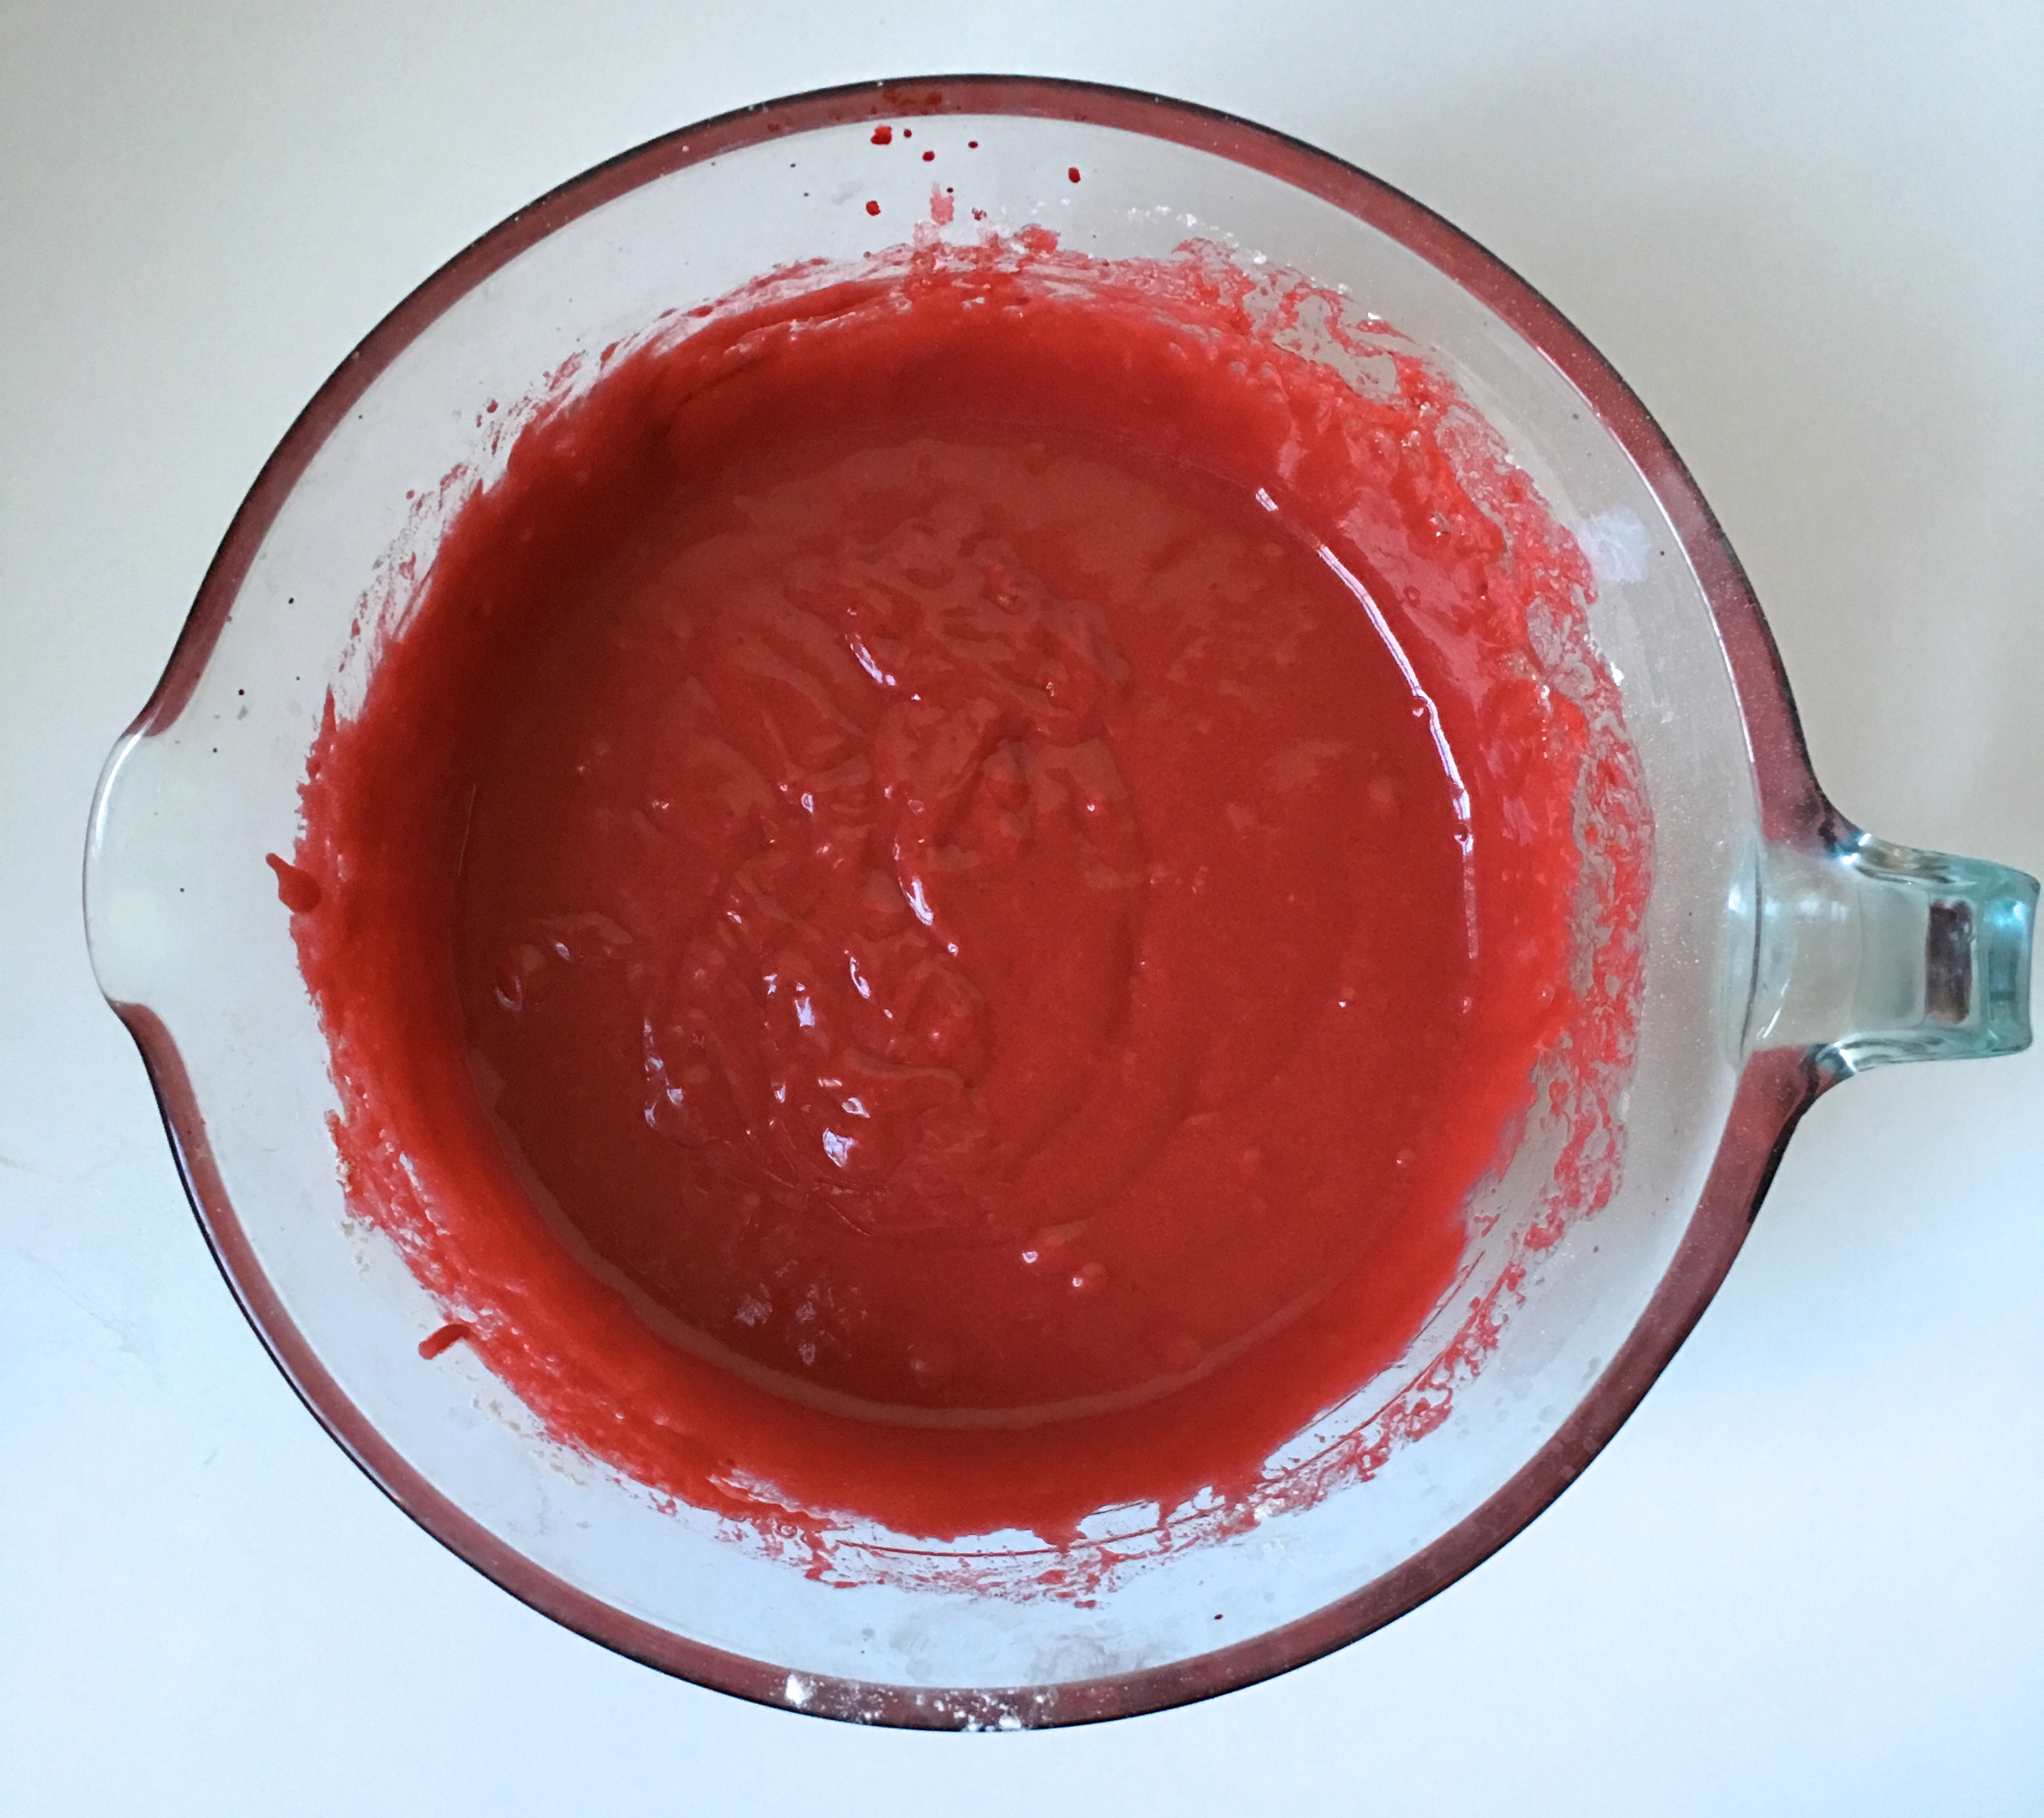
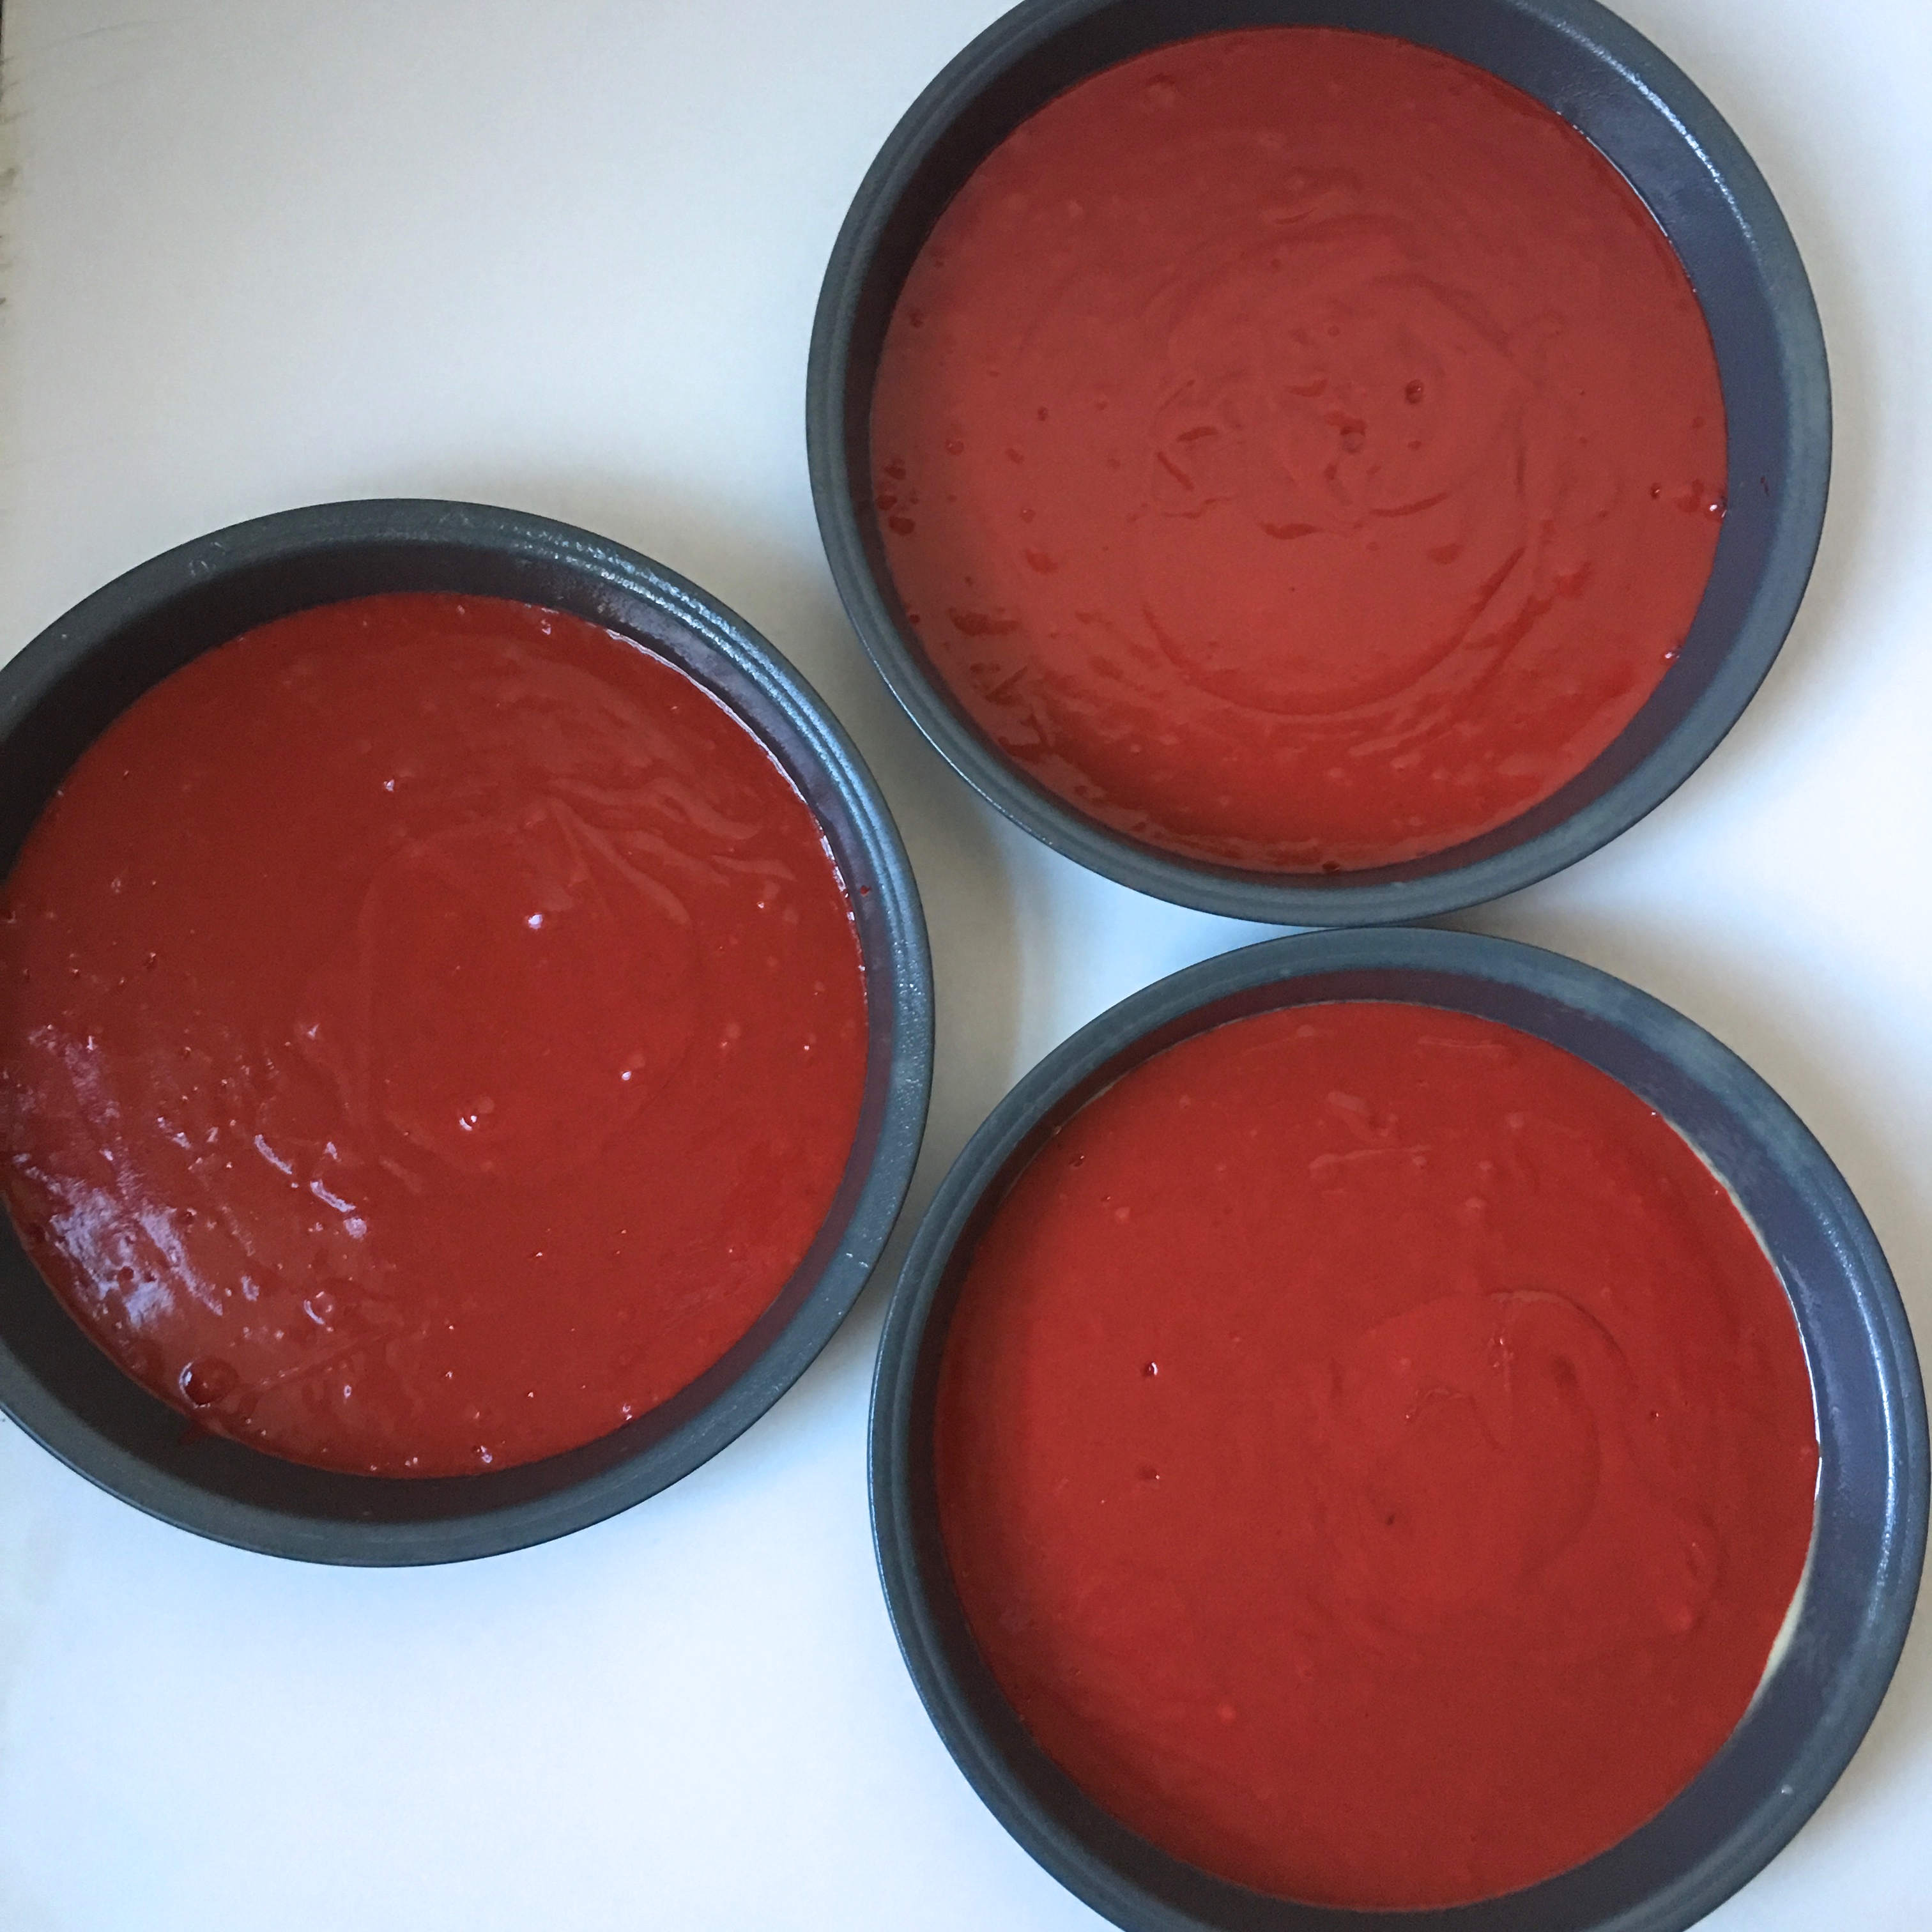
Mix the wet and dry ingredients until they’re combined, and you have a VERY red batter. Pour into your greased pans, and bake until a toothpick stuck into the center of the cake has a few crumbs attached.
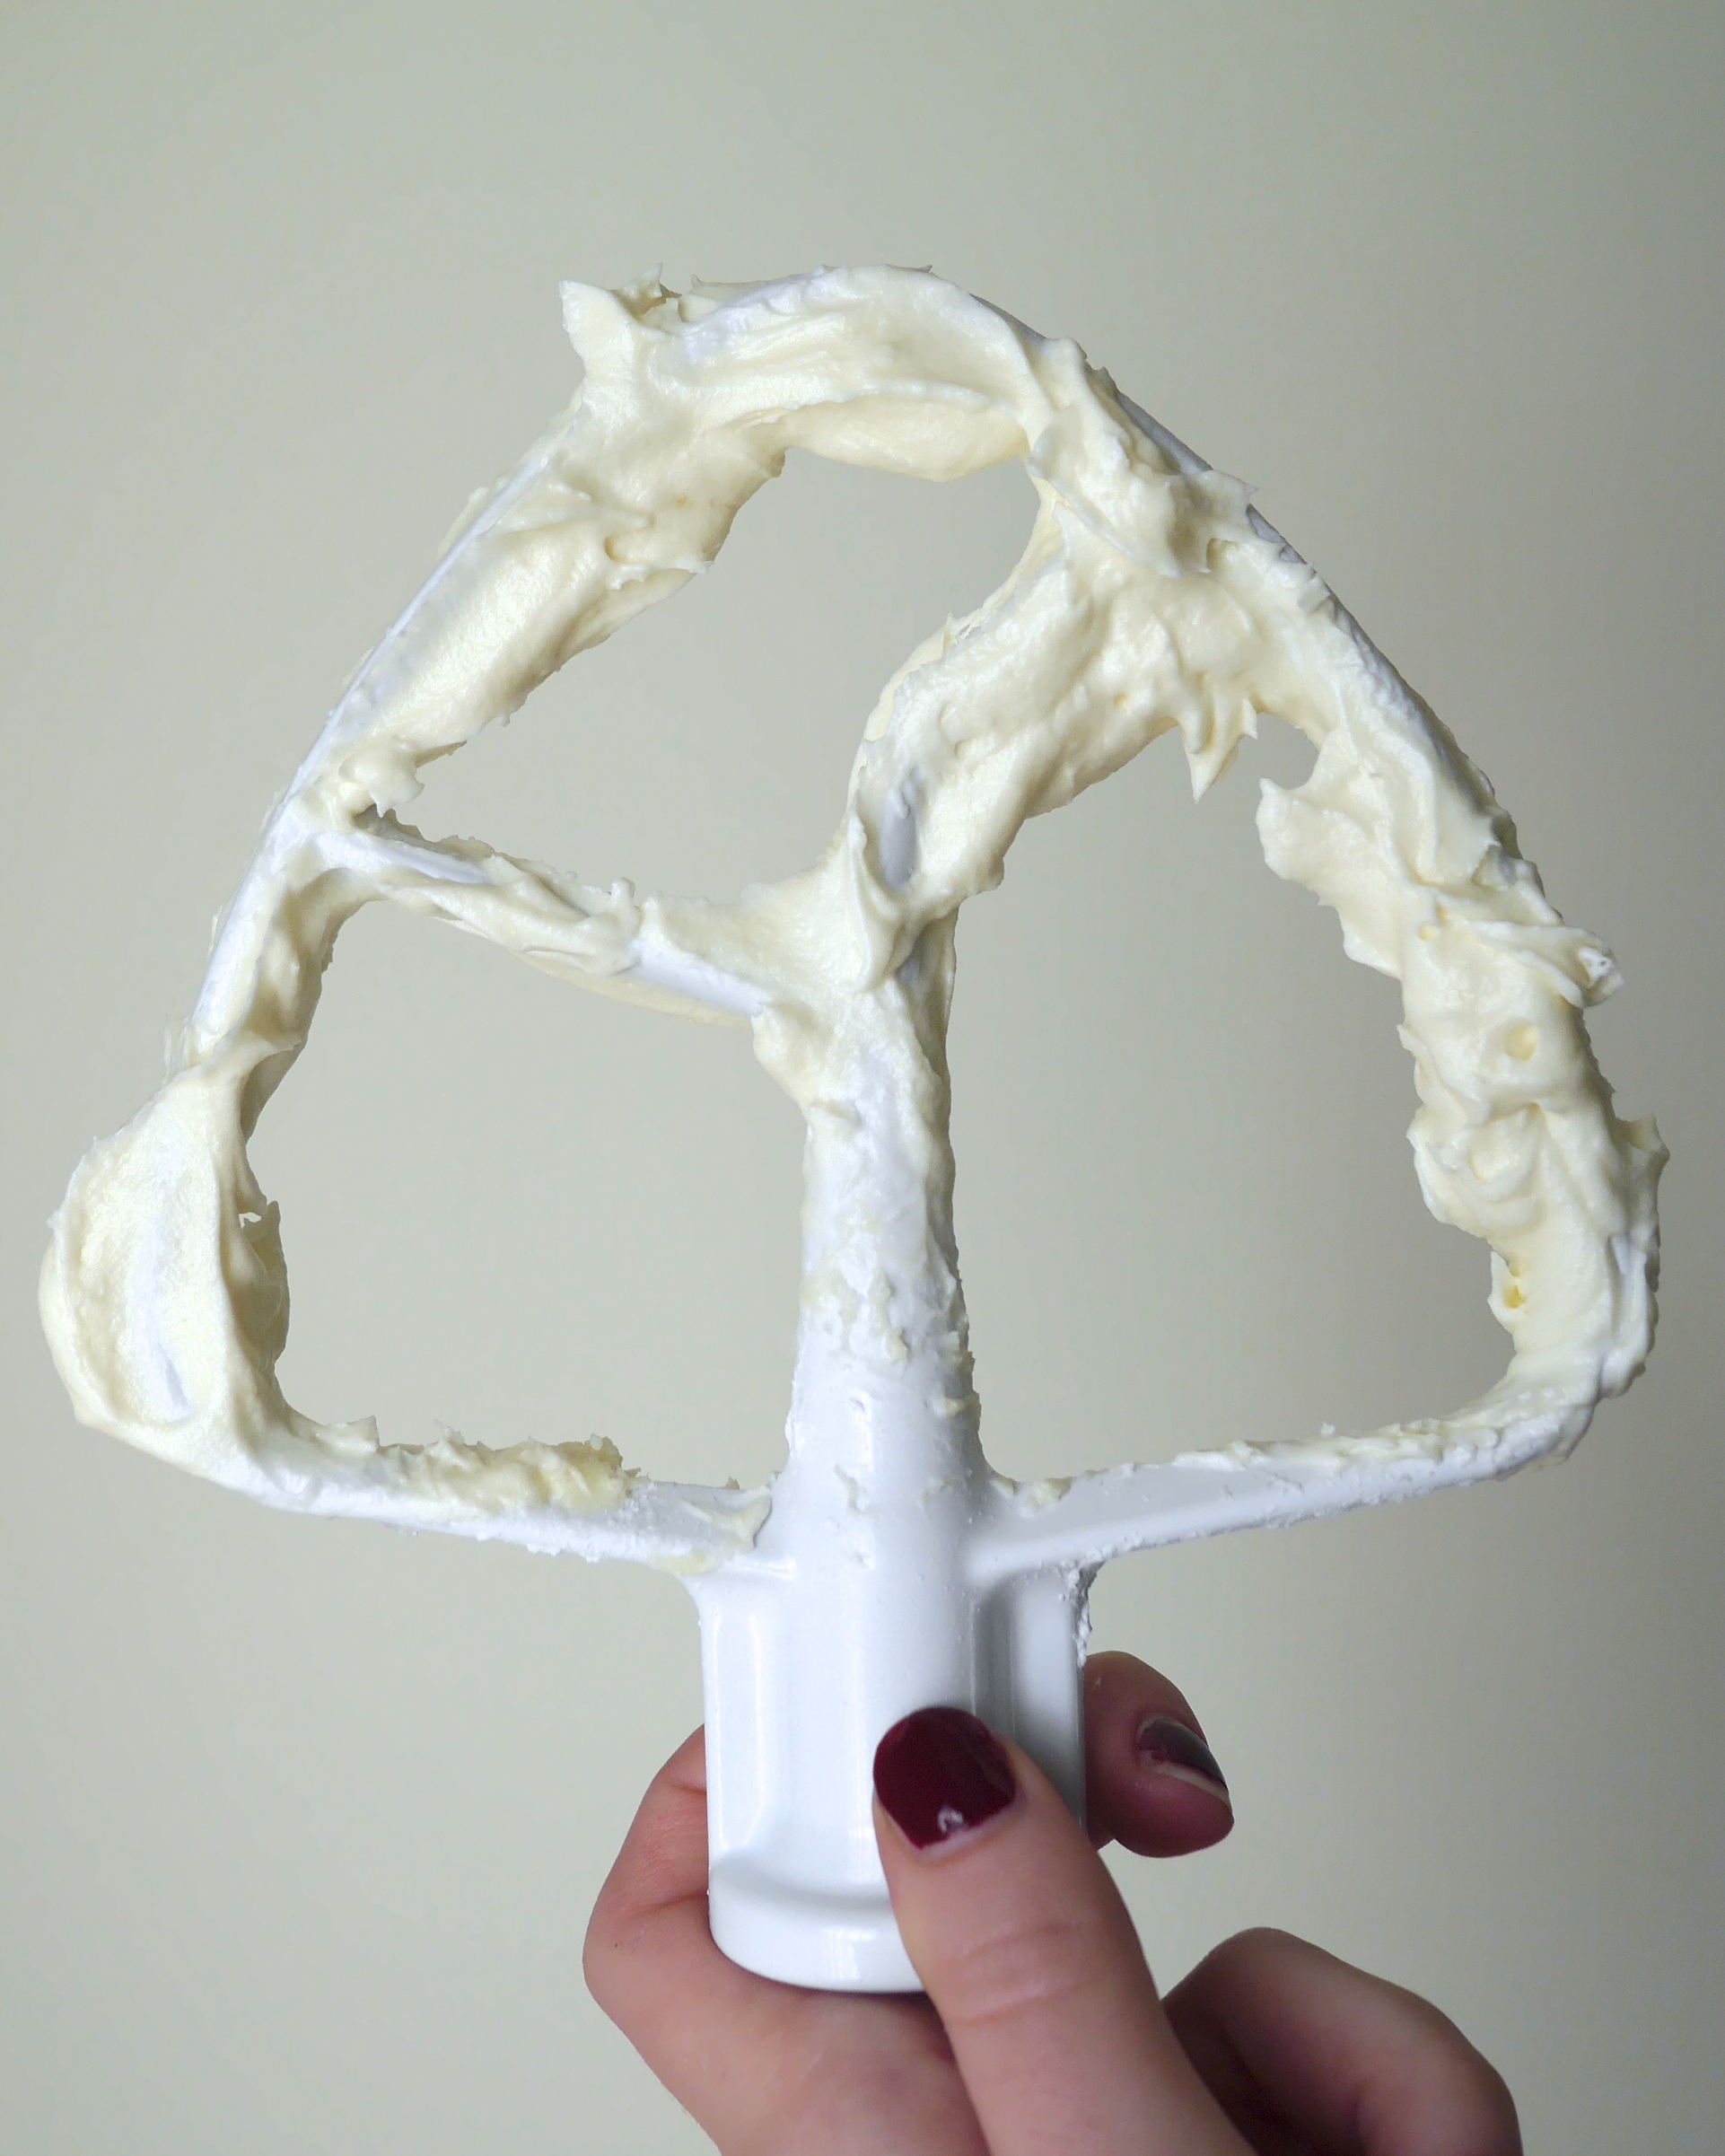
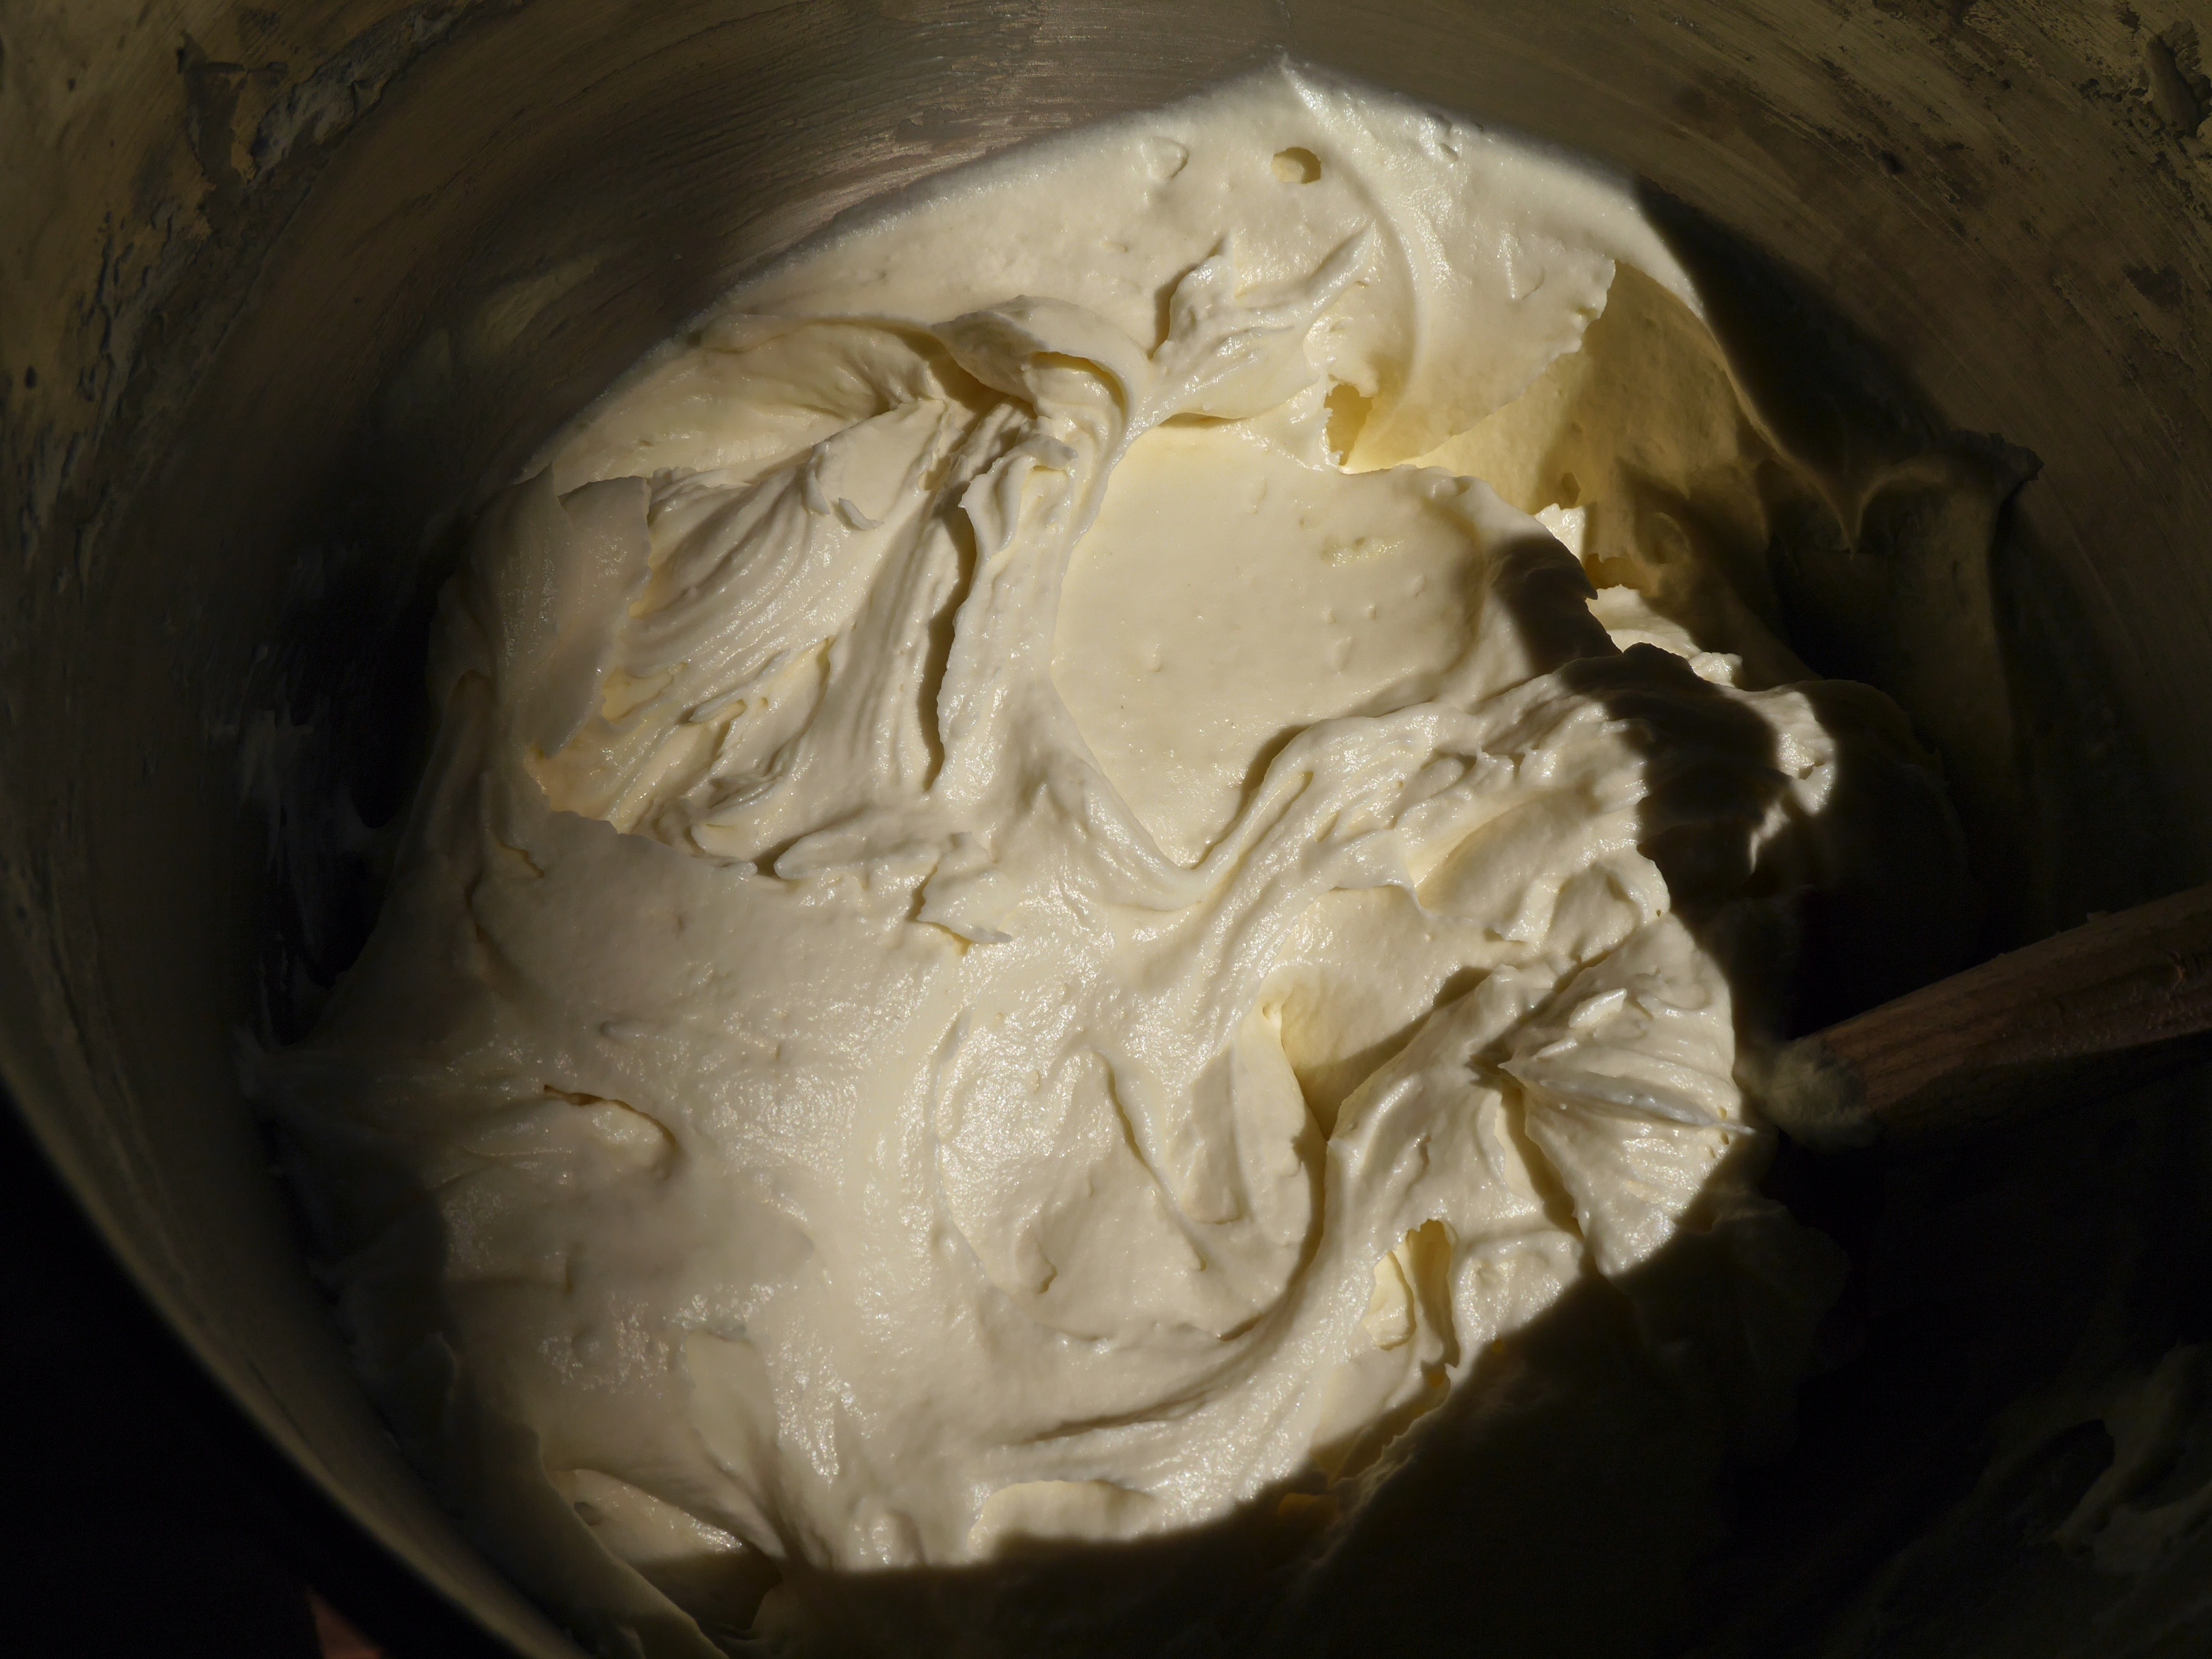
Now on to the best part, the frosting! Combine softened cream cheese, butter, powdered sugar, and vanilla in the bowl of a stand mixer.
Mix on low until combined, and then increase the speed to high. Beat for 5 minutes or until the icing is super light and fluffy.
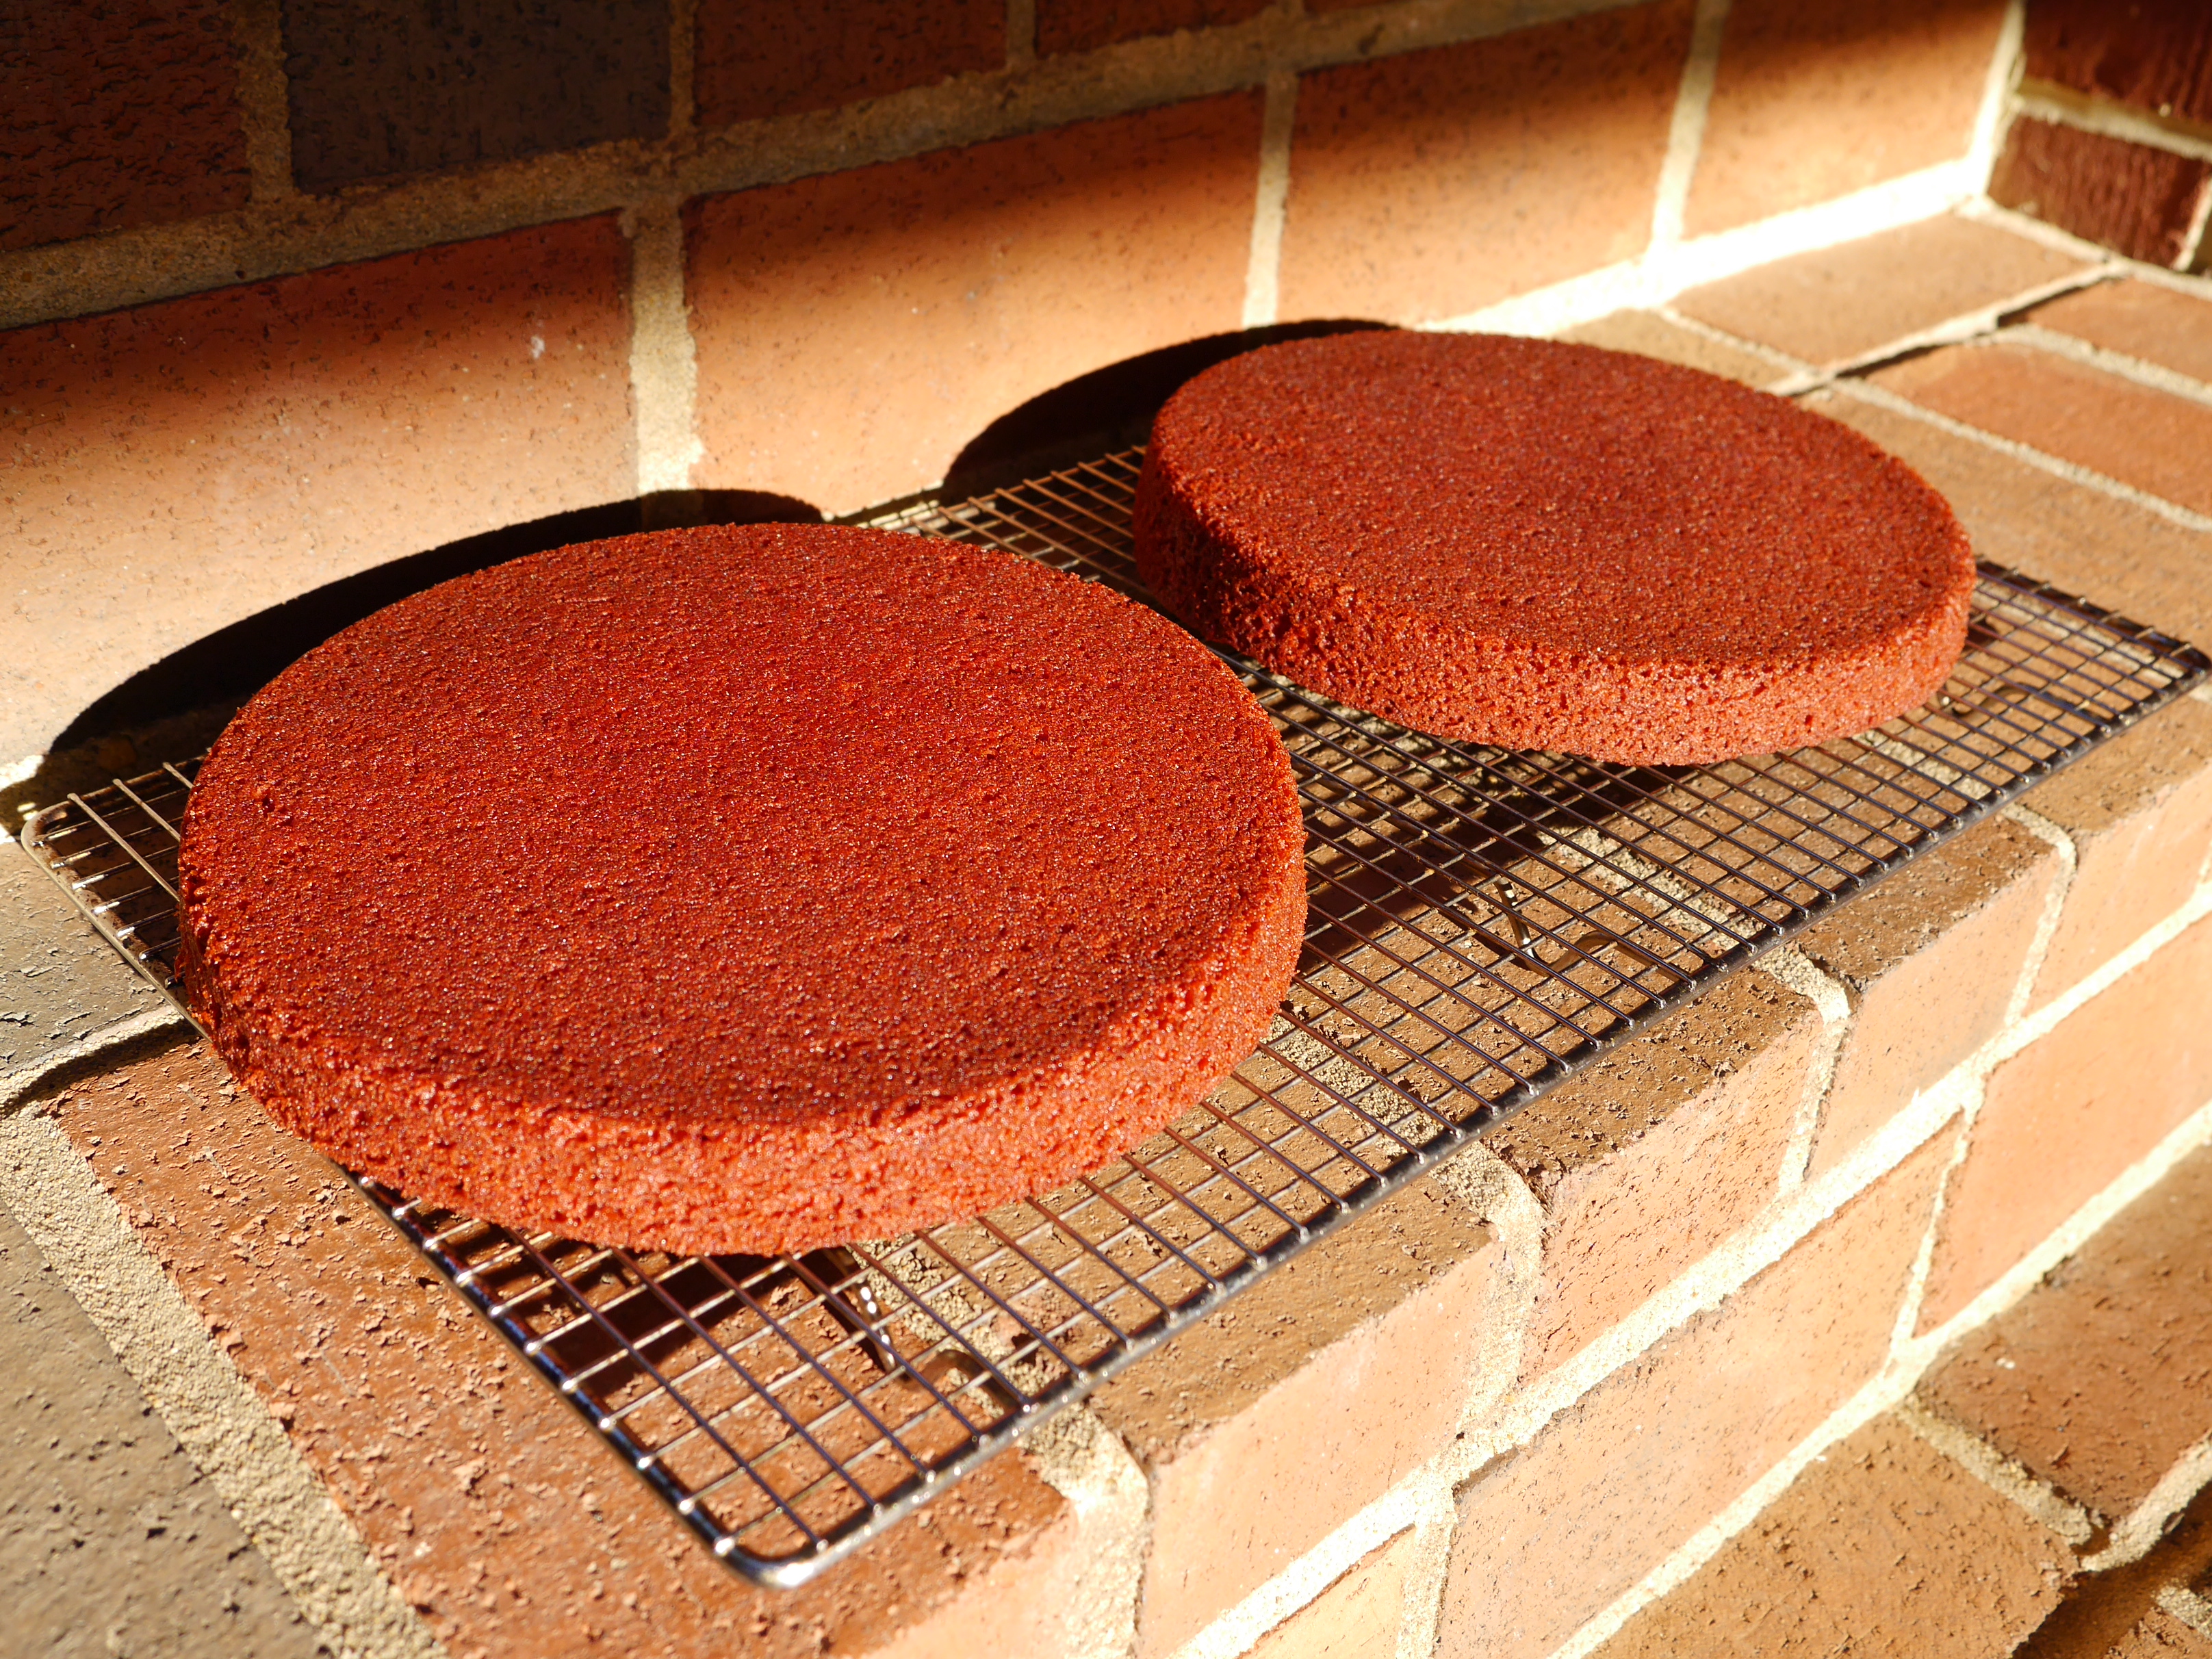
I turned my cake rounds onto a cooling rack, and set them outside until they were no longer warm.
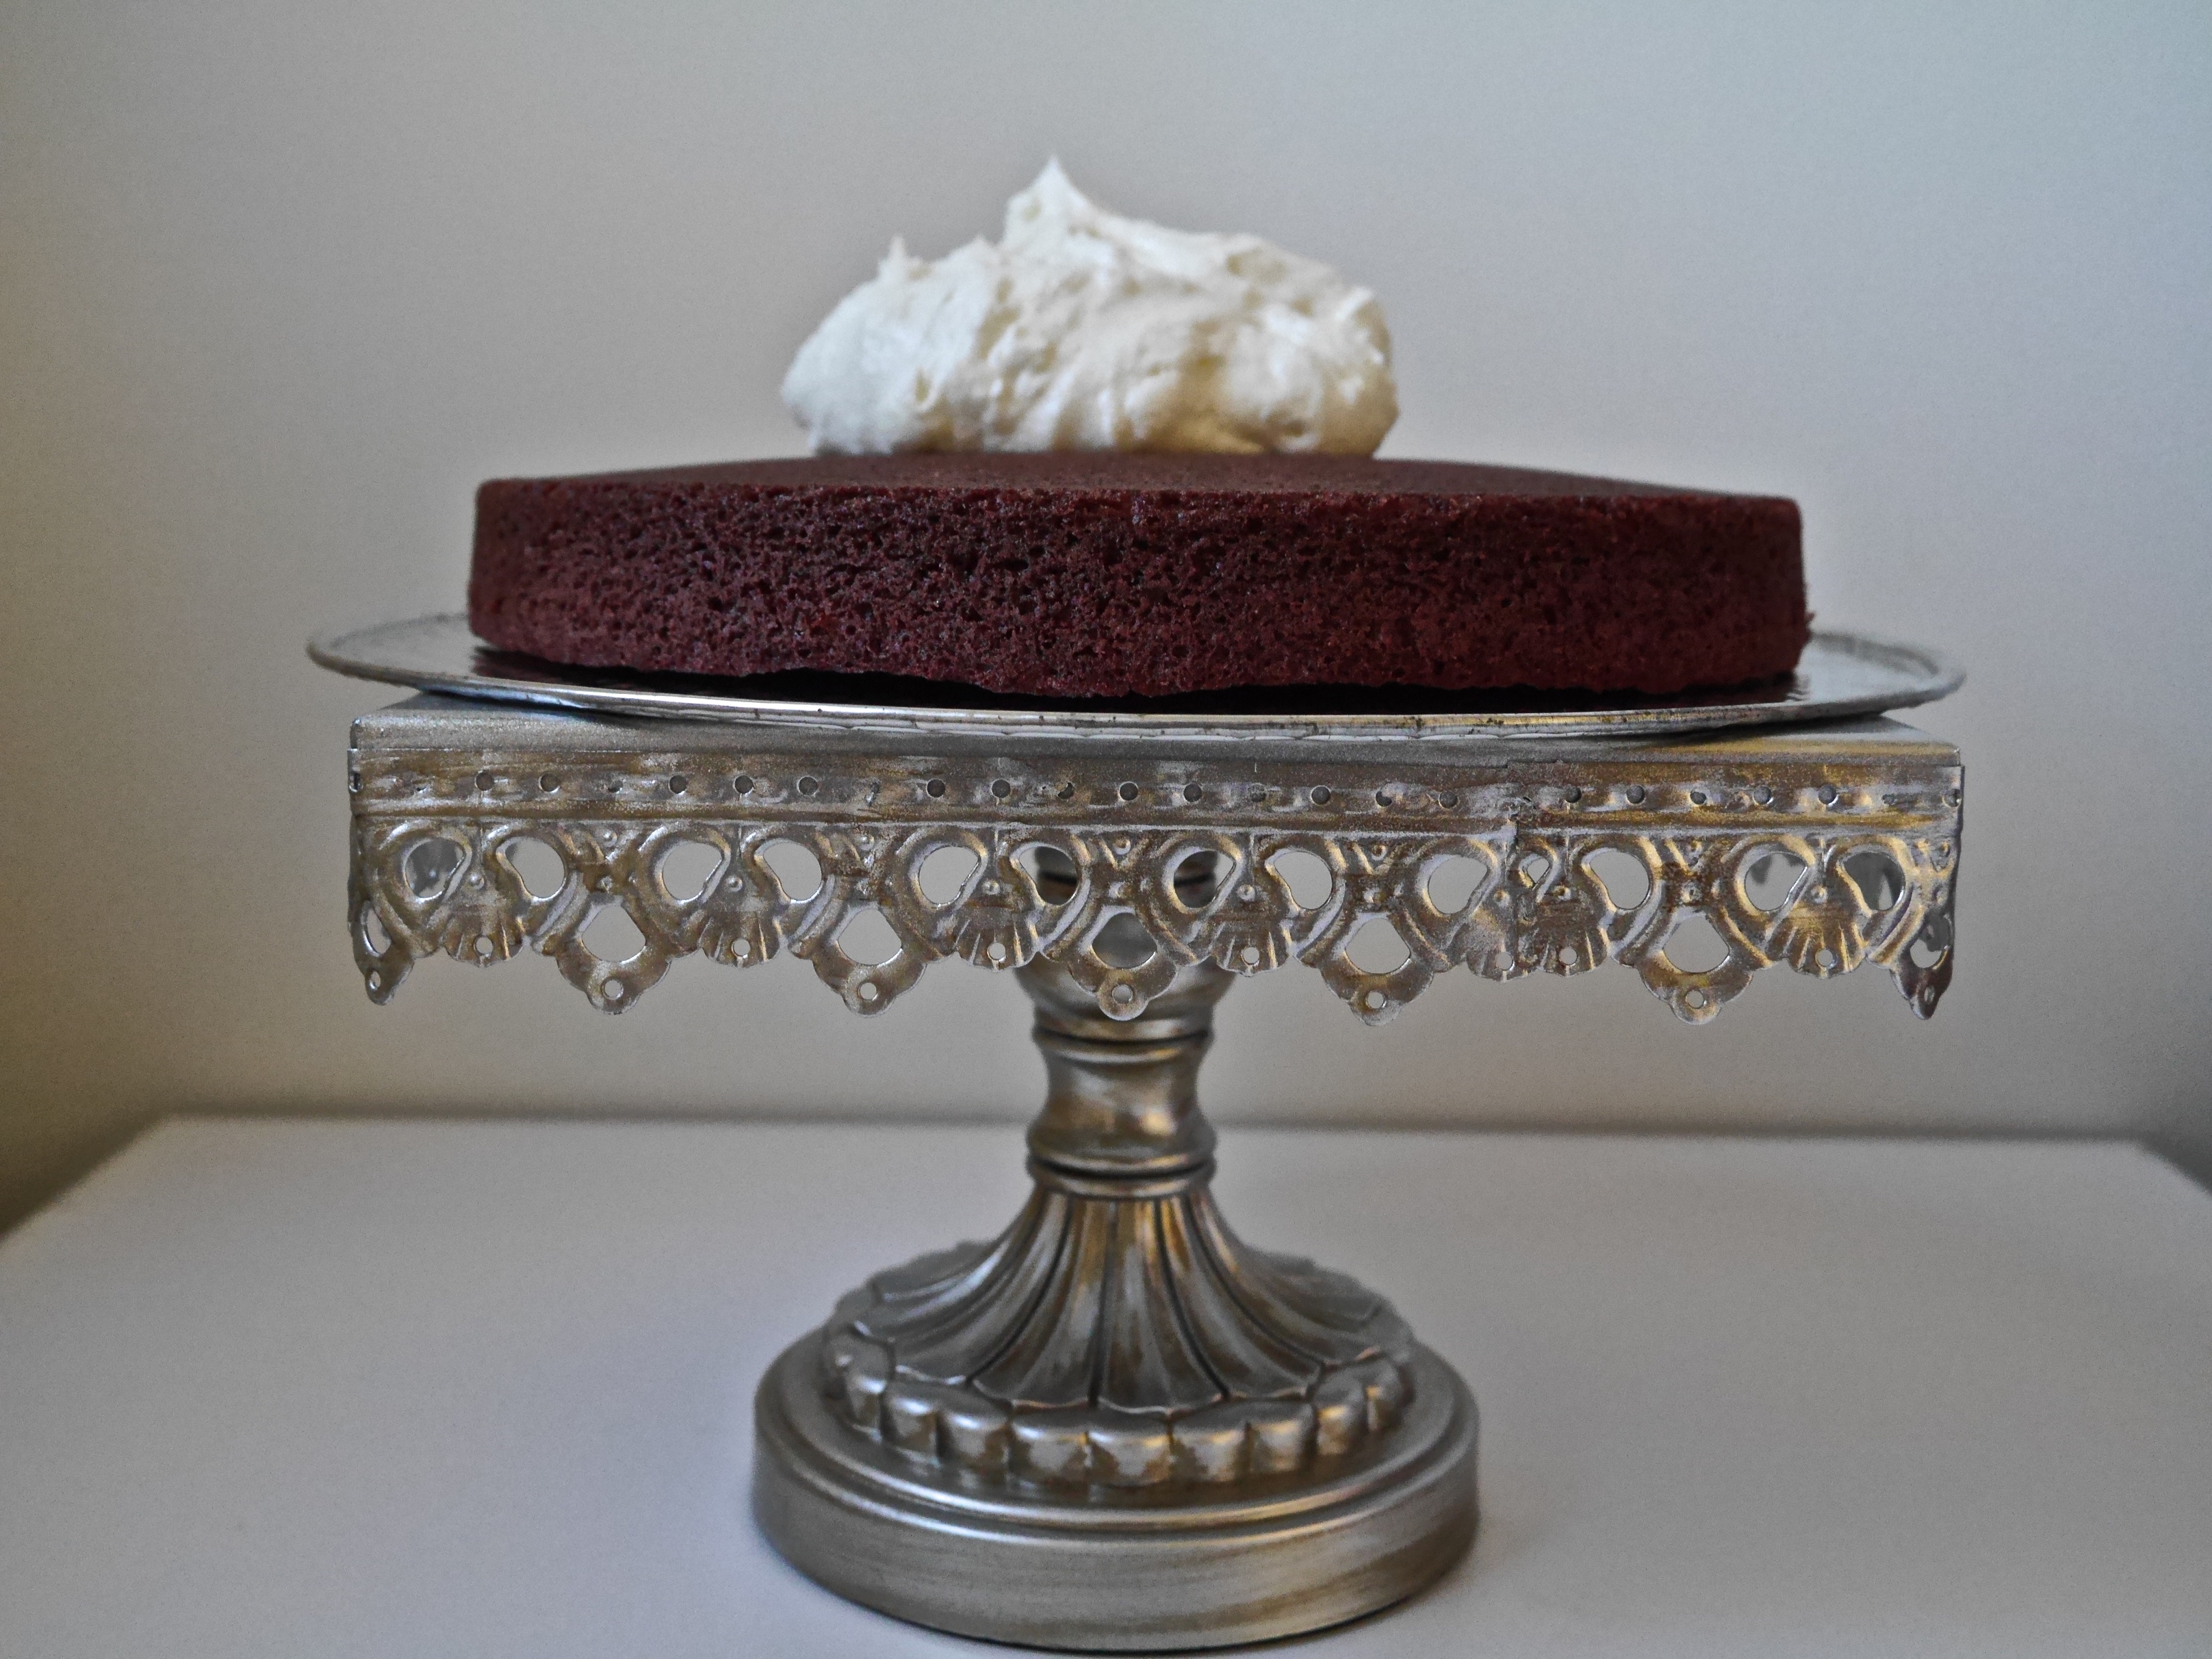
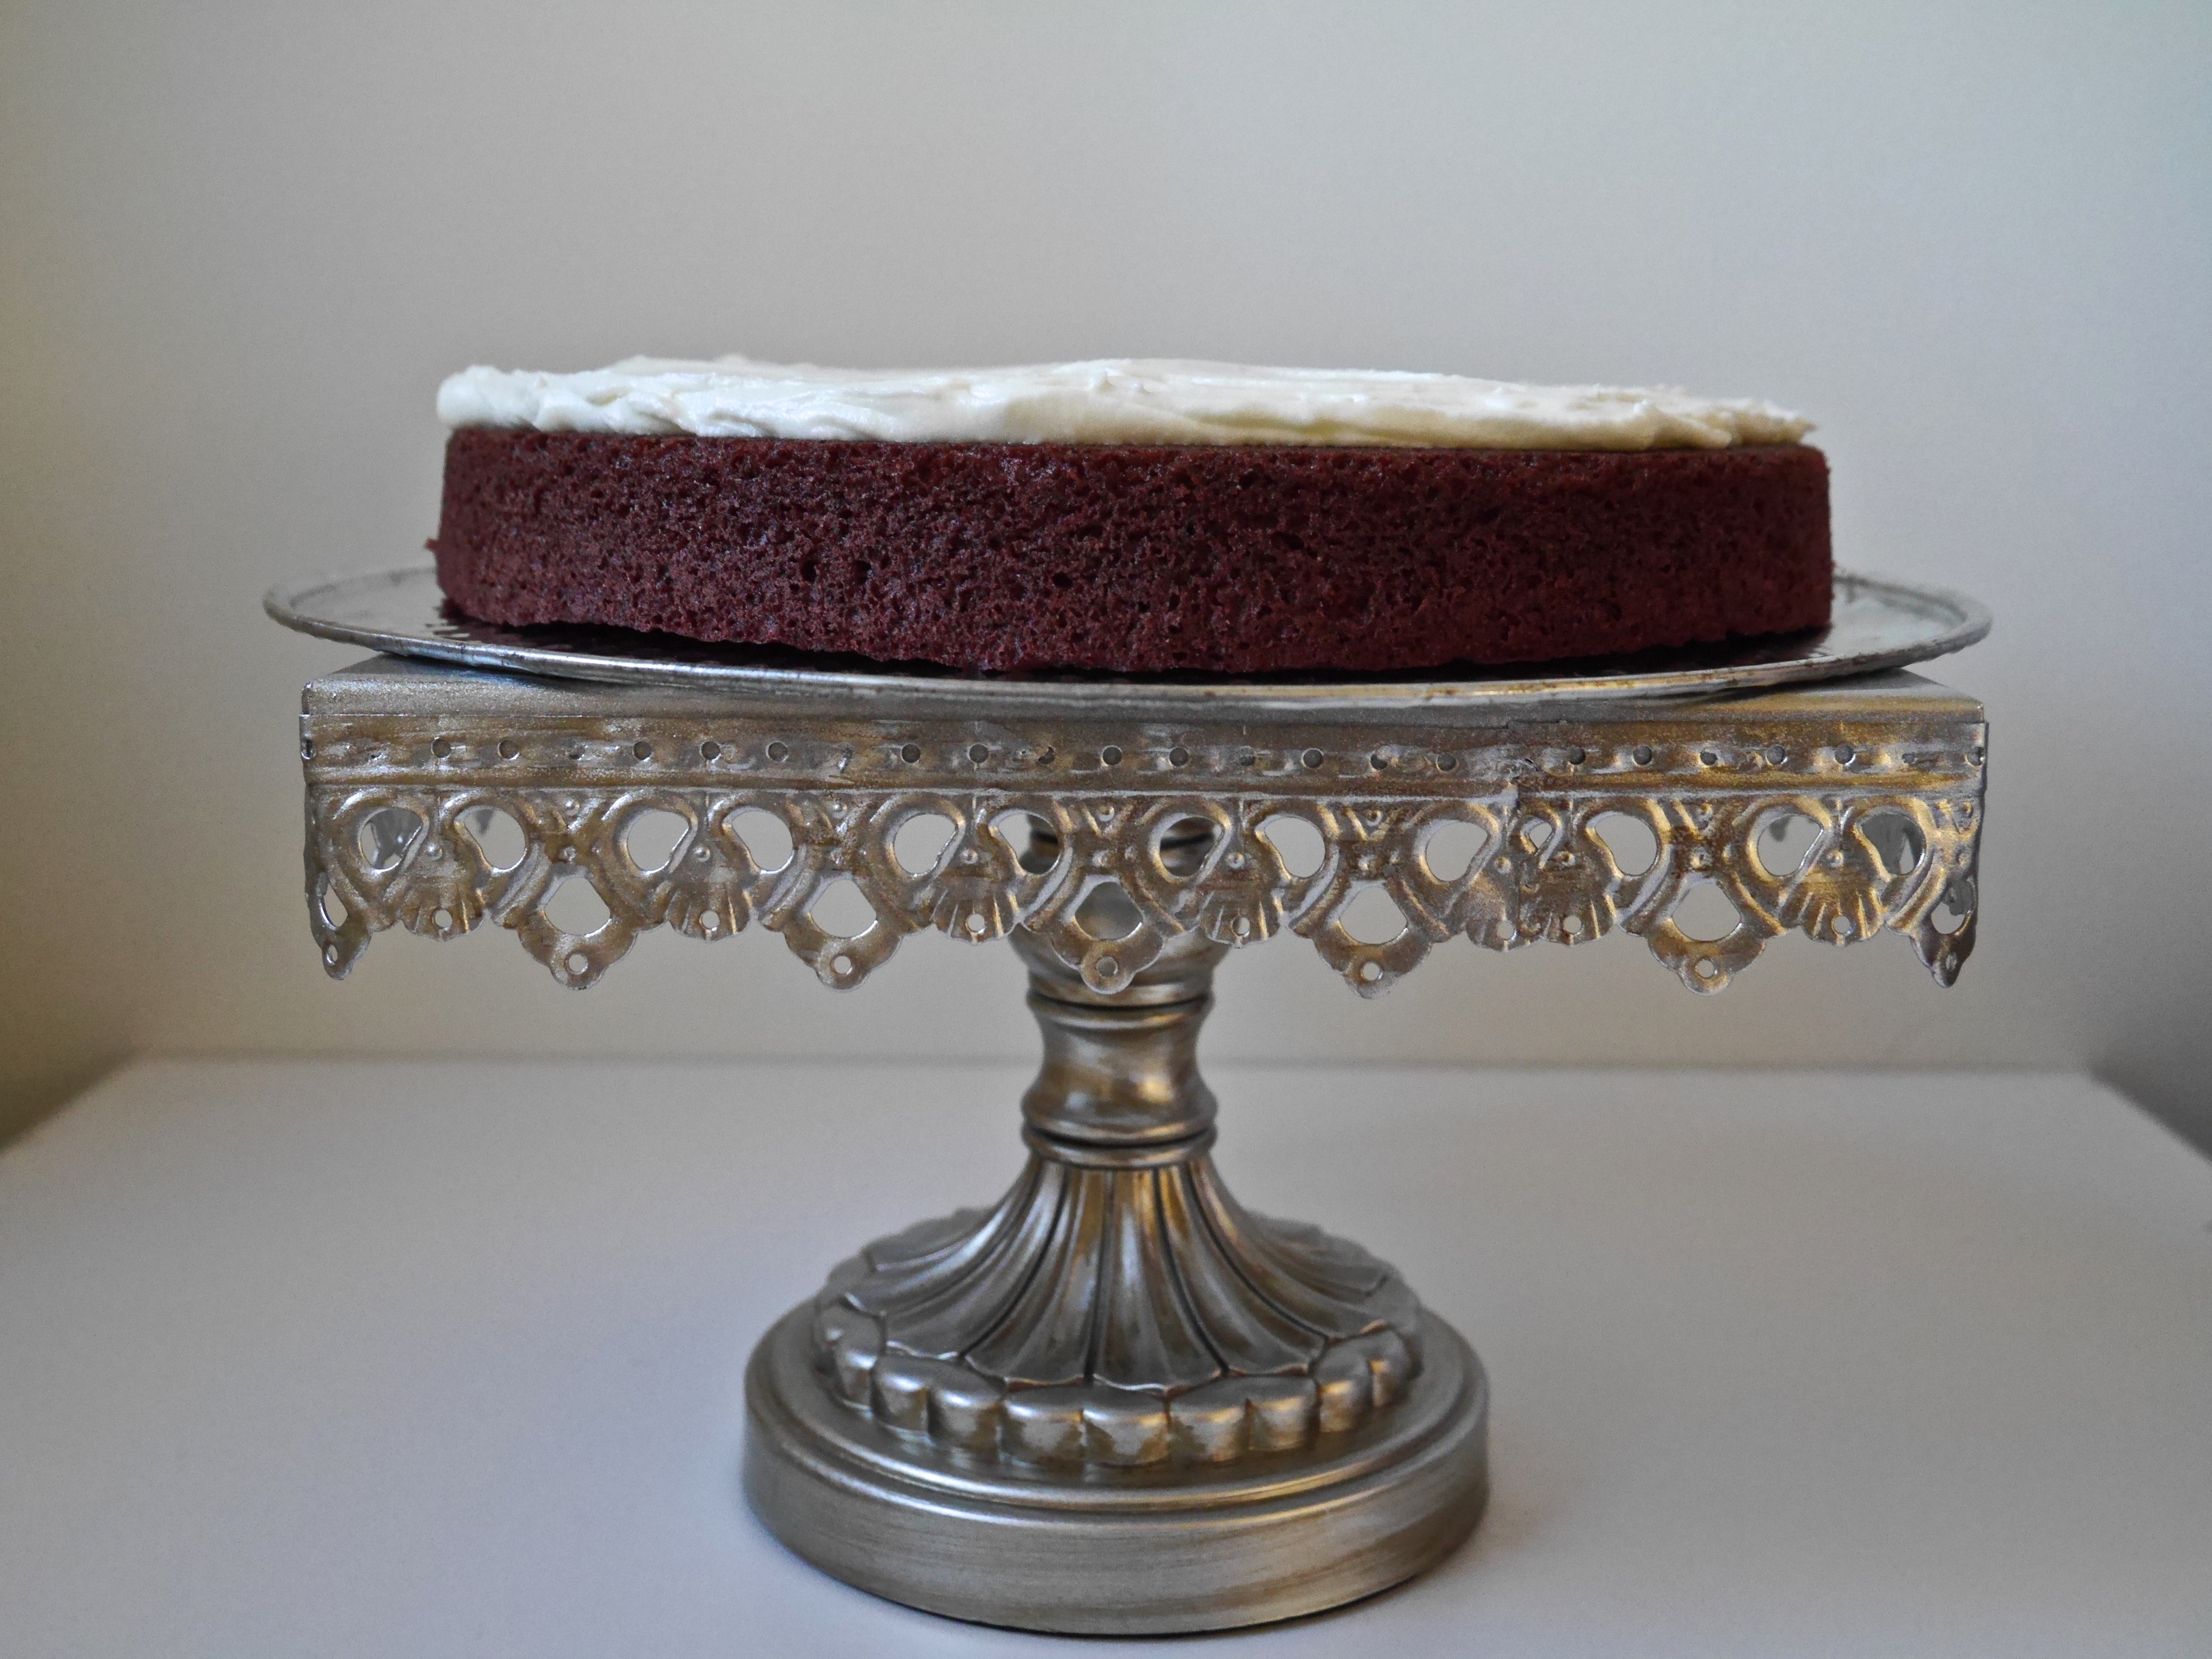
Now on to the fun part! Take your first cooled cake layer, and center it on a plate (I used the bottom from a spring form pan). Add a good dollop of icing, and spread into an even layer. I find a butter knife or offset spatula works best for this.
Please make sure your cake is very cool before you do this. If it’s not, the icing will slide right off.
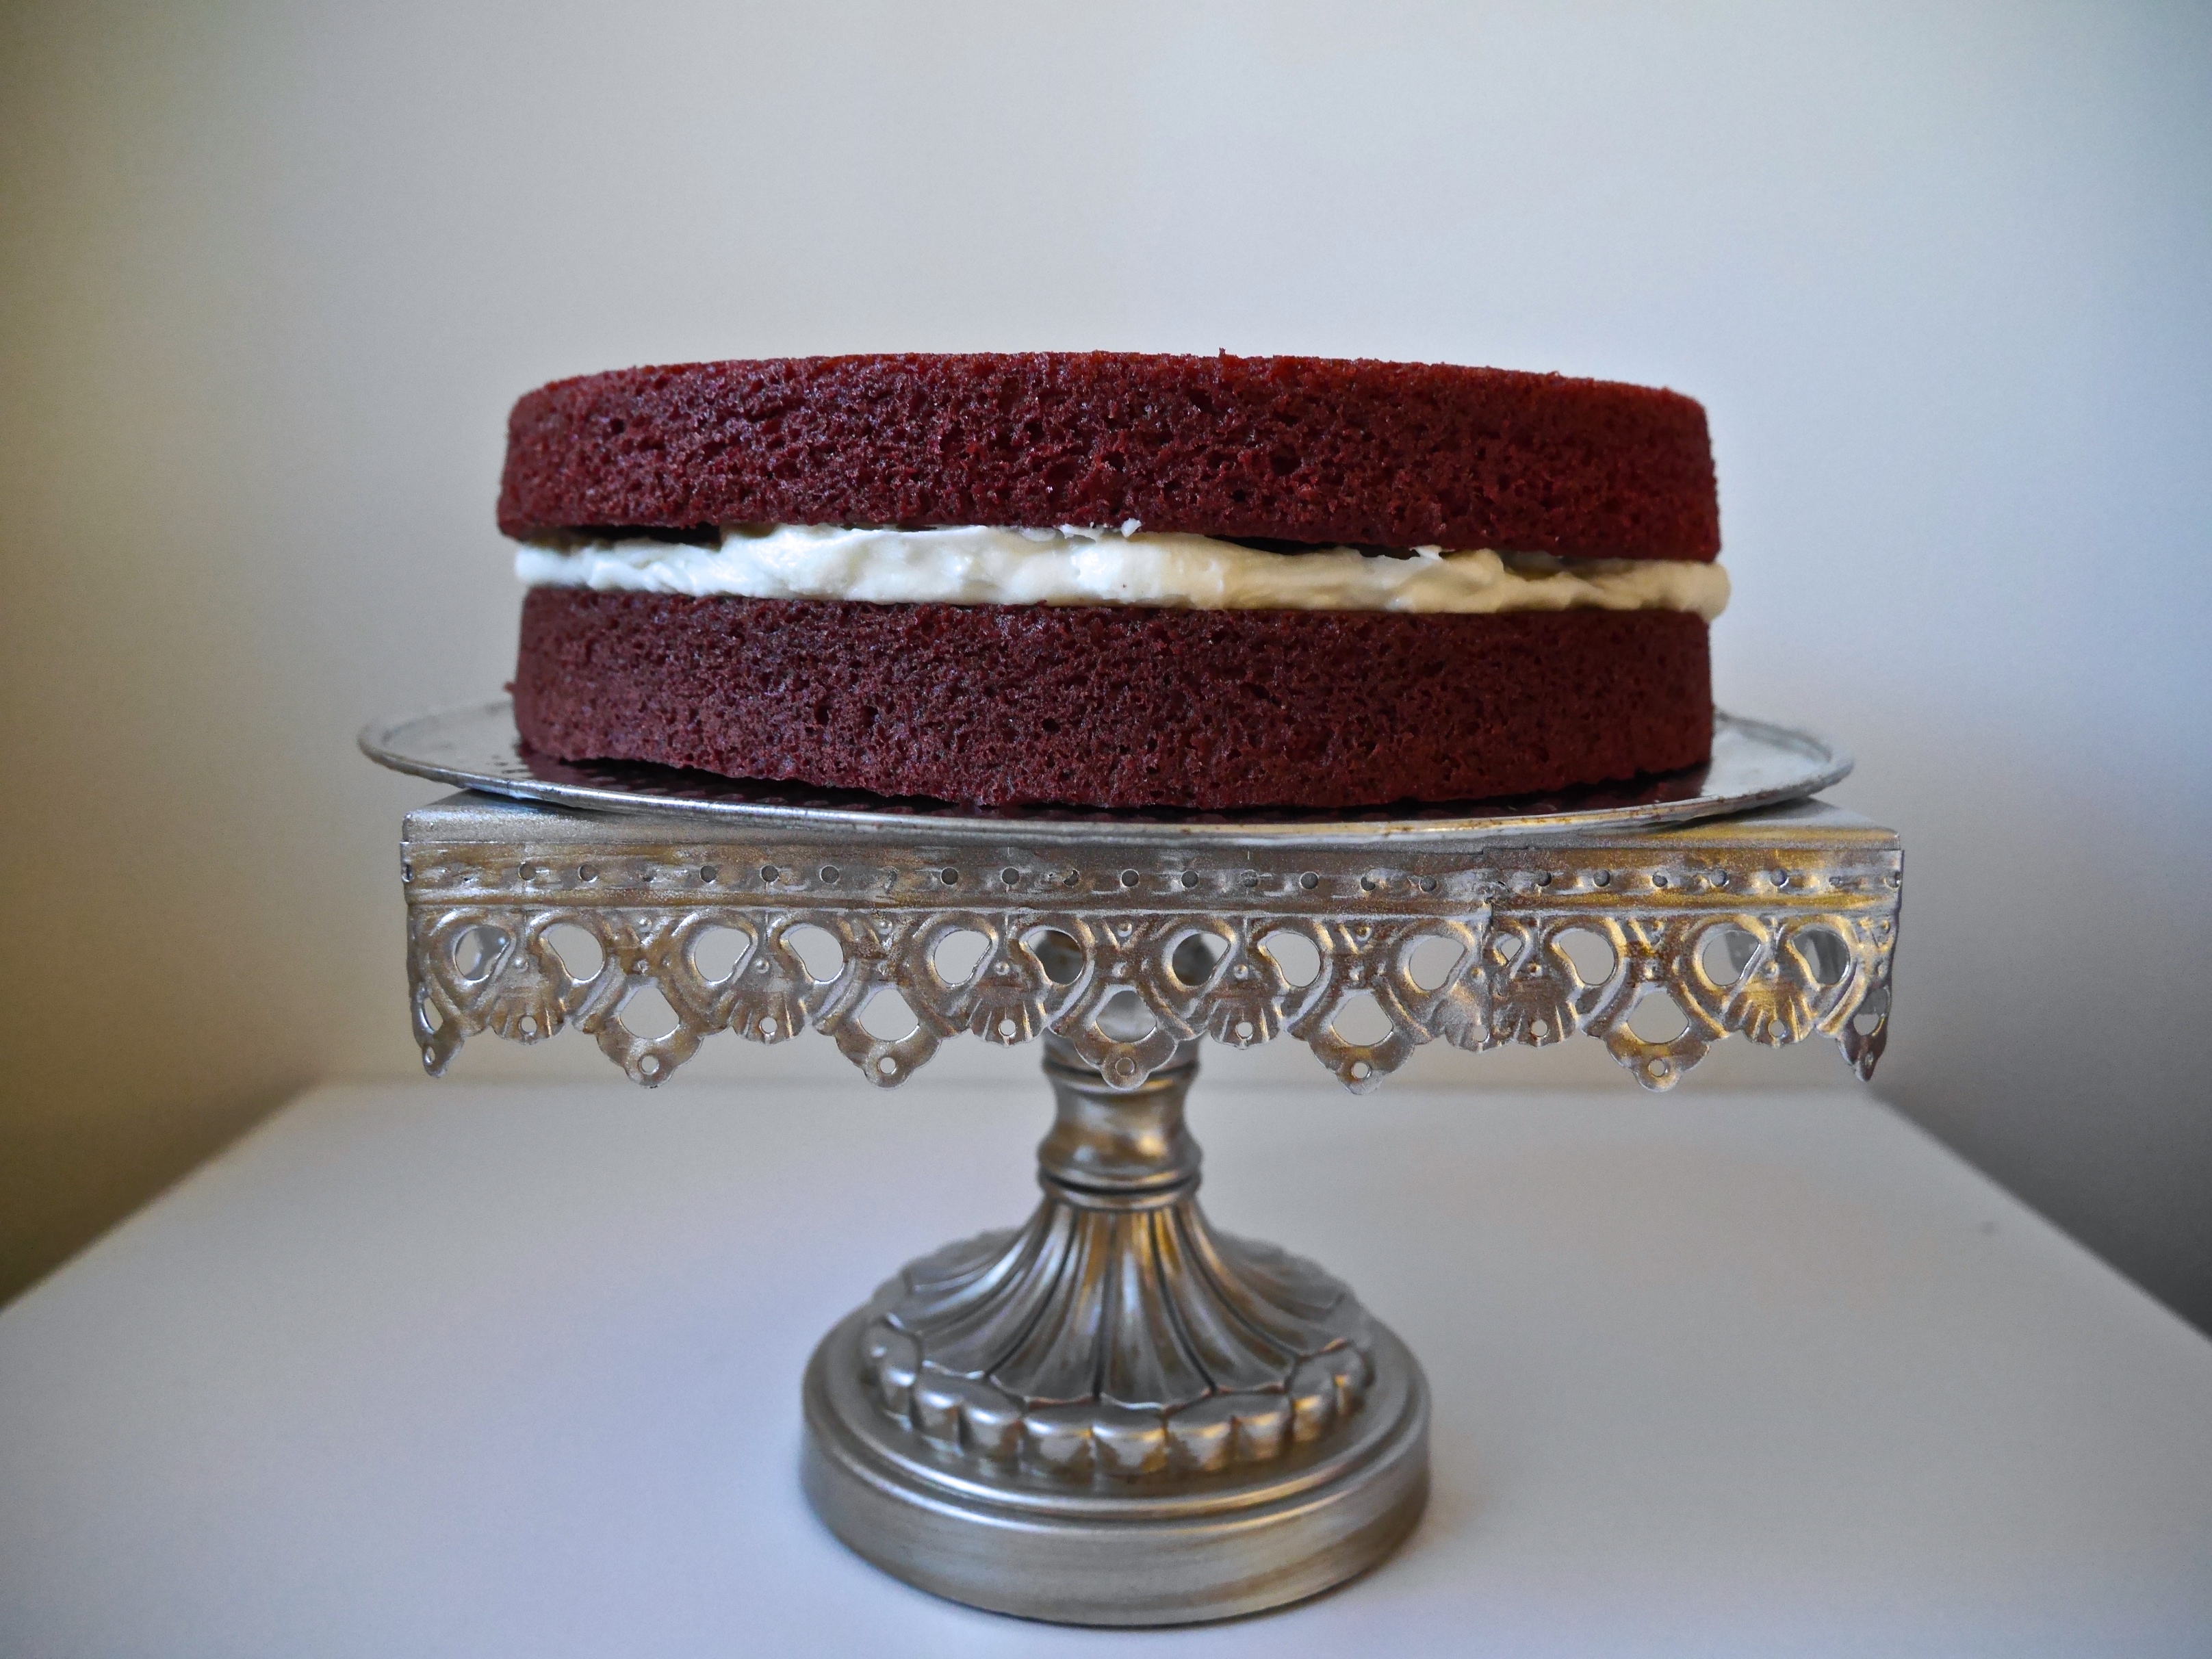
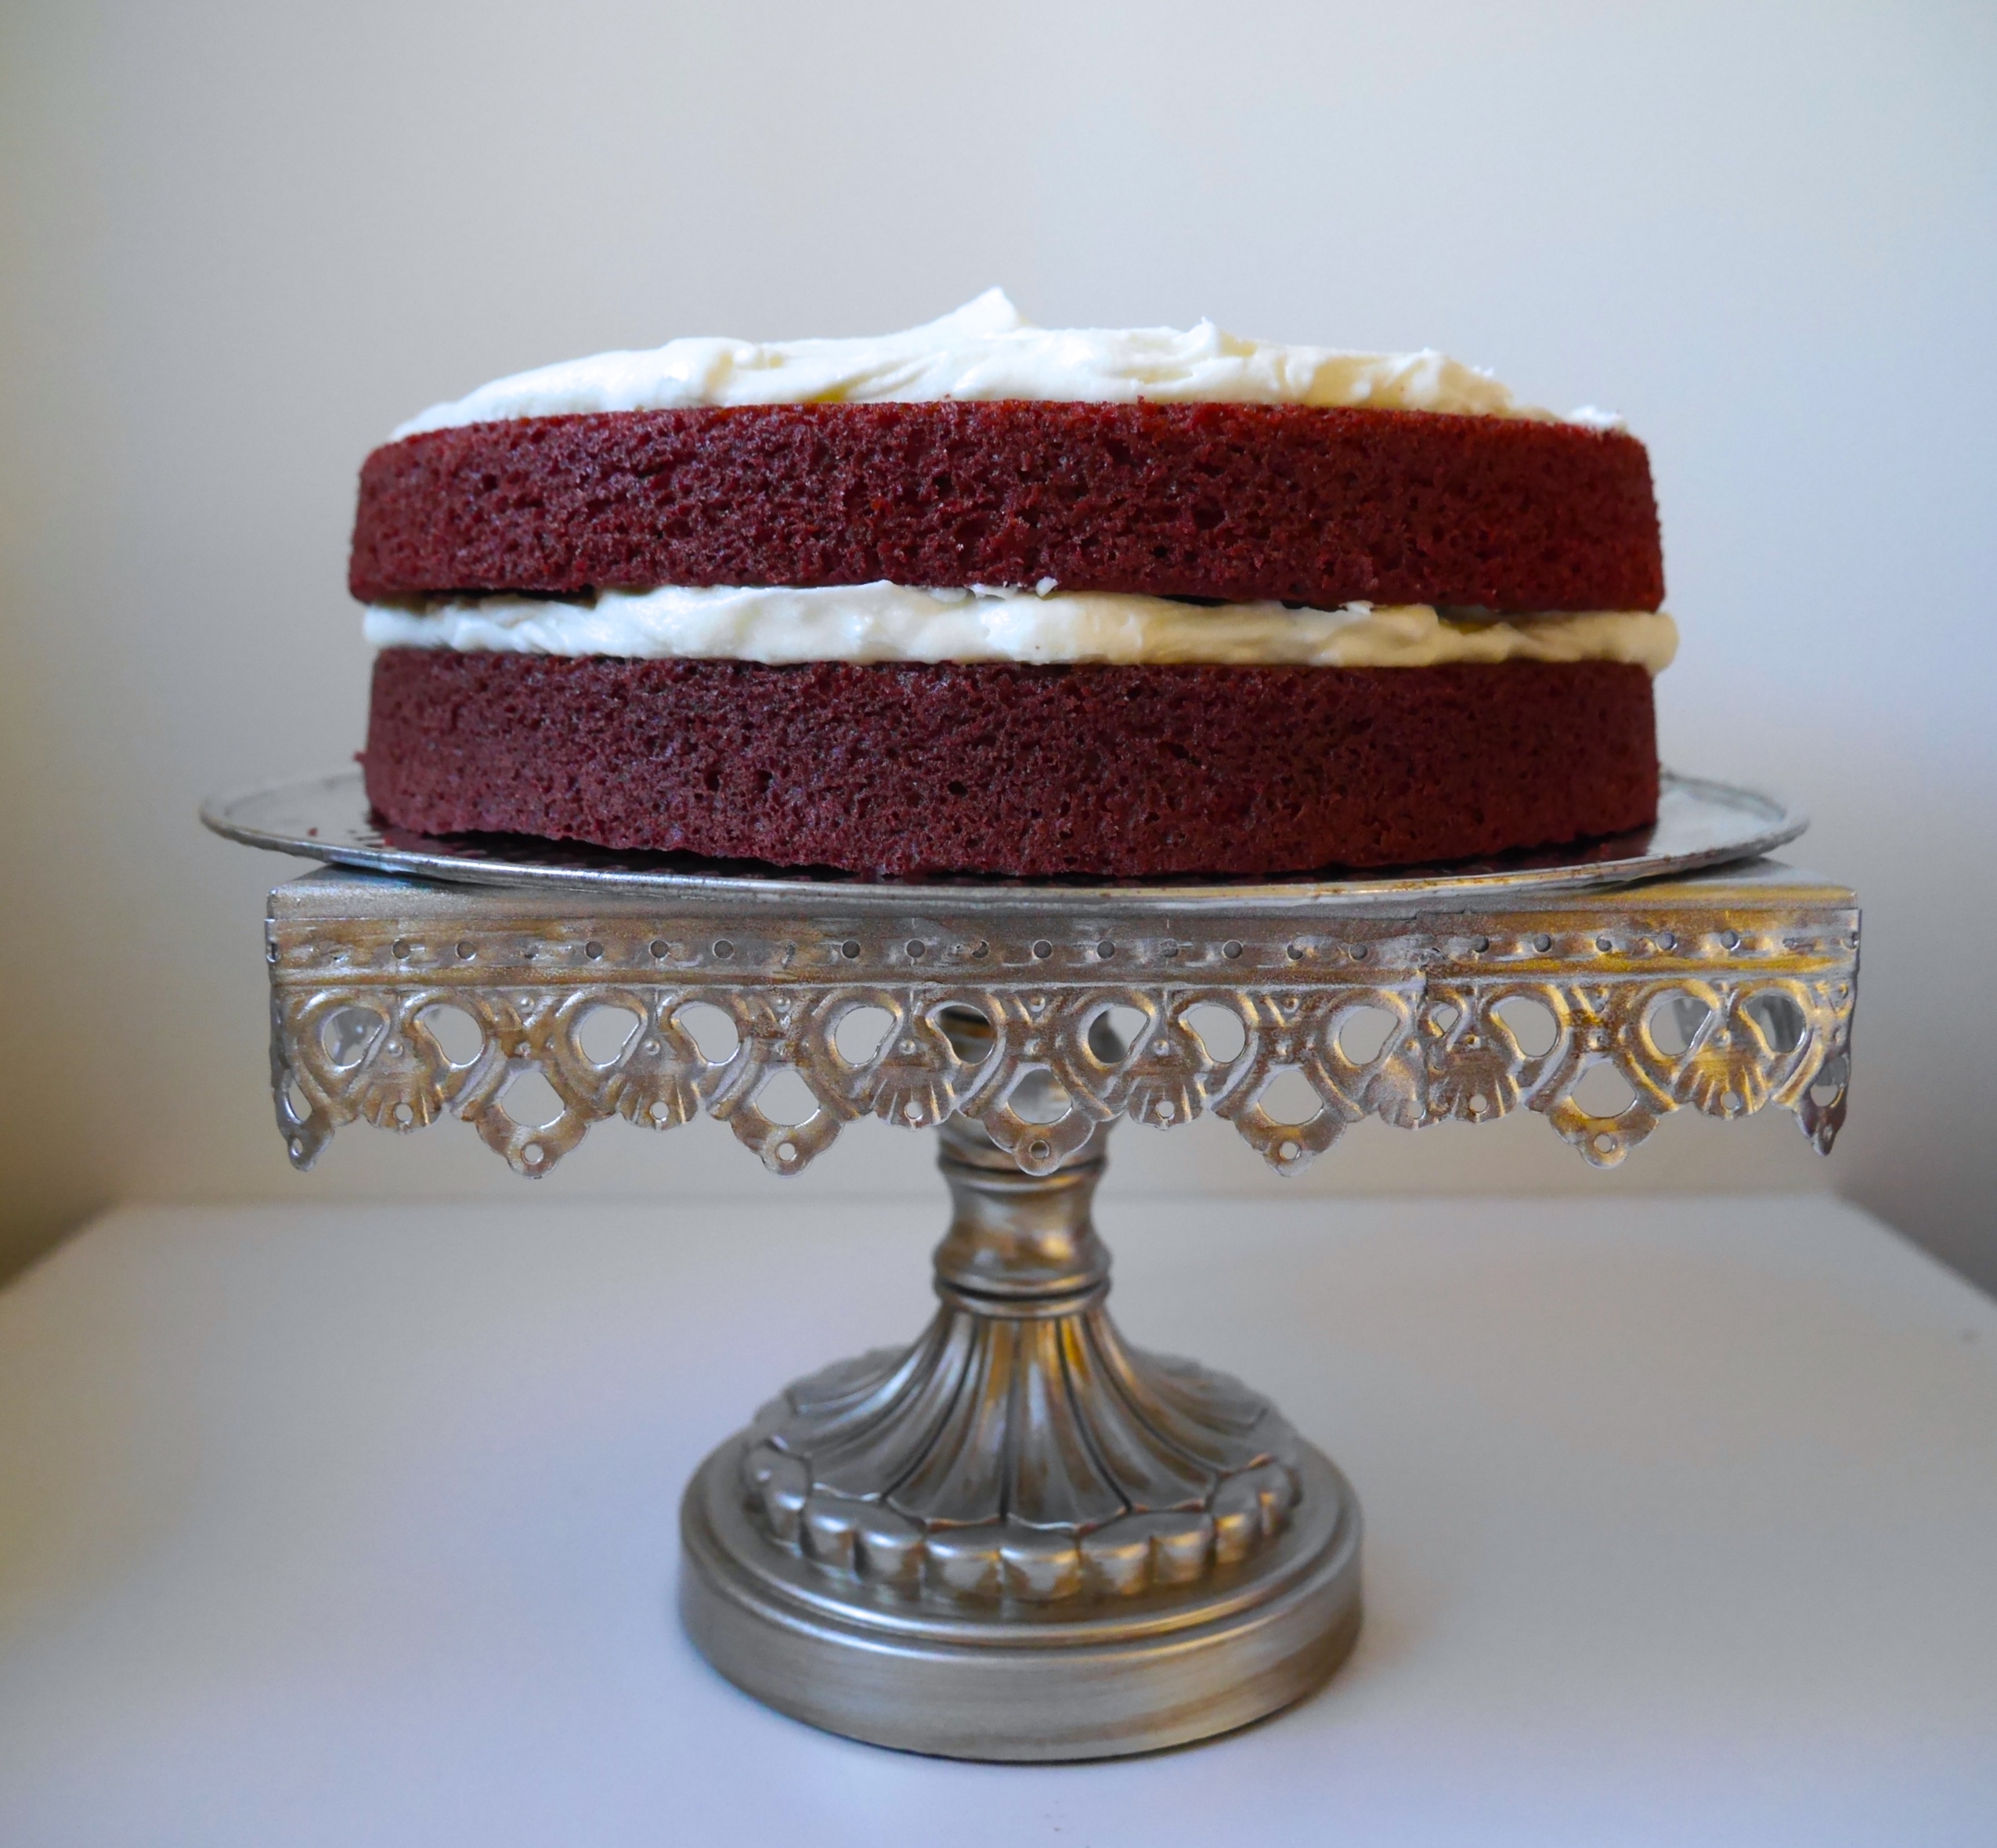
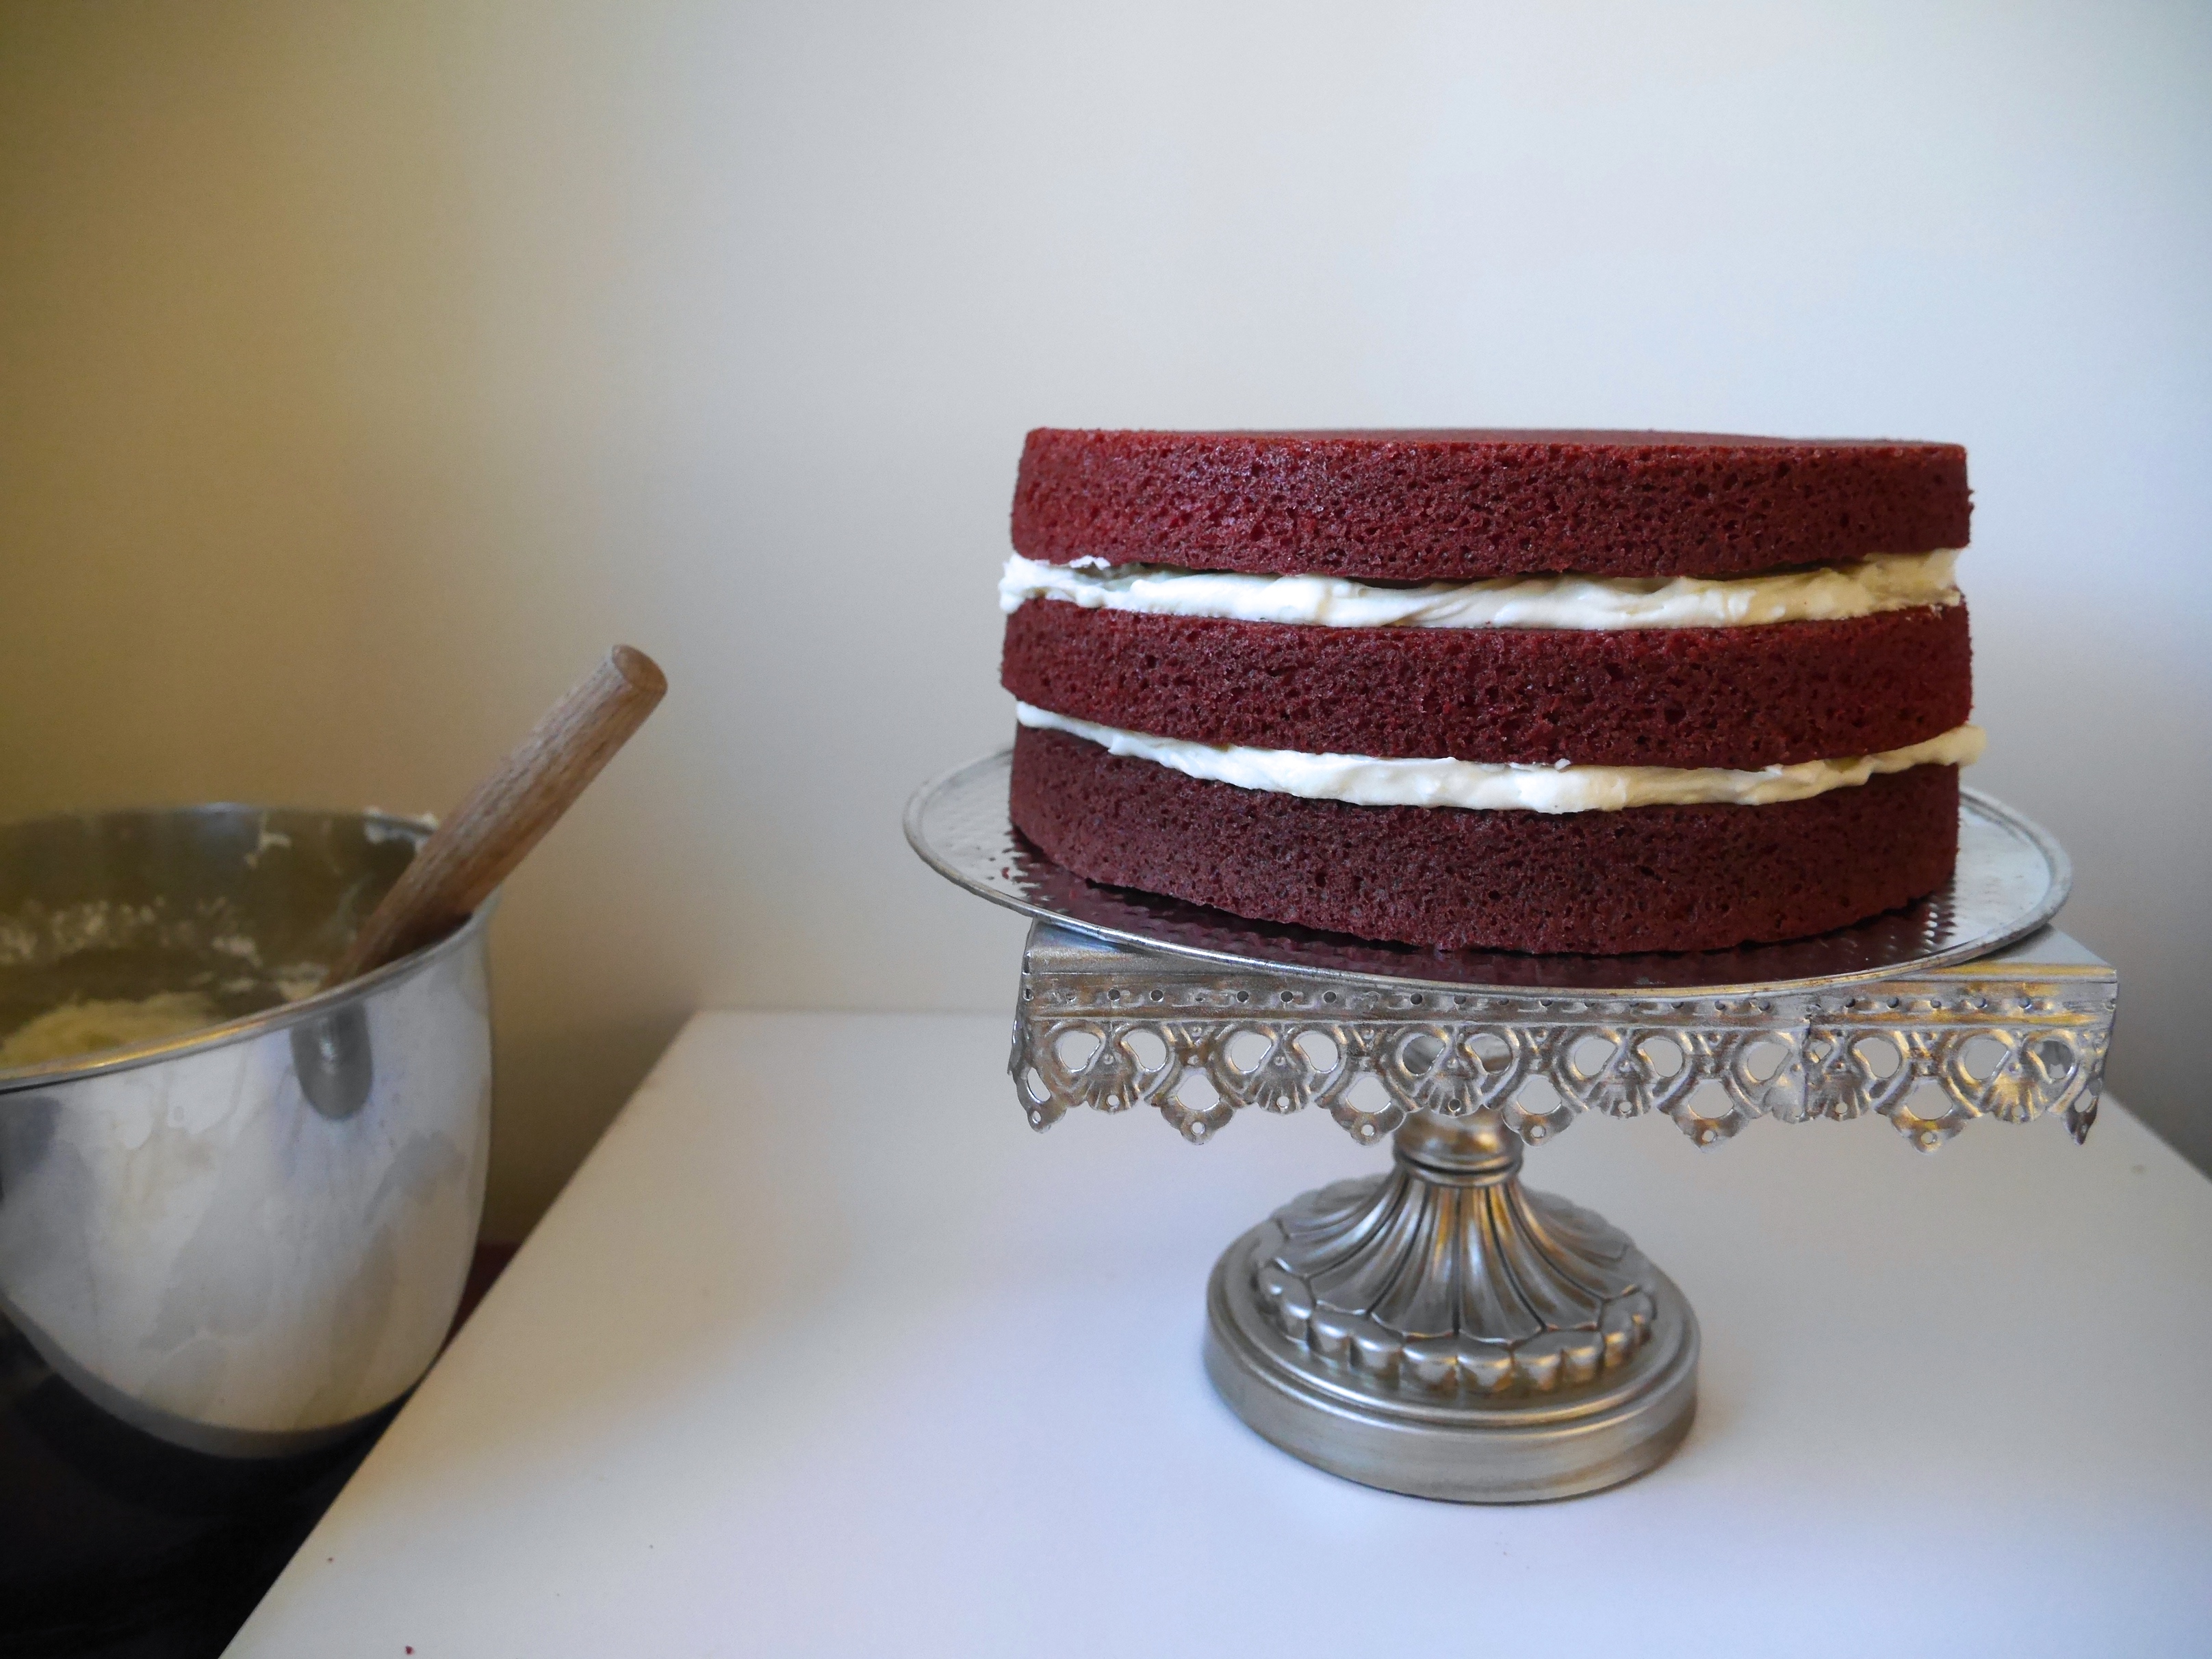
Repeat the same process with the next layer. At this point you should have a fairly tall cake with icing in between the layers.
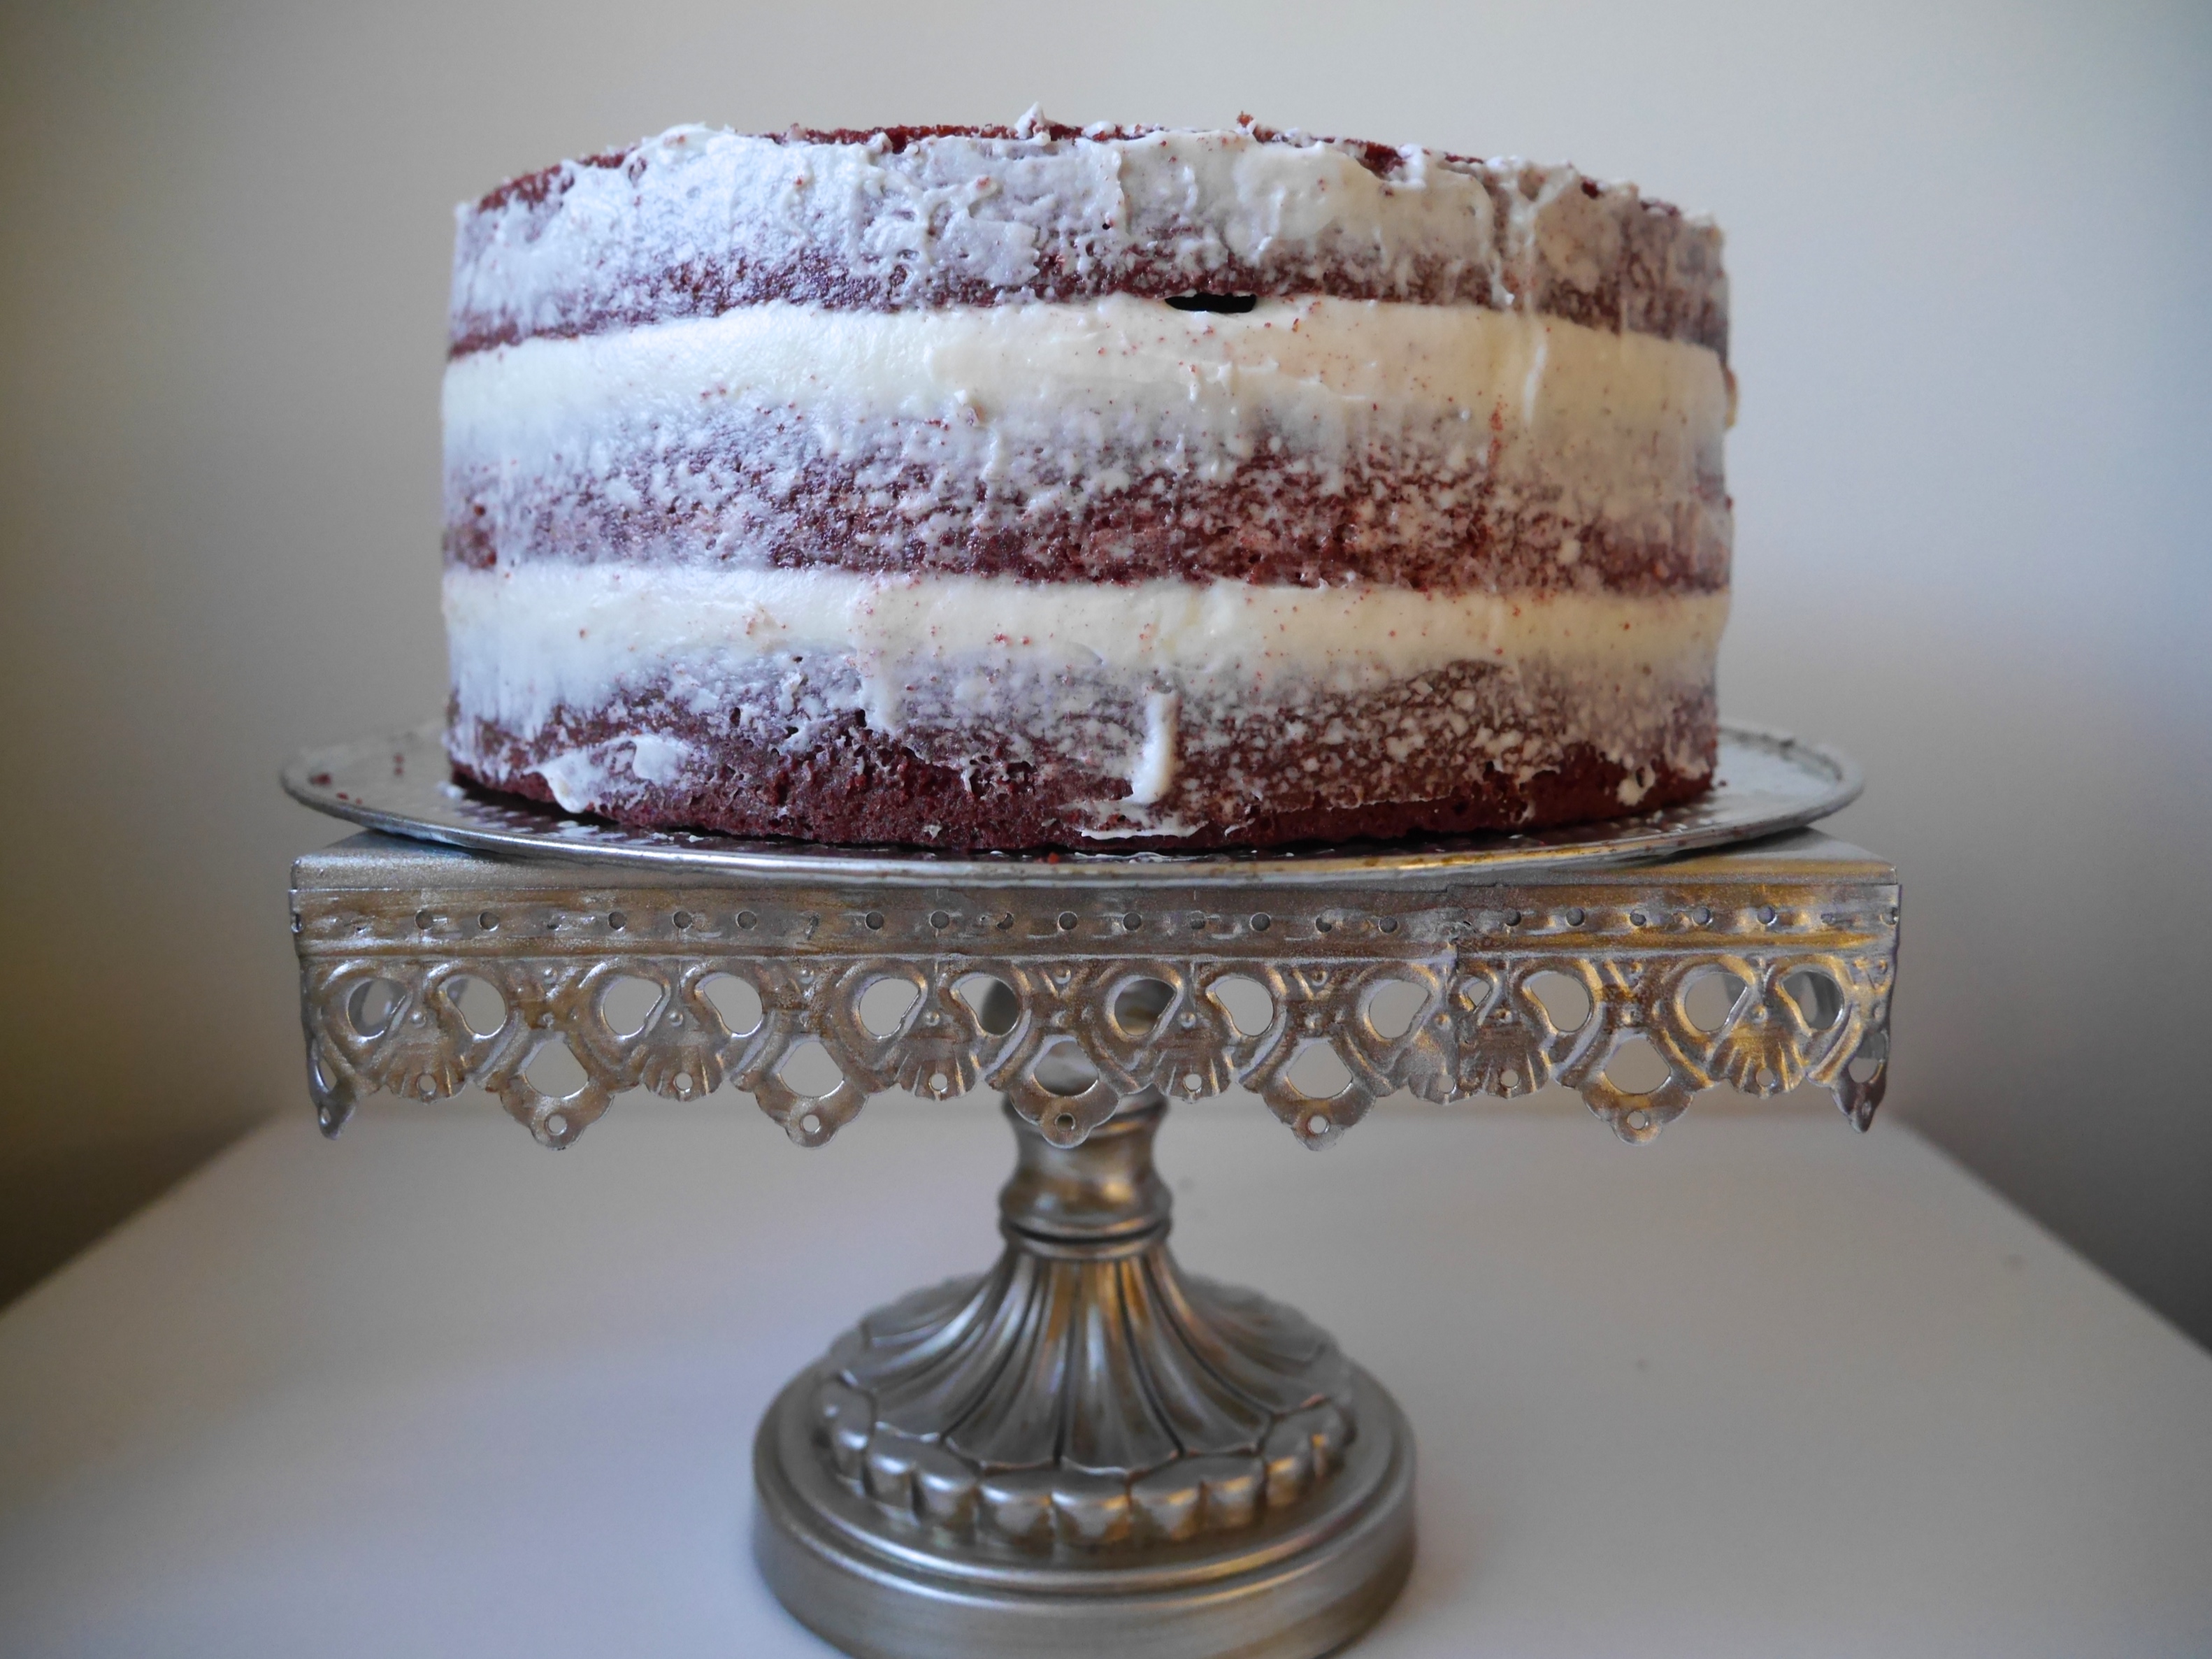
The next step is super important if you want the outside of the cake to be very white. It’s called making a “crumb coat”.
What this very thin layer of icing all over the cake does is it keeps any of the crumbs that come off the cake when you first ice it from getting into the final layer of icing. The cake is so vividly red and it looks amazing against the stark white icing, so don’t skip this step!
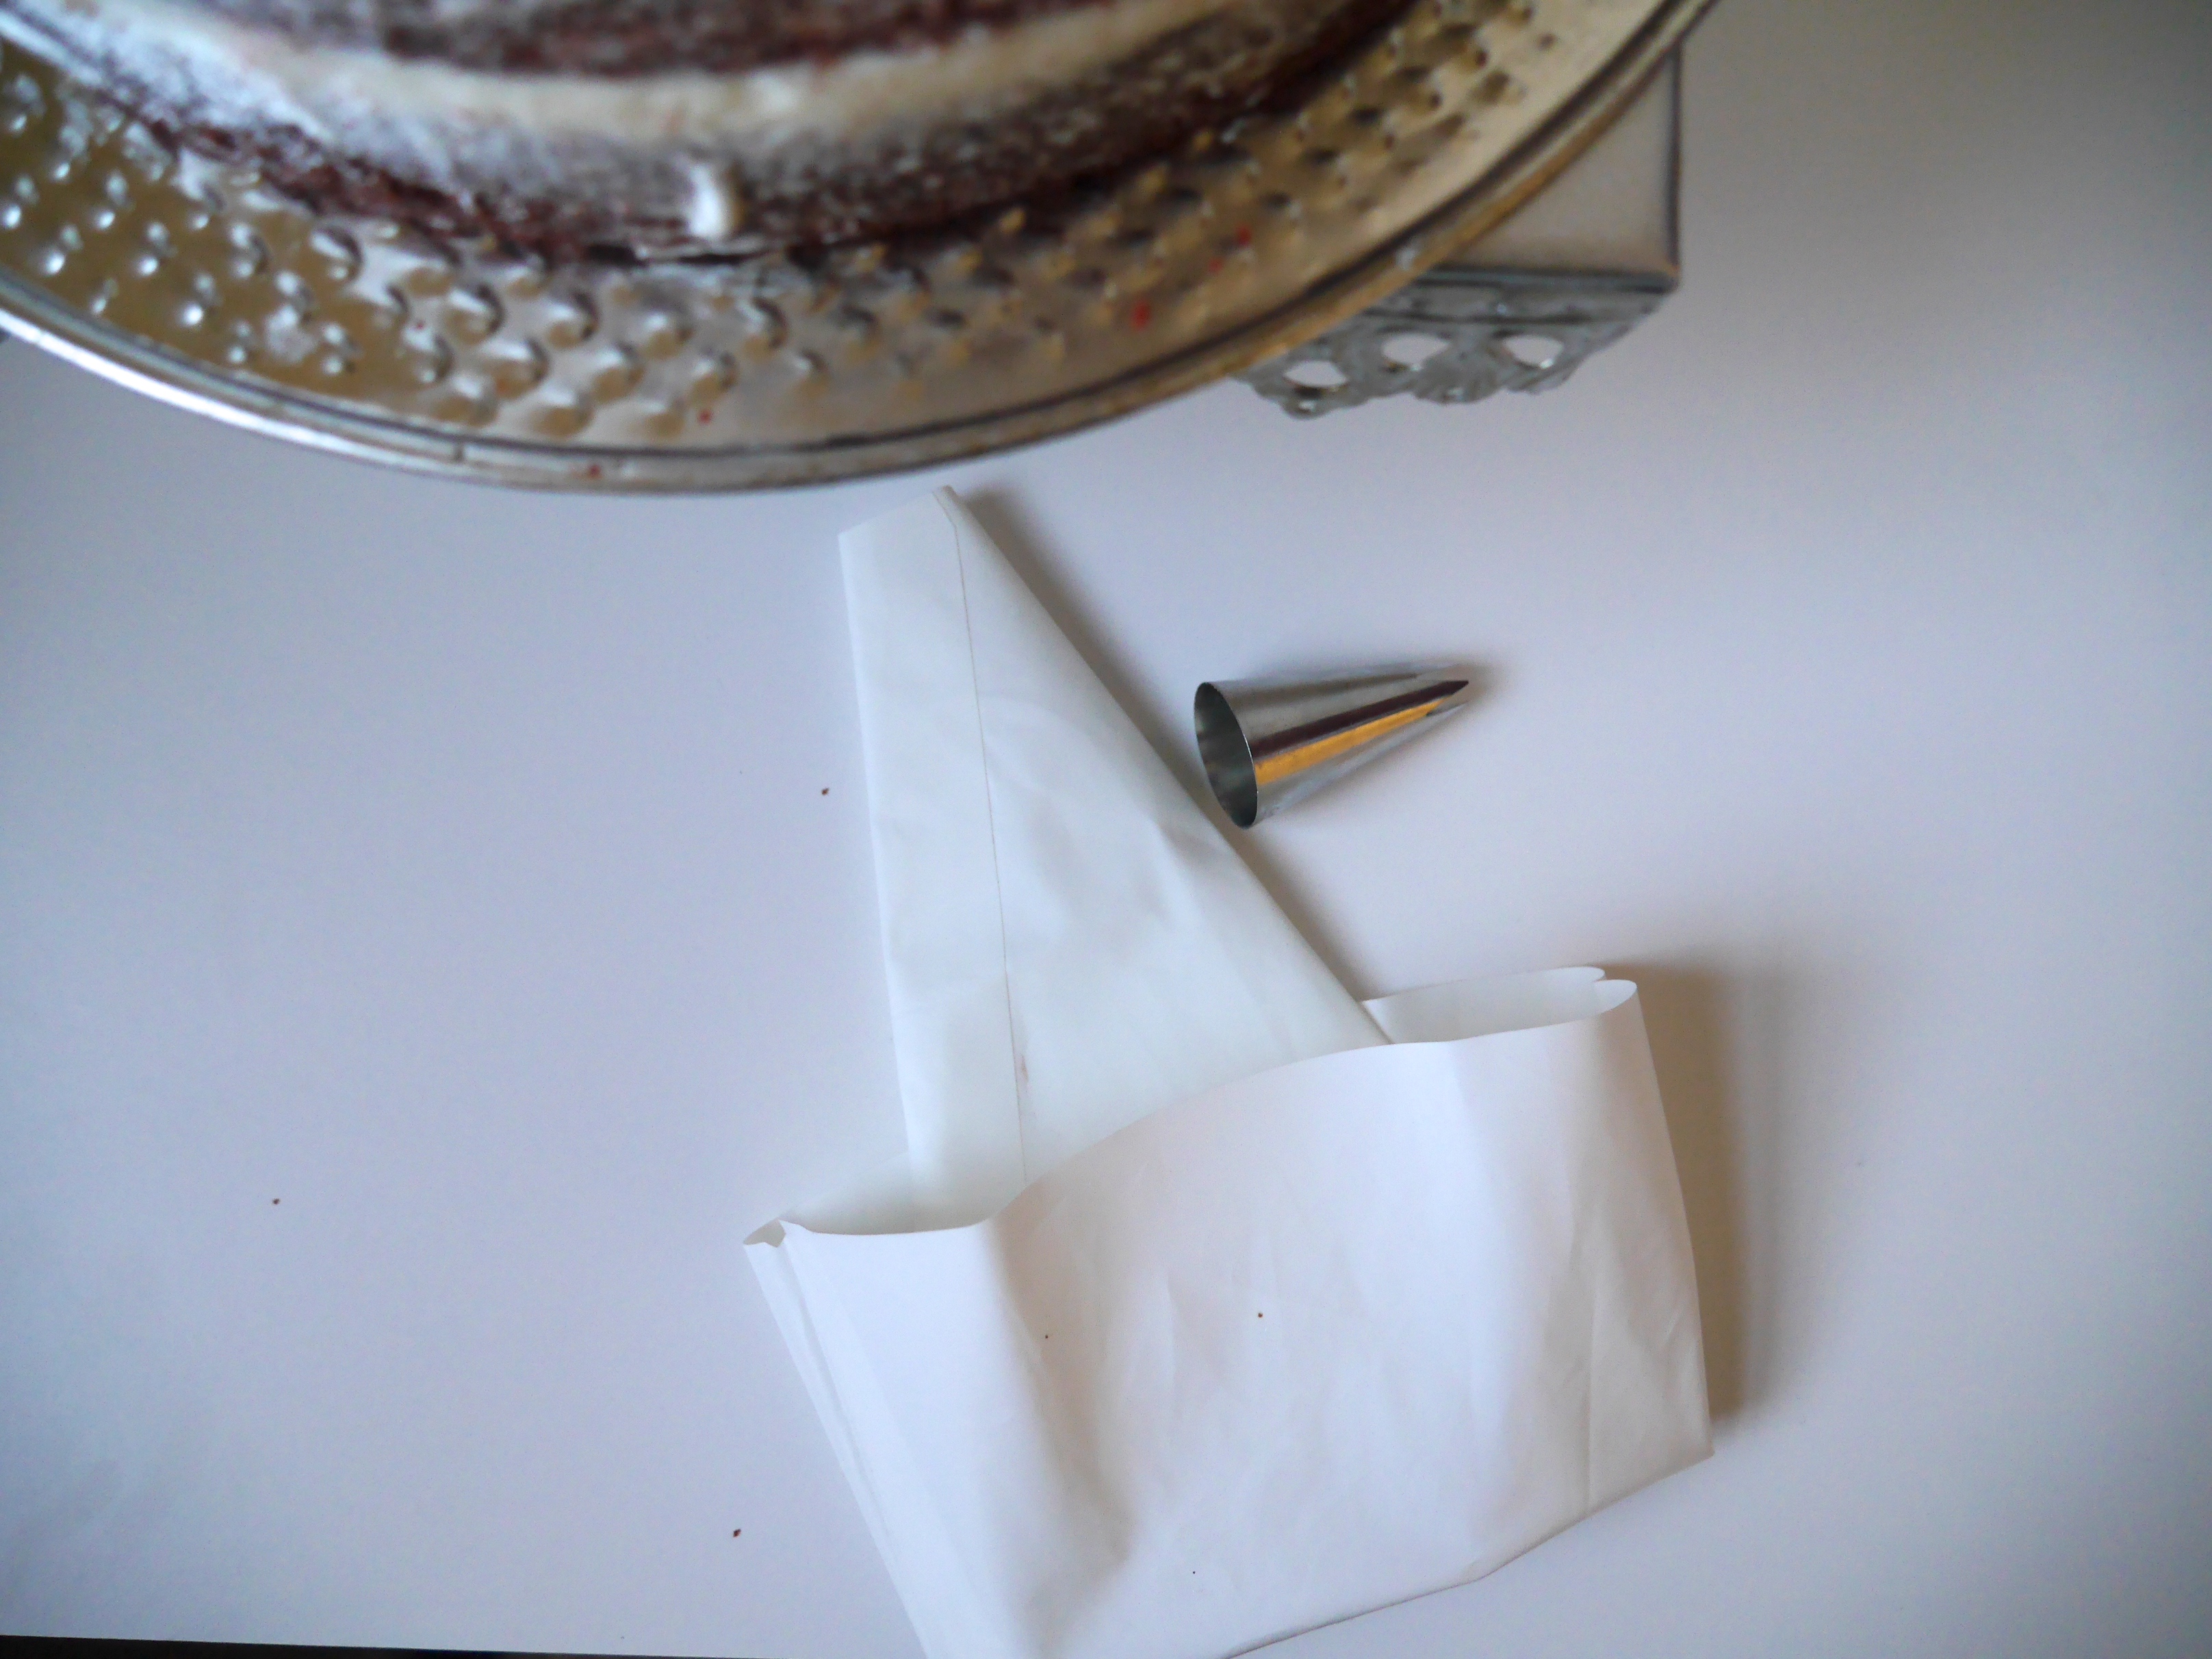
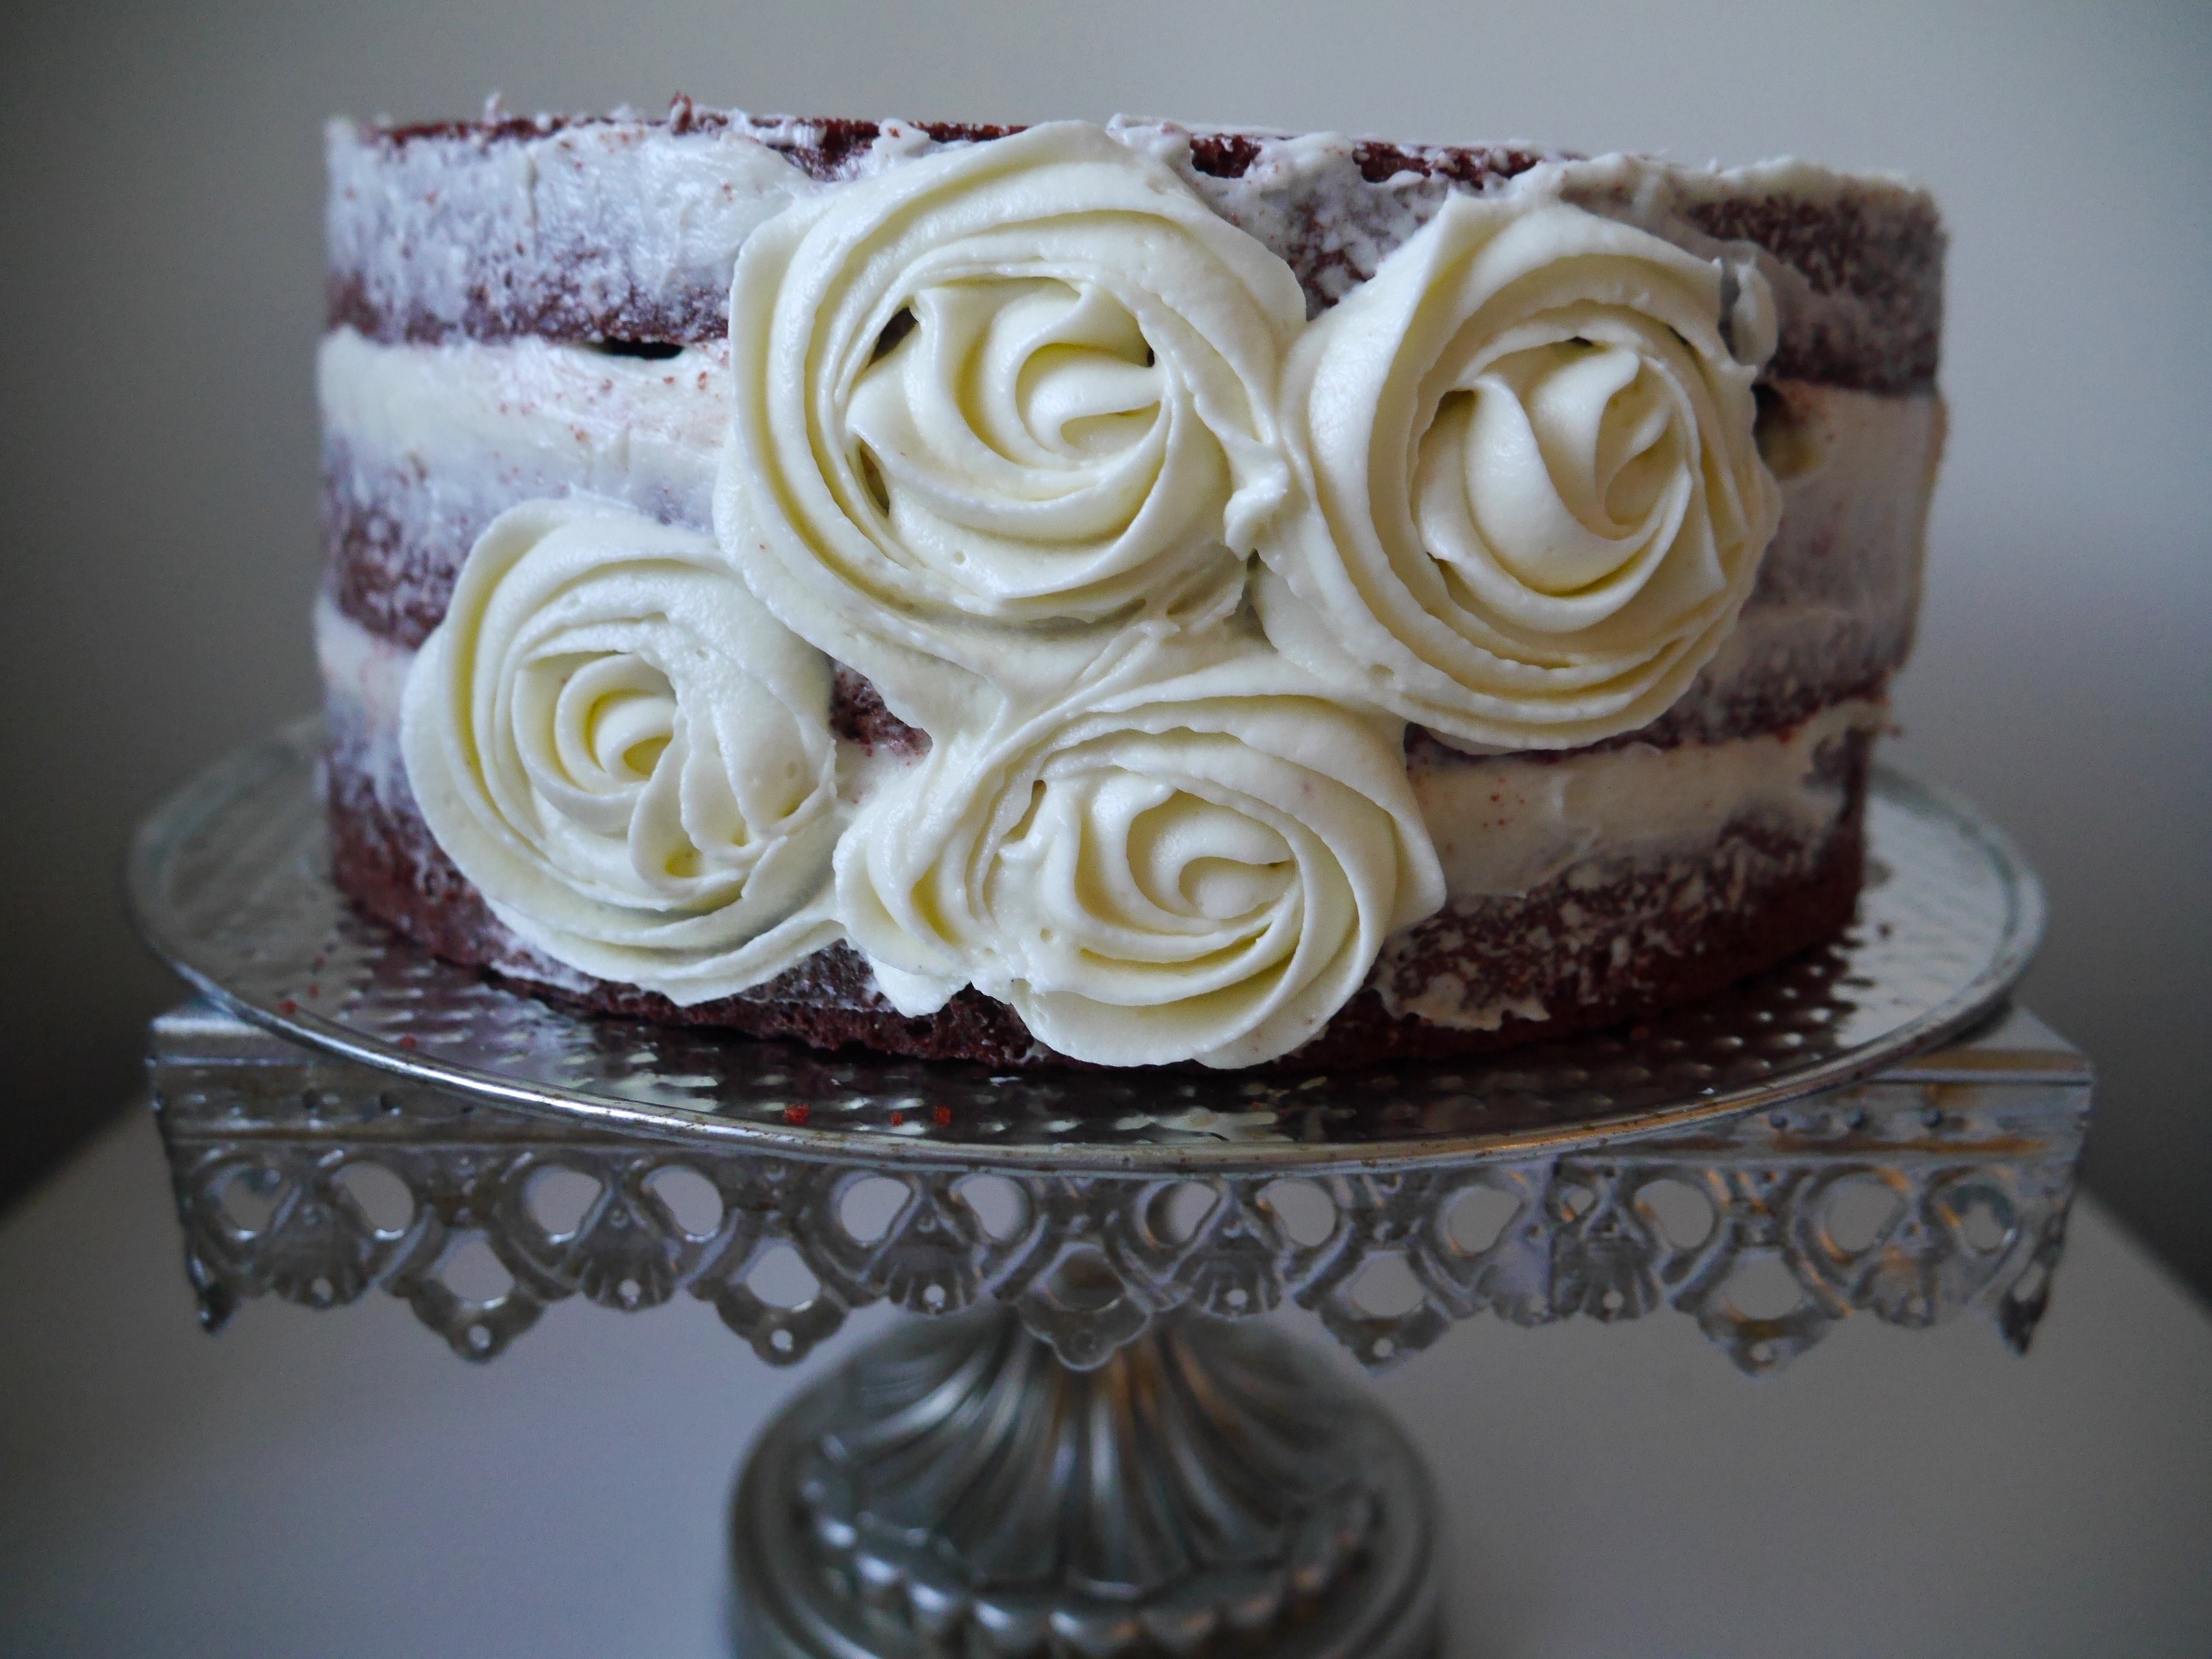
If you don’t feel like making the roses, simply do a thick coat of icing on top of the crumb coat.
However, if you really want to go all out, grab a pastry bag (or a ziploc) and a Wilton 1M pastry tip. The roses are amazingly easy: simply squeeze the icing out of the pastry bag as you make a swirl motion. Here is a great tutorial that taught me how to do it.
I did roses all over the cake, and then where there were spaces in between roses I did just a dot of icing using that same star tip.
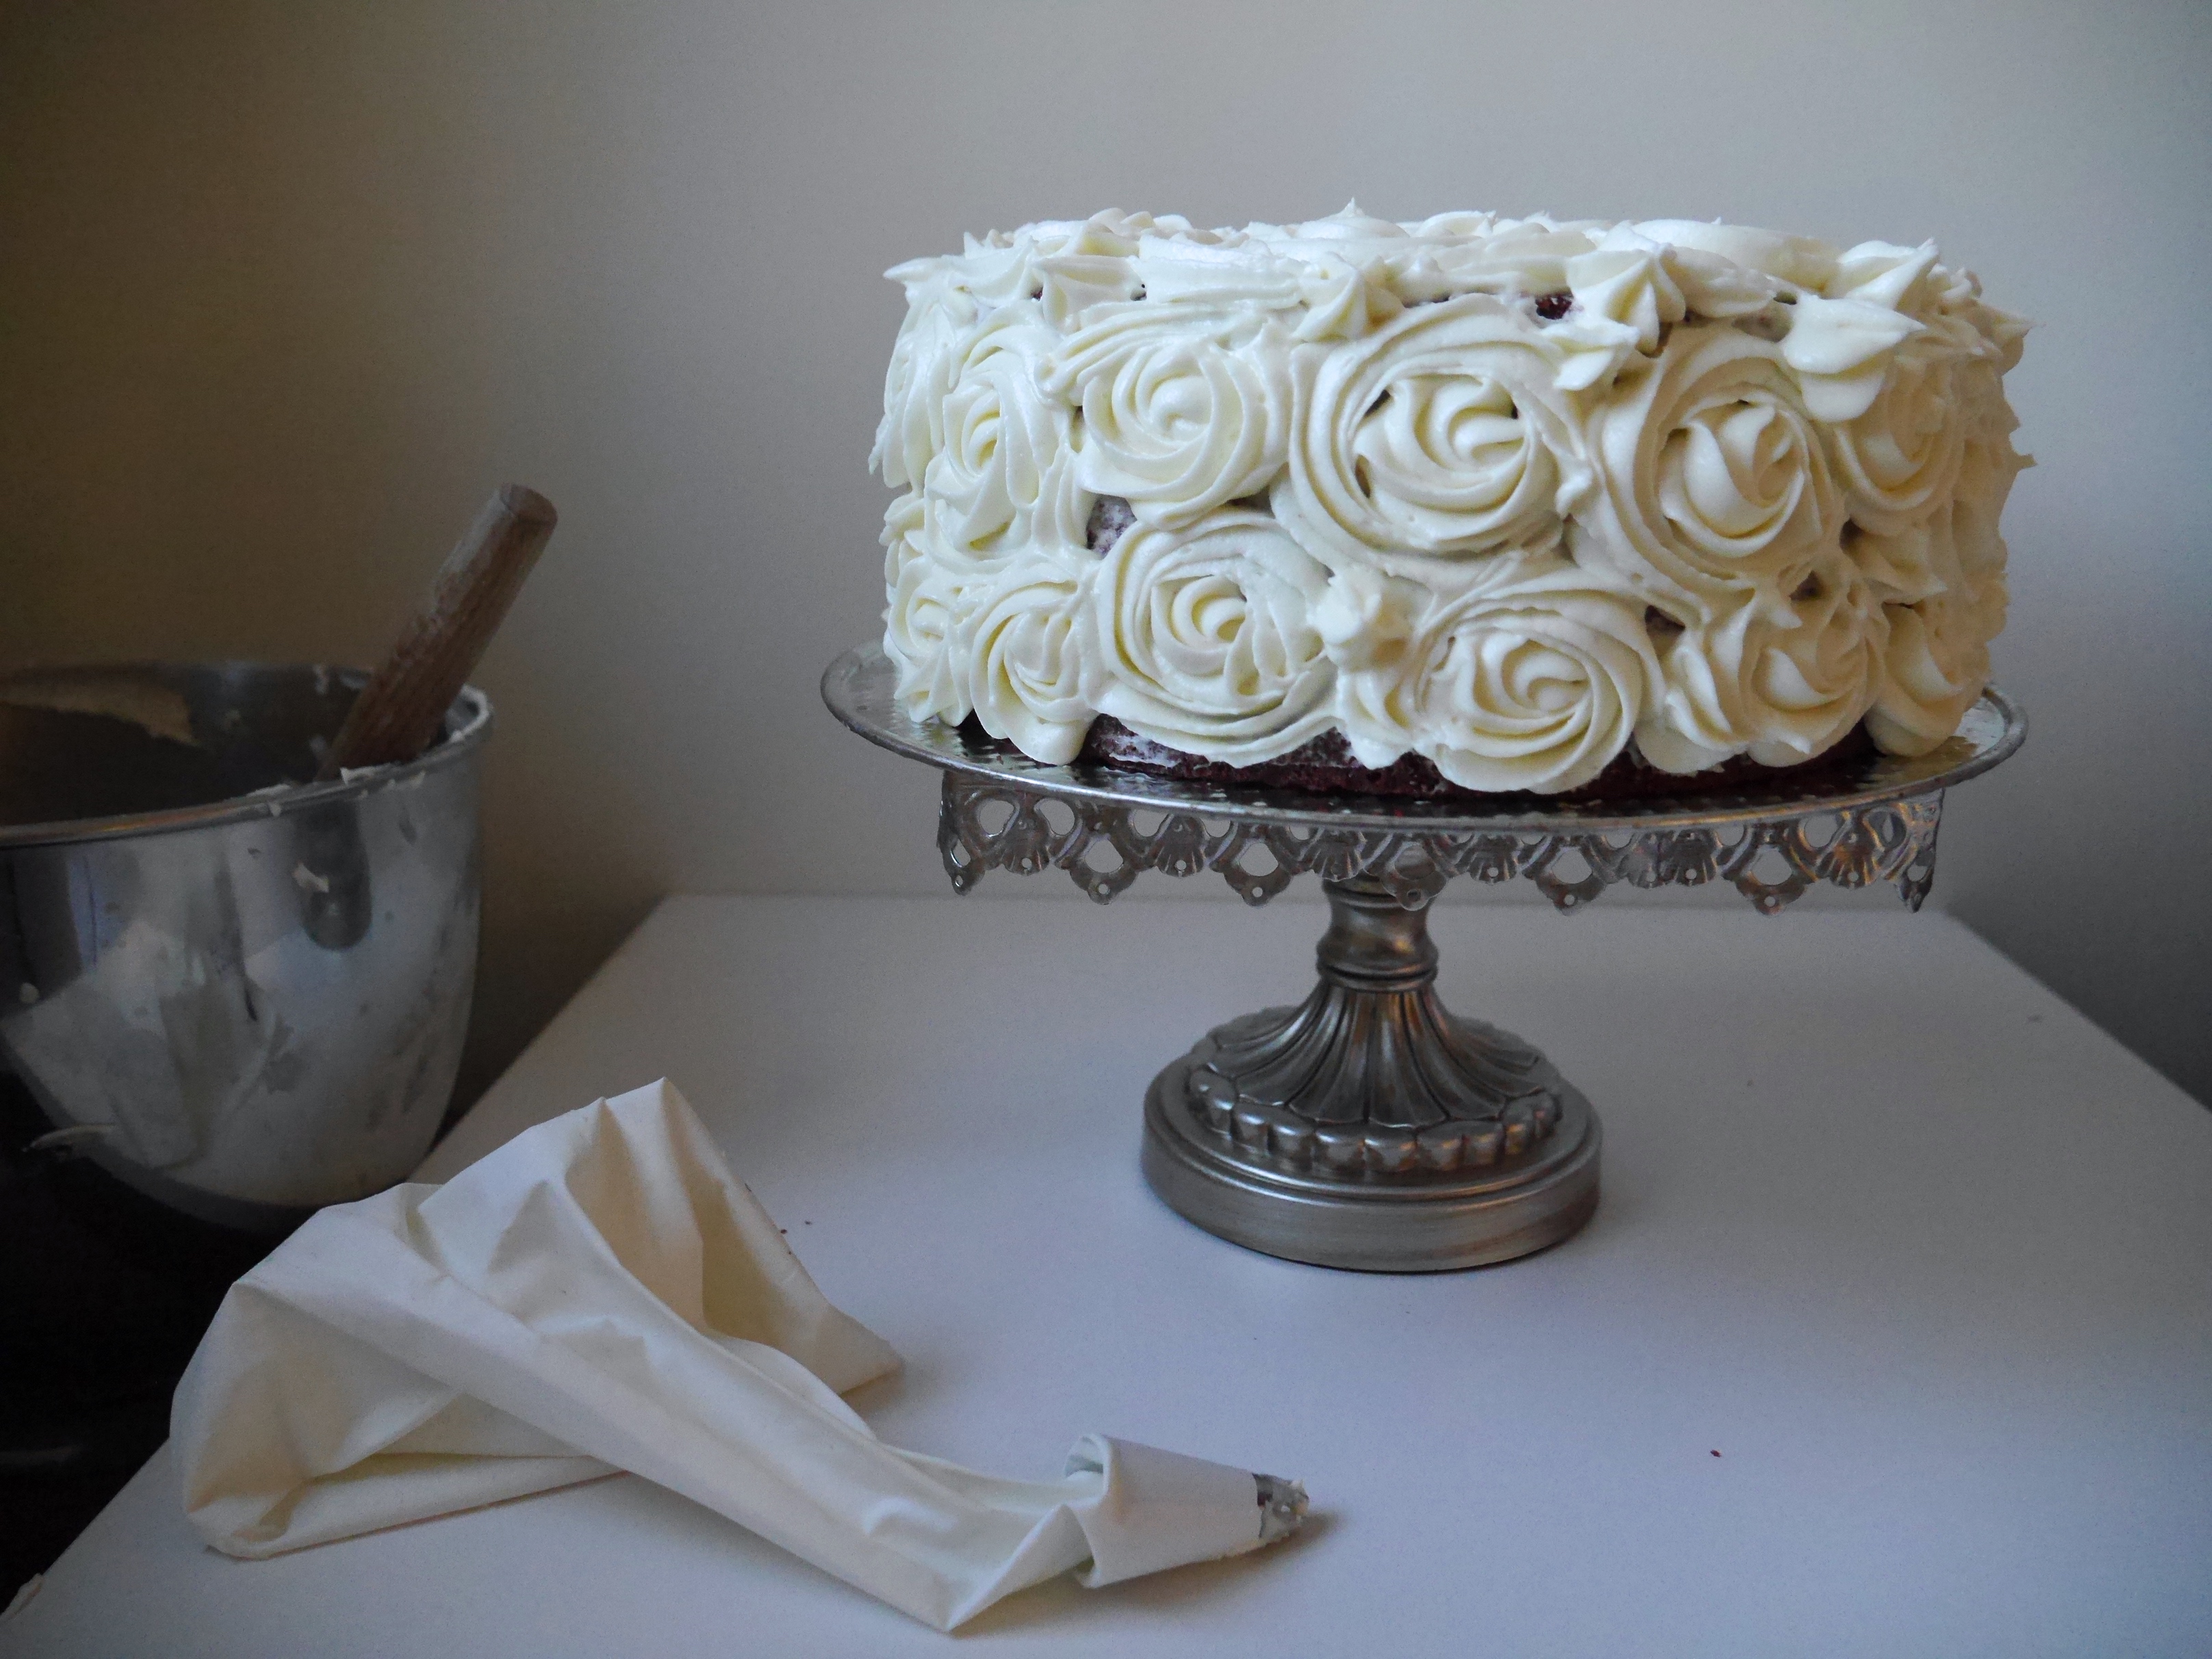
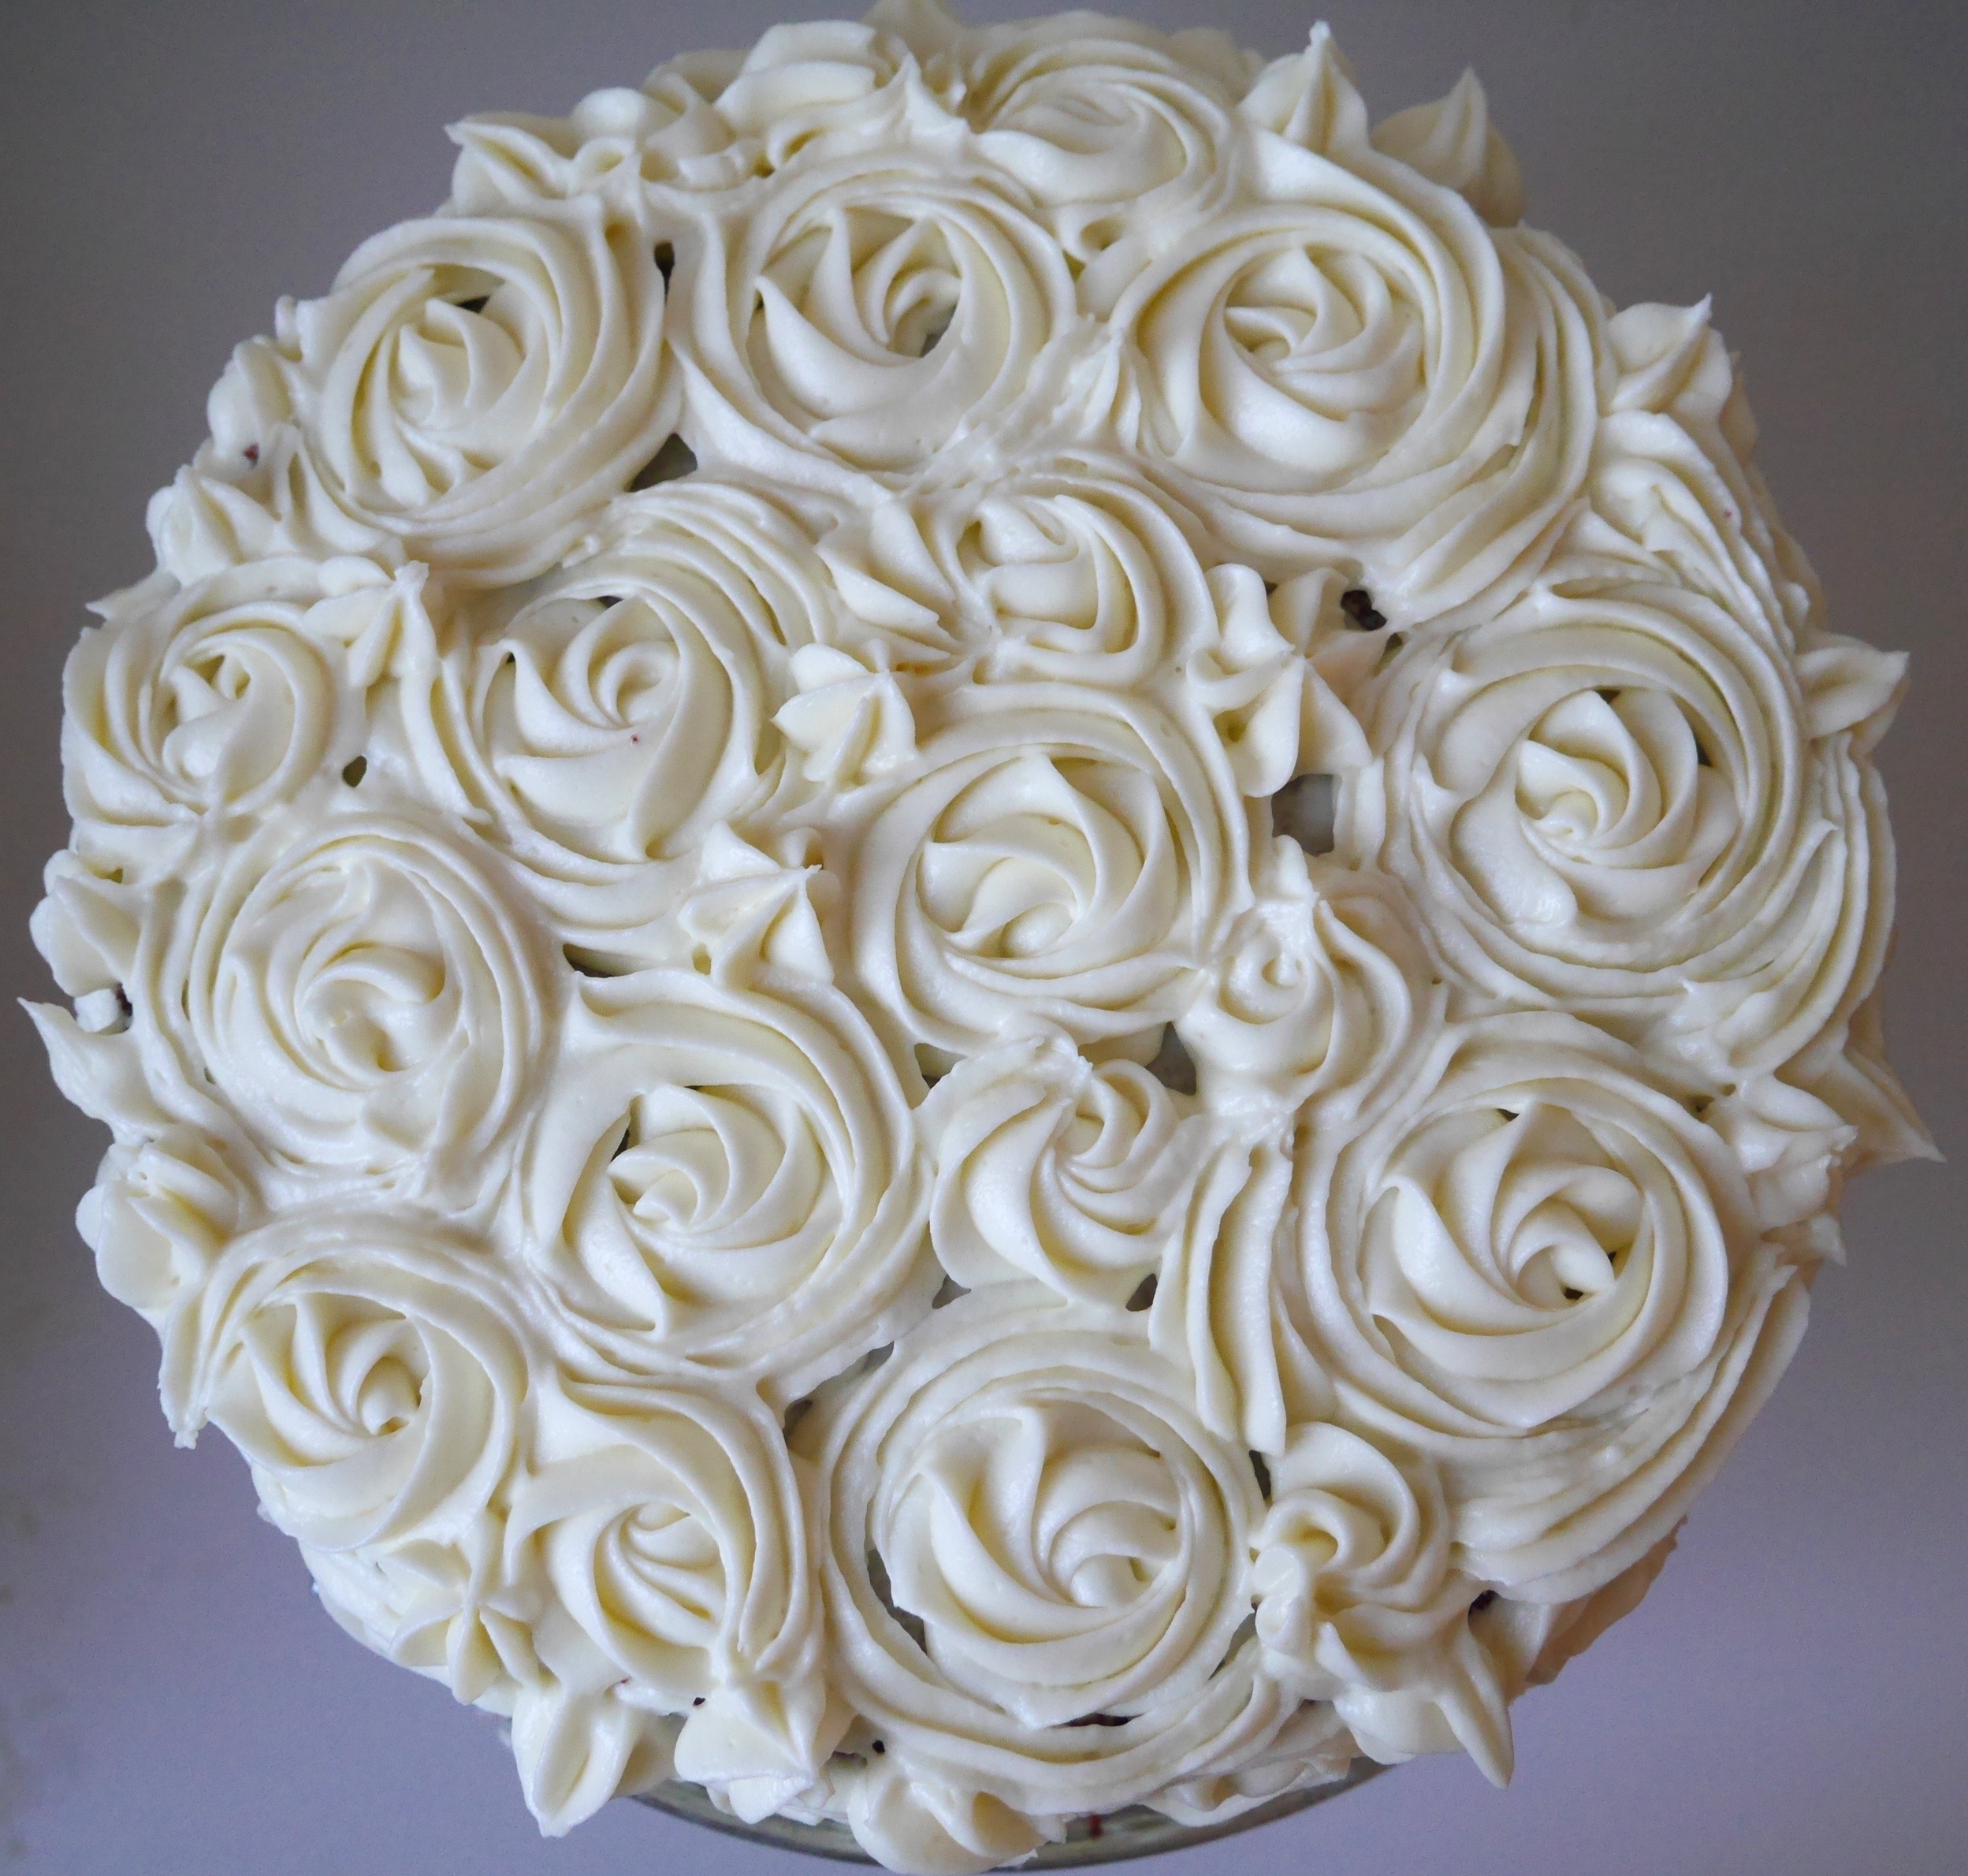
It doesn’t need to be perfect. There are gaps all over my cake, but the icing work still looks intricate and beautiful!
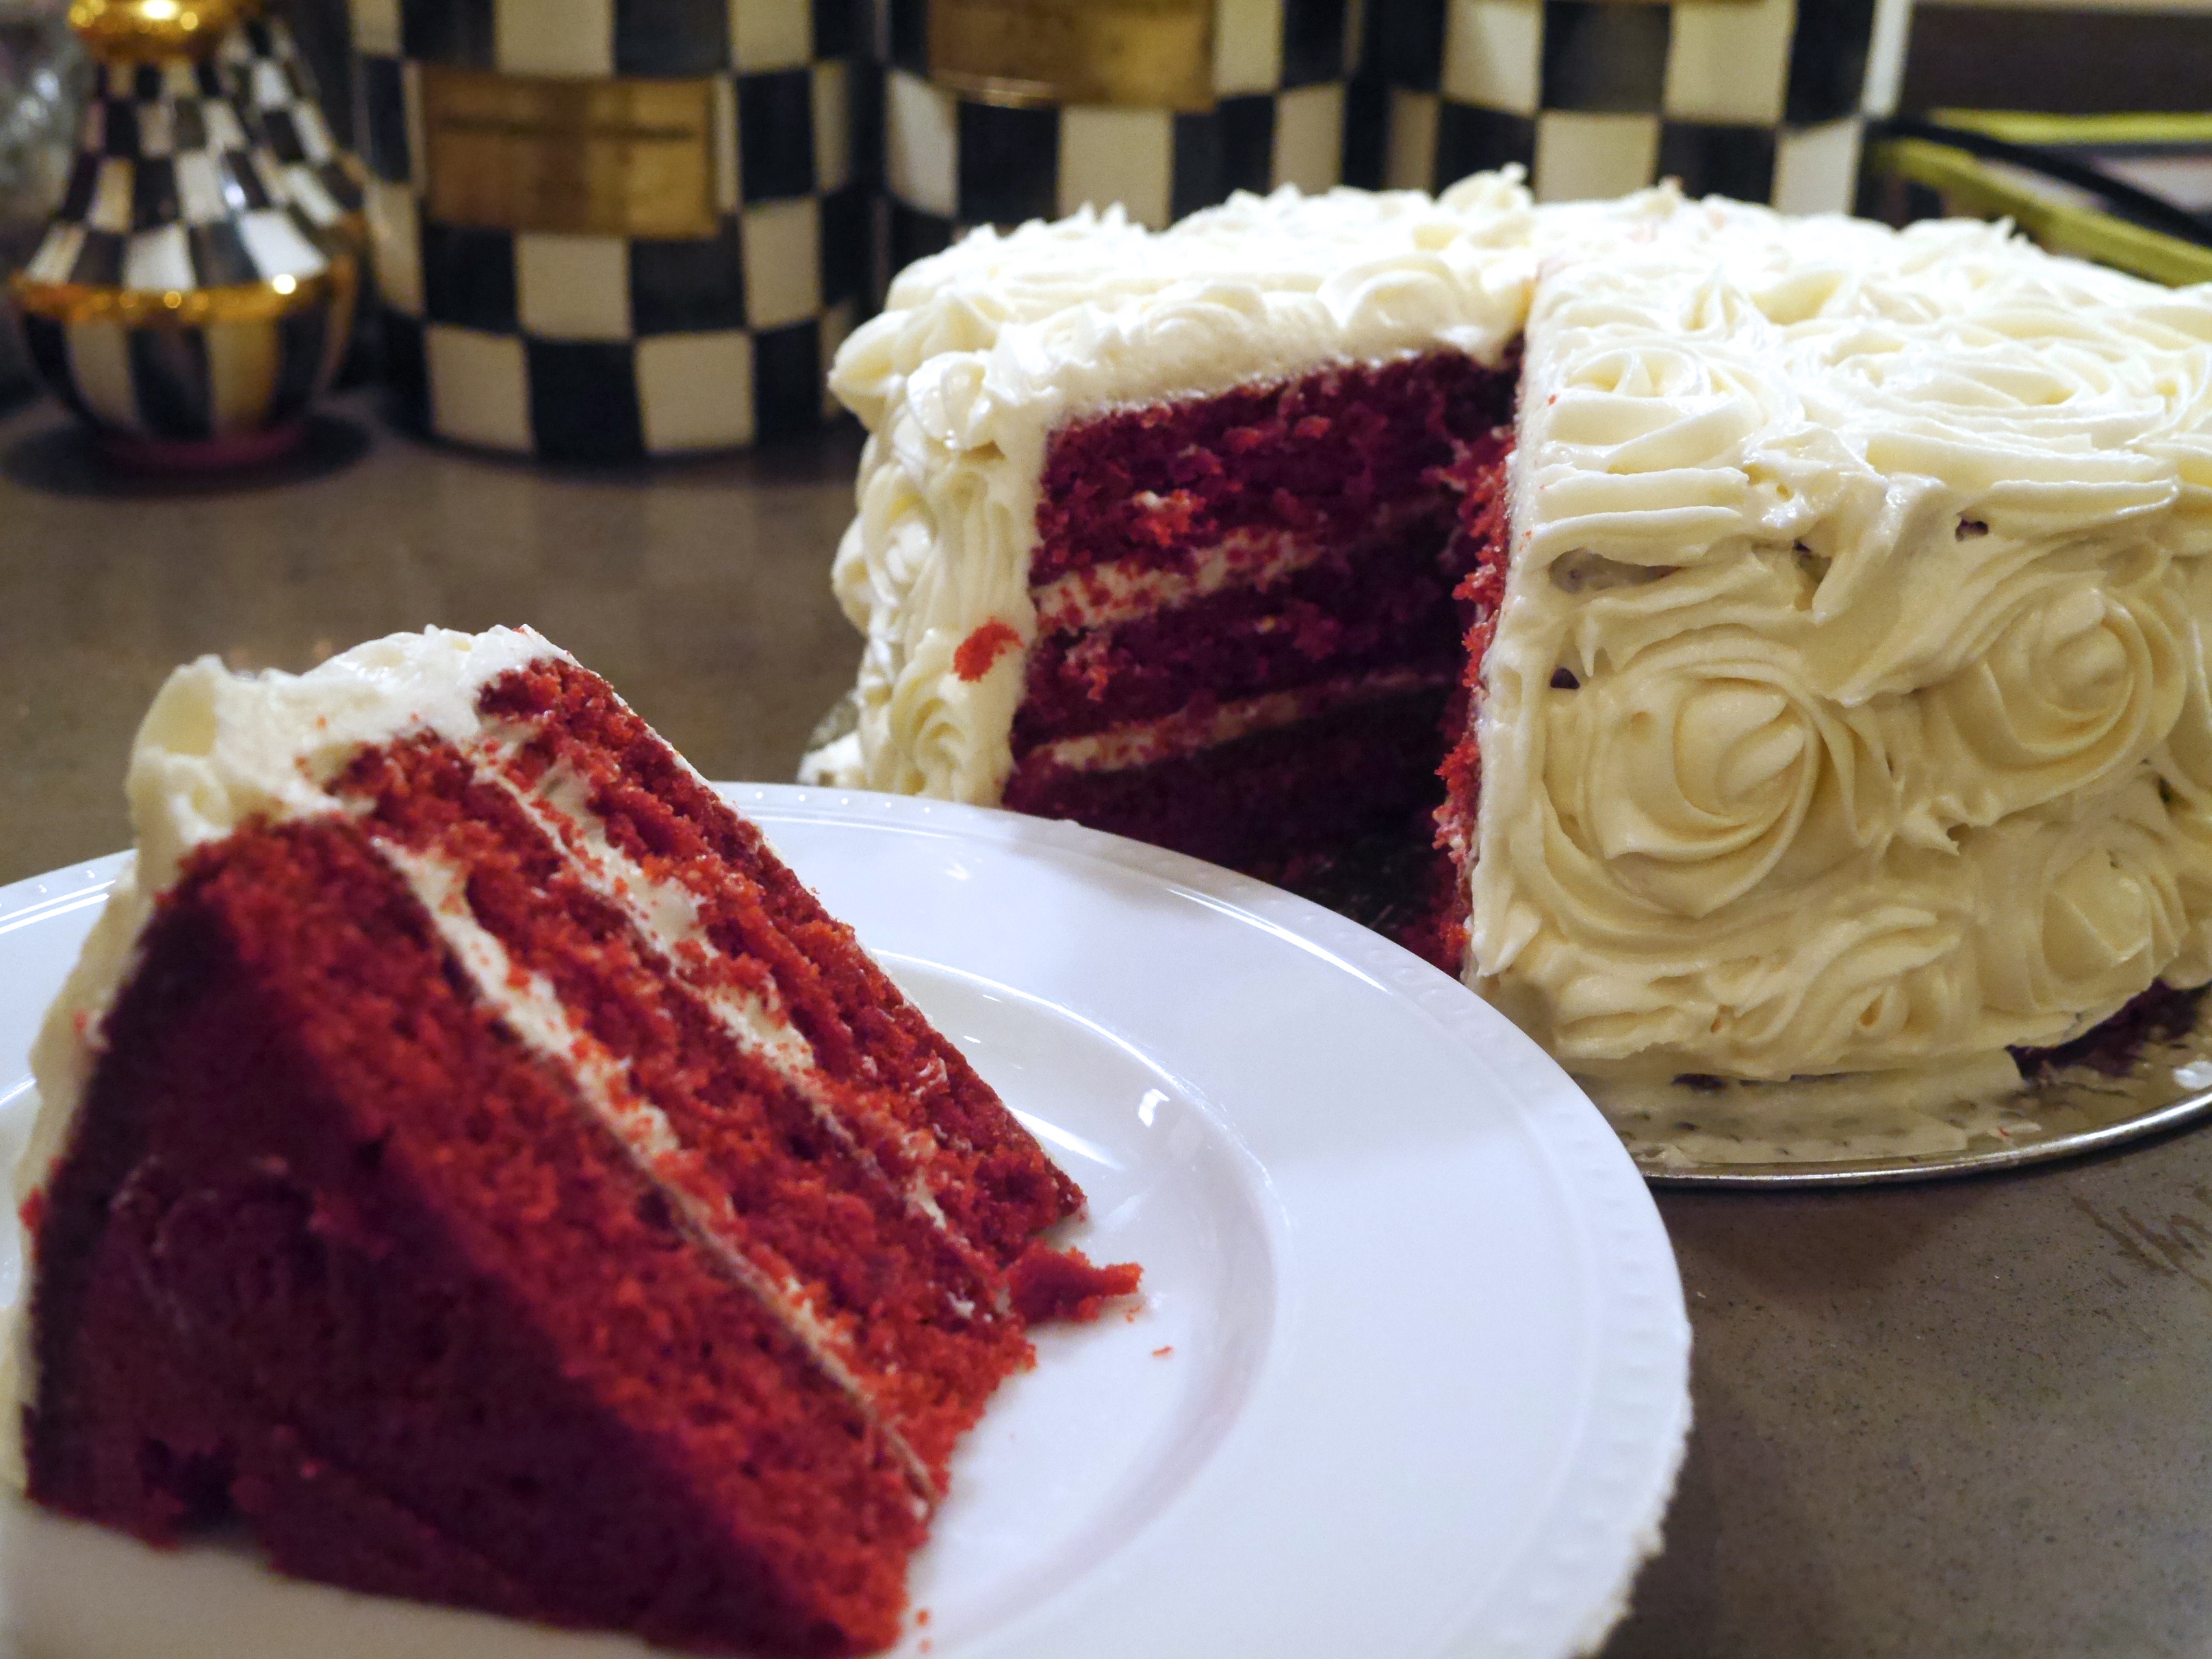
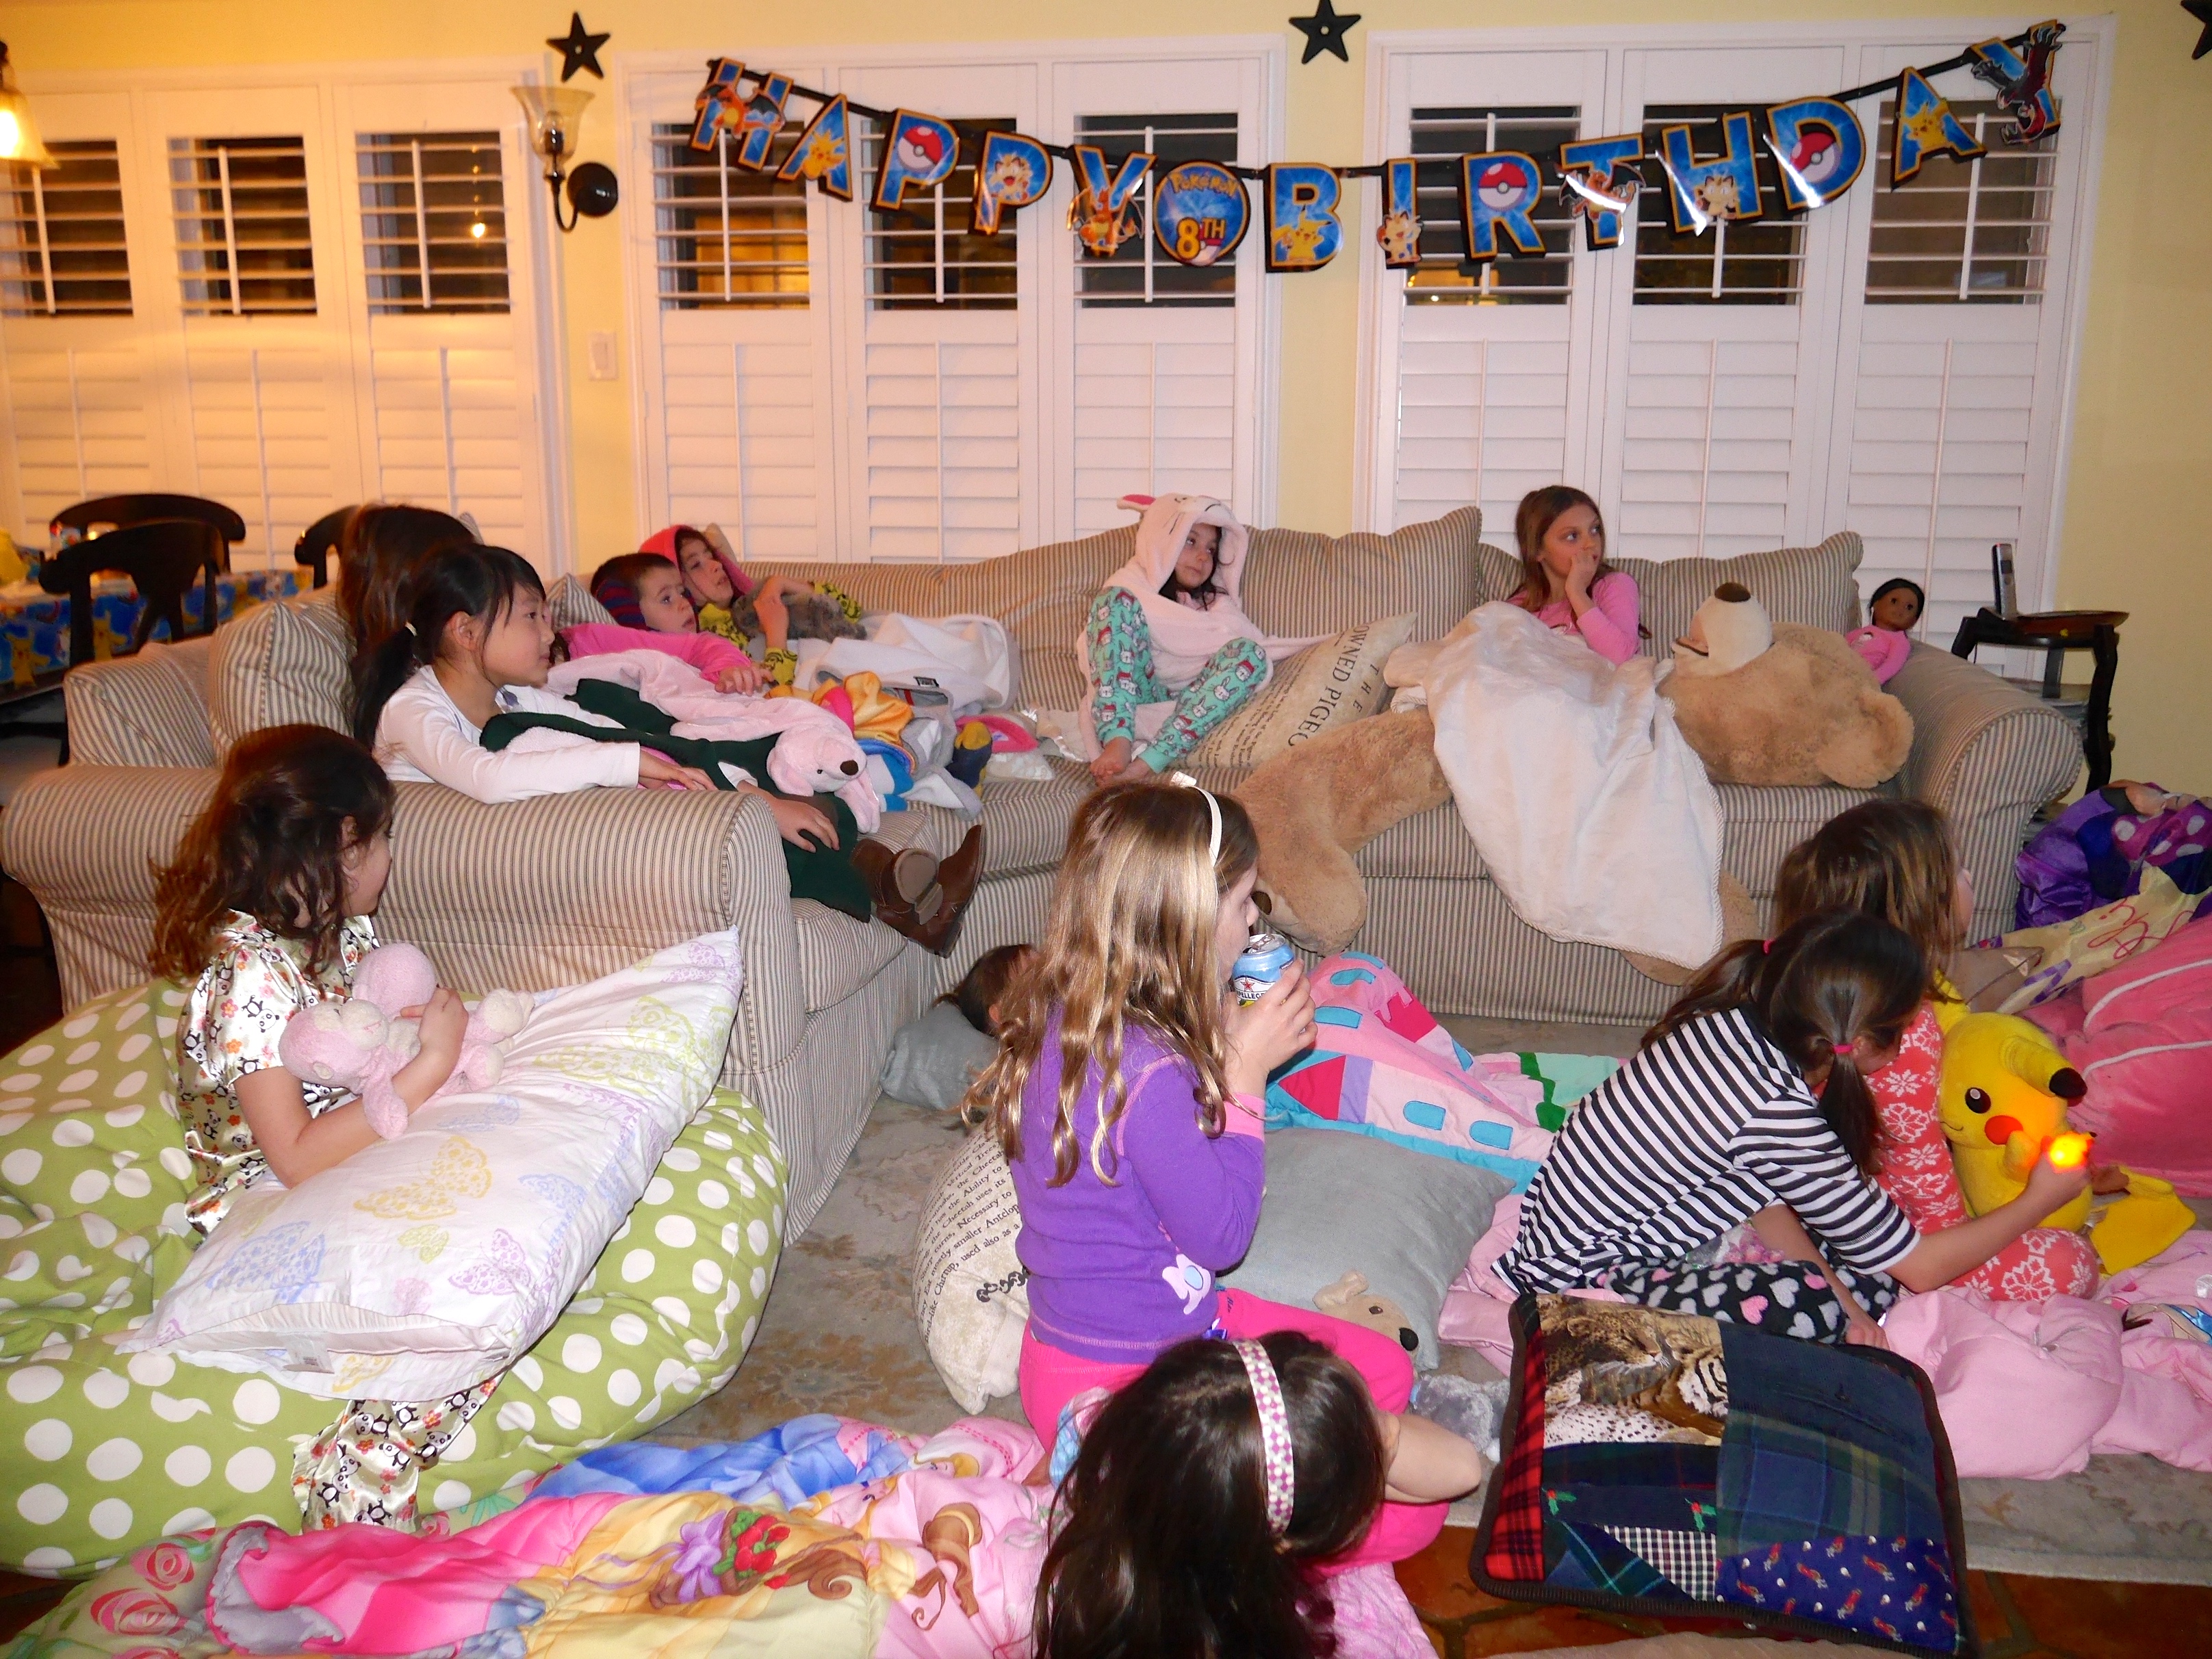
I packed the cake up, drove over to my aunt and uncle’s, and presented it to the princess birthday girl. She was SO excited and definitely on a sugar high for the rest of the night!
Recipe from here
Note: I upped the cocoa powder to 3 T, under baked the cakes by 5 minutes, and left out the pecans. The rest of the recipe is great!

