I’m sure you’ve all had someone’s healthy rendition of an originally decadent treat. Despite most people’s attempts, the light version seems to always be light in another department: flavor, moisture, sweetness, etc. I thought I would never find a healthy version of a dessert that I would truly pick over the original (such a first world problem, I know).
Sure, banana “ice cream” is good, but it’s no Ben and Jerry’s. So, when I found Minimalist Baker’s vegan version of truffles using dates as a form of caramel, it goes without saying that I was excited but skeptical. I did a quick test run with just a few dates (mashed up with a fork instead of a blender due to pure laziness), and they. were. incredible. I ate all 5 of them in a night and was dying for more.
The next day I hastily sped to the grocery, pick up a pound of dates and raced back to my food processor to make an industrial aka Hailey sized batch of these. They’re crazy easy, the hardest part was waiting for them to chill in between layers!
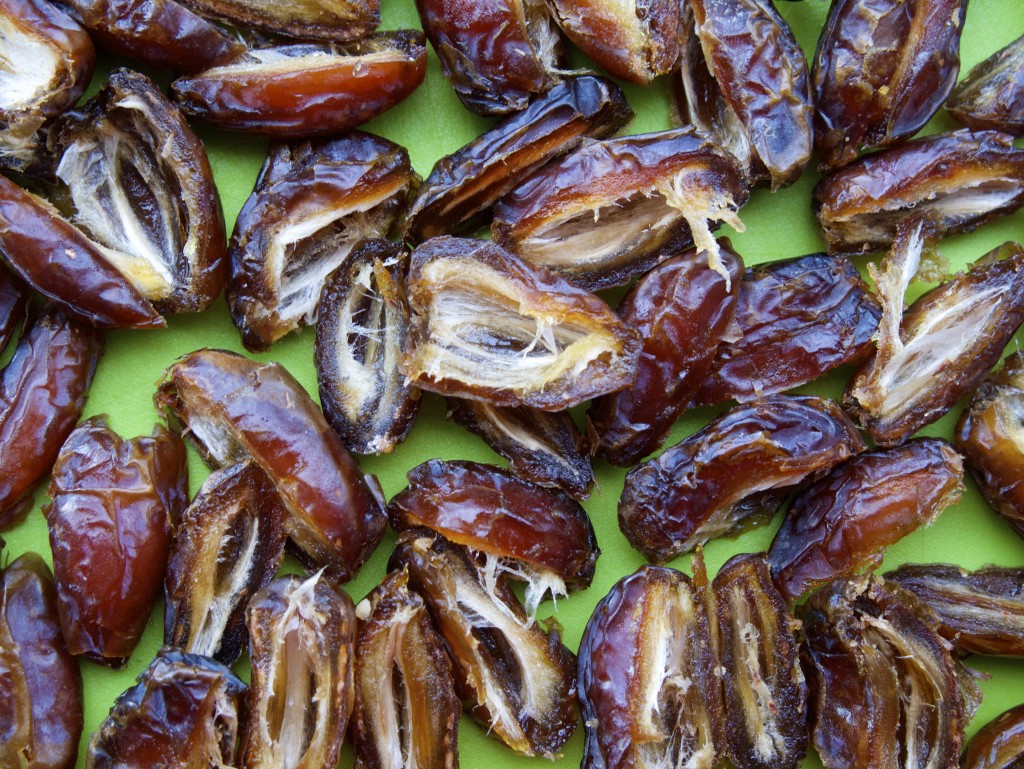
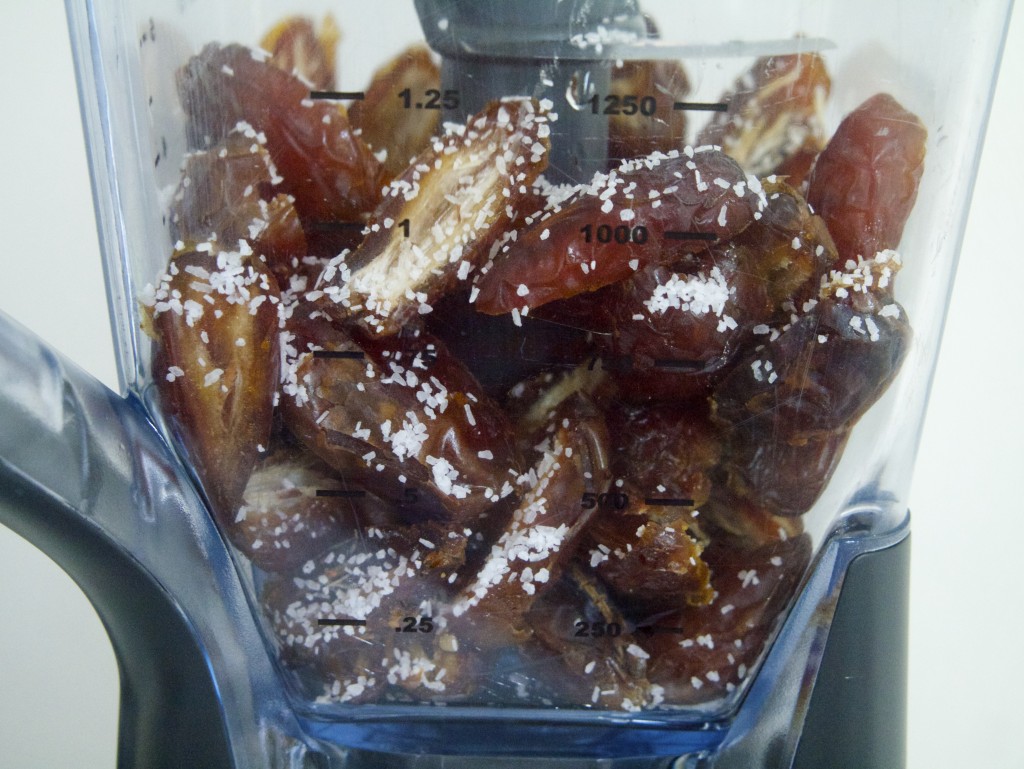
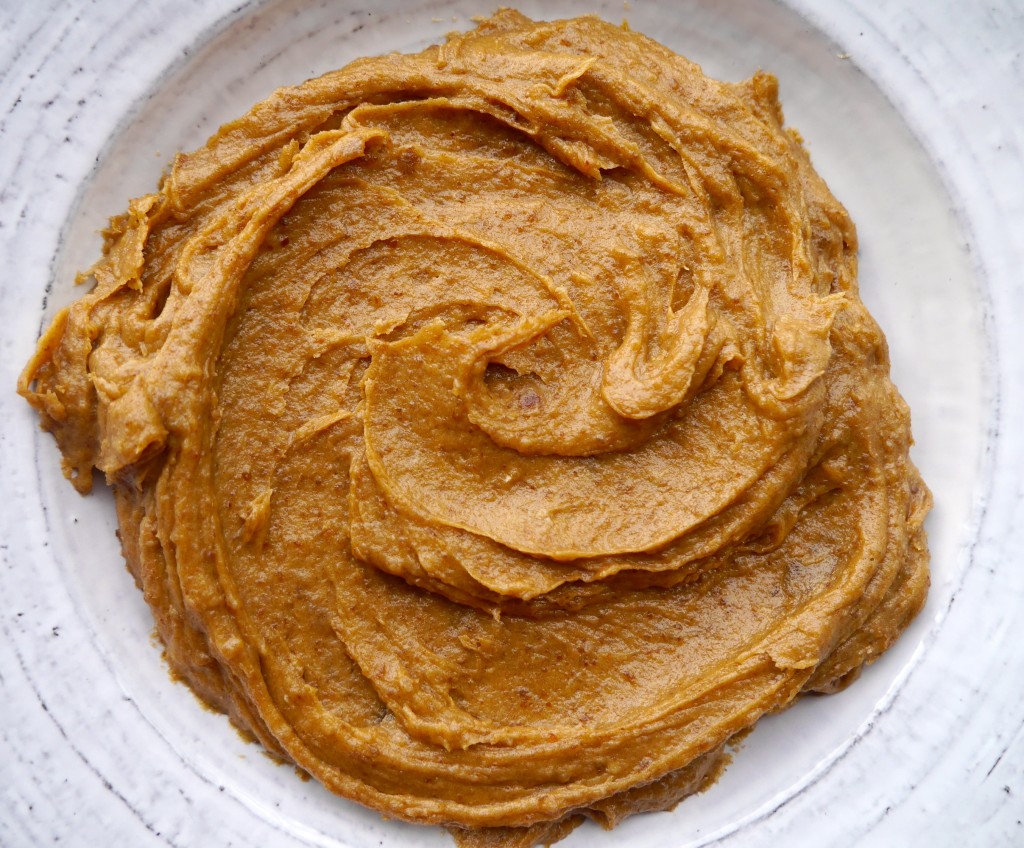
So, start by putting the pitted dates into a food processor with a little salt, and pulse until a ball forms. Add a teaspoon of water, and pulse until you have a creamy paste. It may not be identical to salted caramel, but I promise your mouth won’t know the difference!
Now you’ll want to roll tablespoons of the paste into little balls. The easiest way to do this is to spread your hands with a little oil (I used coconut) so the date paste doesn’t stick to your hands.
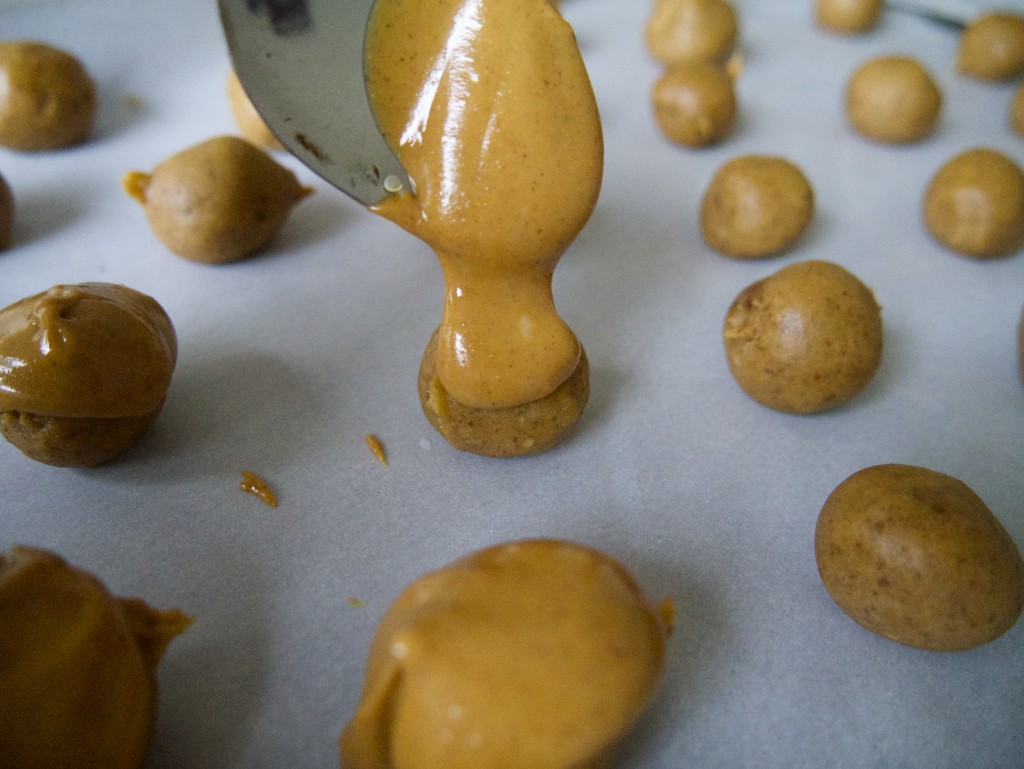
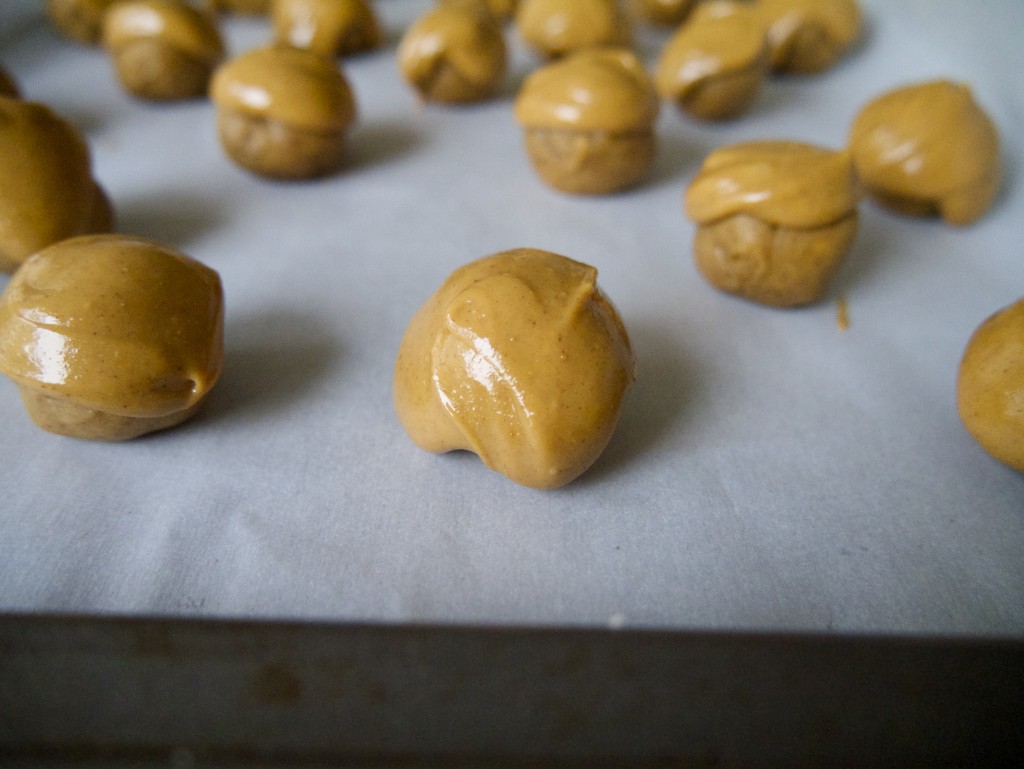
Next, take a spoonful of natural peanut butter and swirl it over the top of each truffle. I found the easiest way was to do this with the back of a spoon to make sure it cascades down the truffle evenly!
For 20 awful minutes stick these in the freezer so the peanut butter forms a coating.
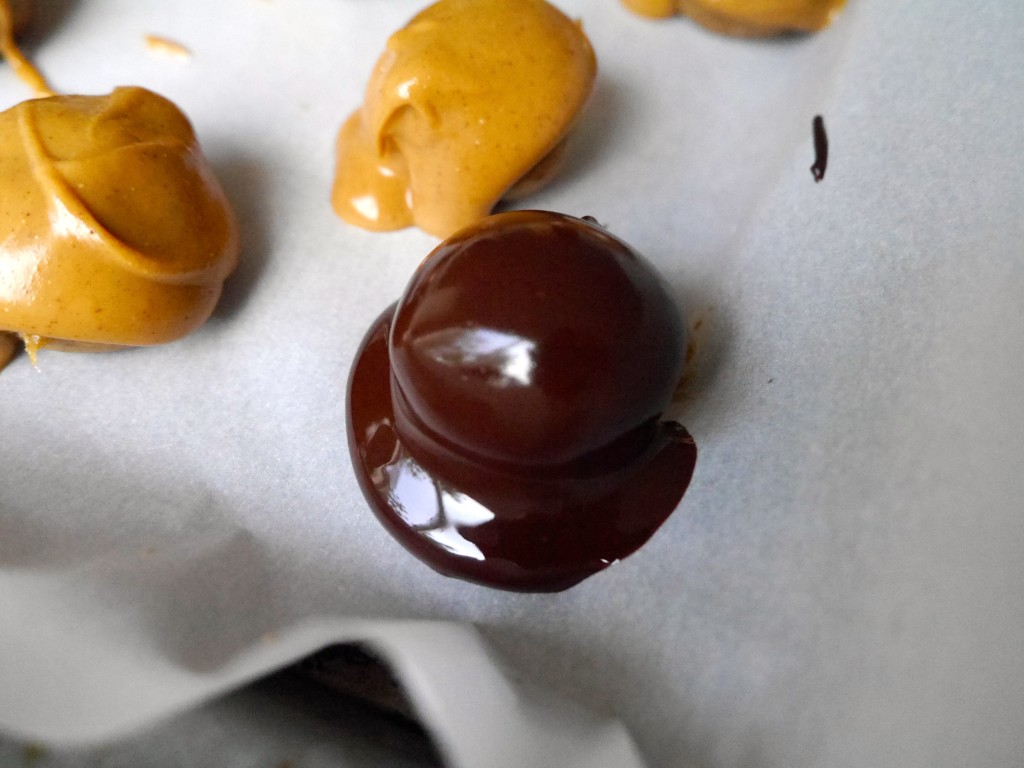
Next, melt some vegan (dairy free) chocolate in a bowl. I used a fork to scoop each truffle up with, and then dunked them in the chocolate.
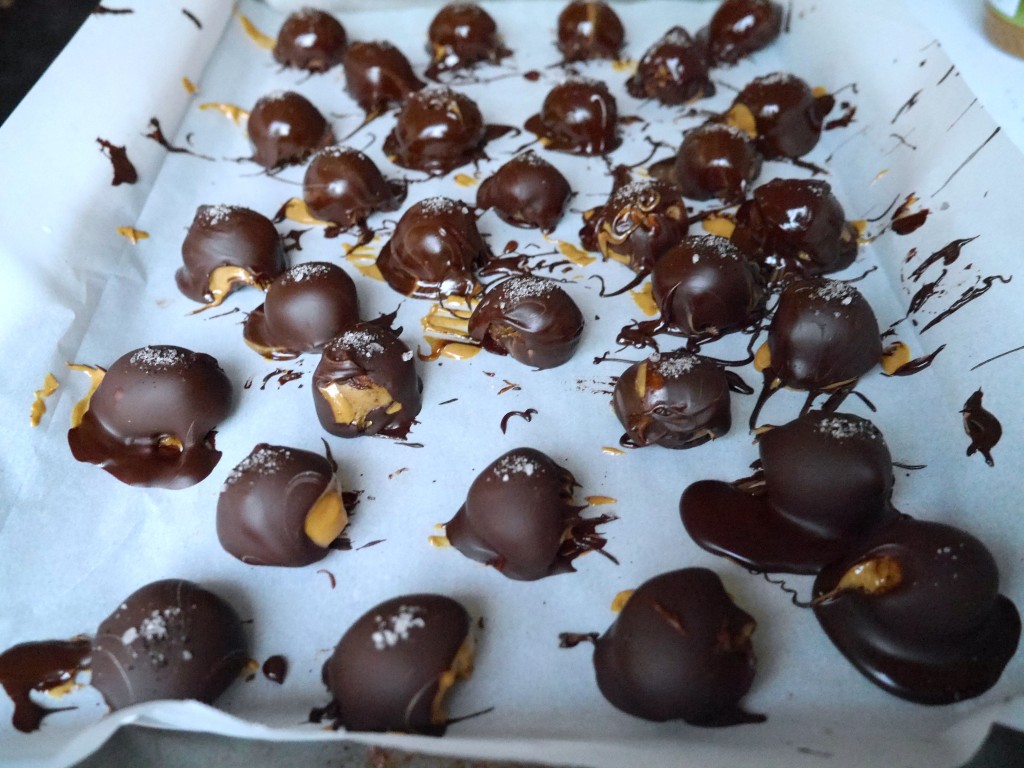
Be careful to not leave them in the chocolate too long or else the peanut butter will melt! This happened on a few of mine and ended up giving the truffles a cool marbled look, so it’s not the end of the world.
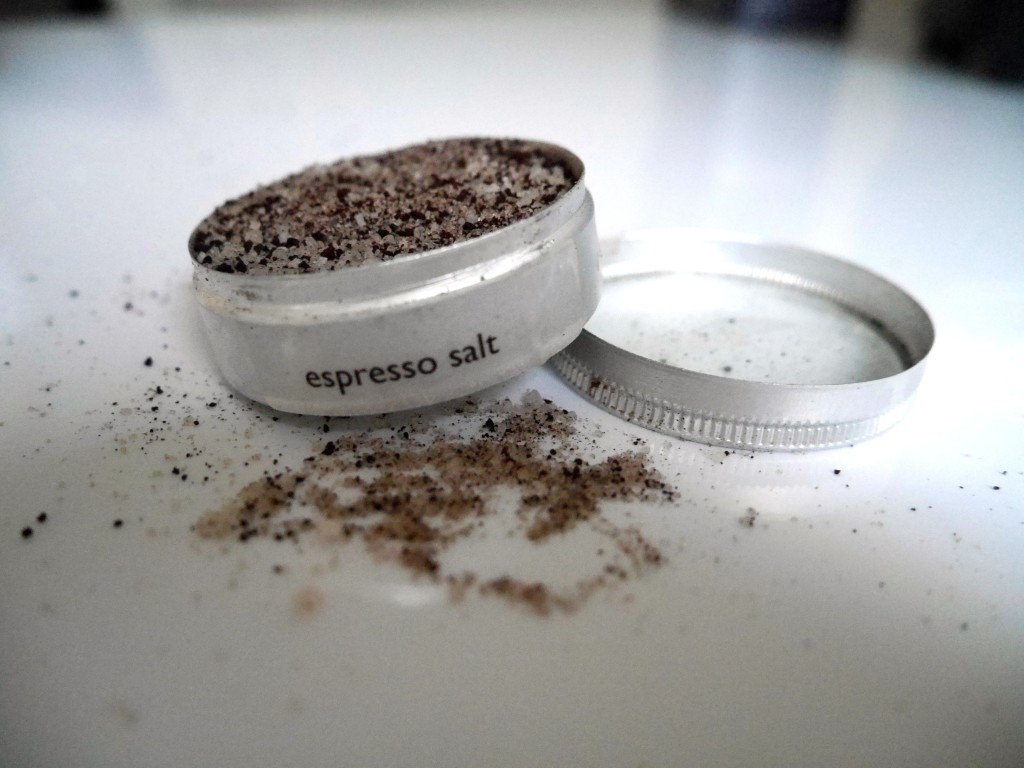
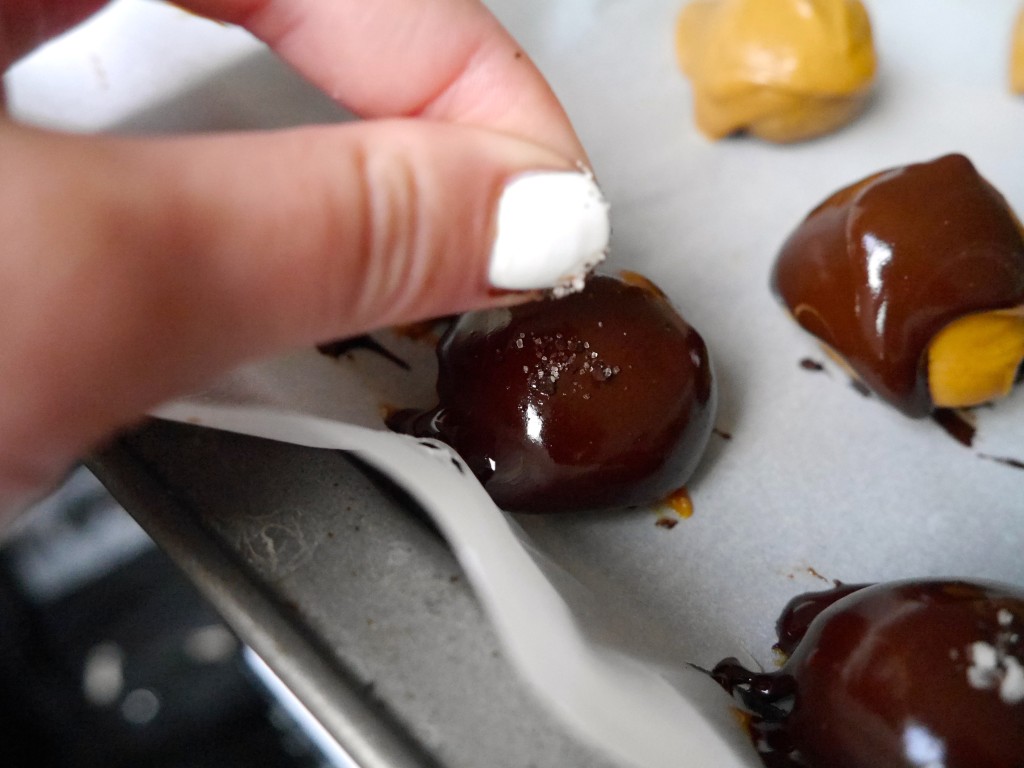
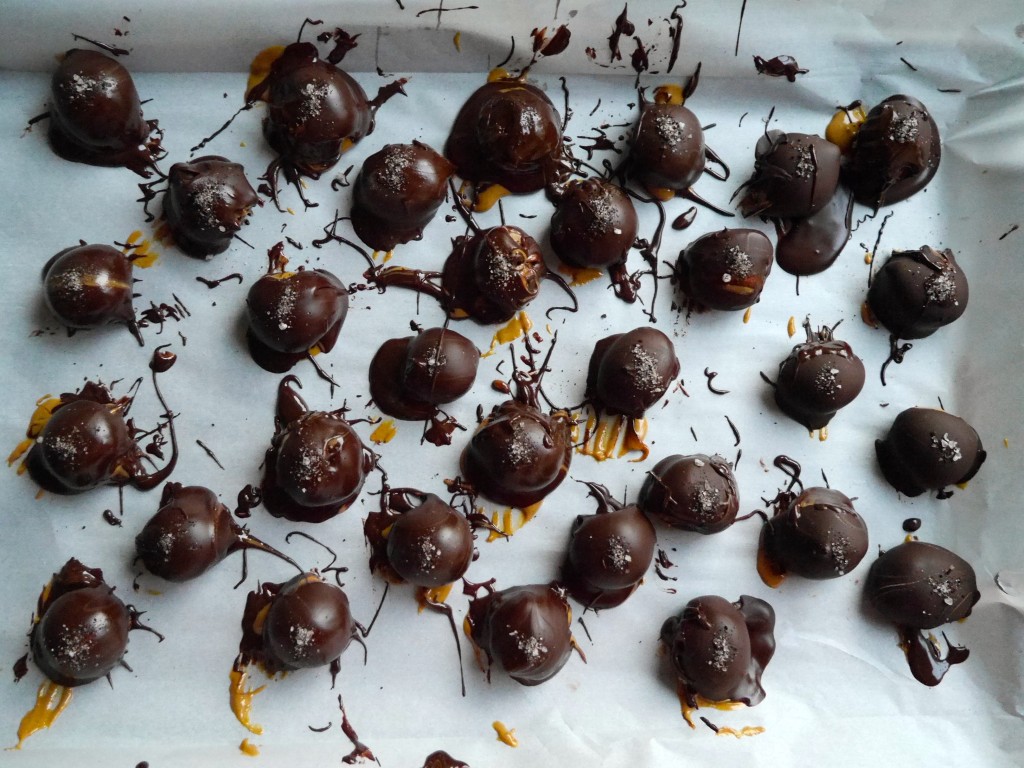
I told you guys about the awesome salts my best friend Kristen got me in my baked blueberry oatmeal post, and this espresso salt came in the pack as well. I figured there’s nothing wrong with caramel, chocolate and coffee, so I sprinkled a little of this on top of each truffle while the chocolate was still melty.
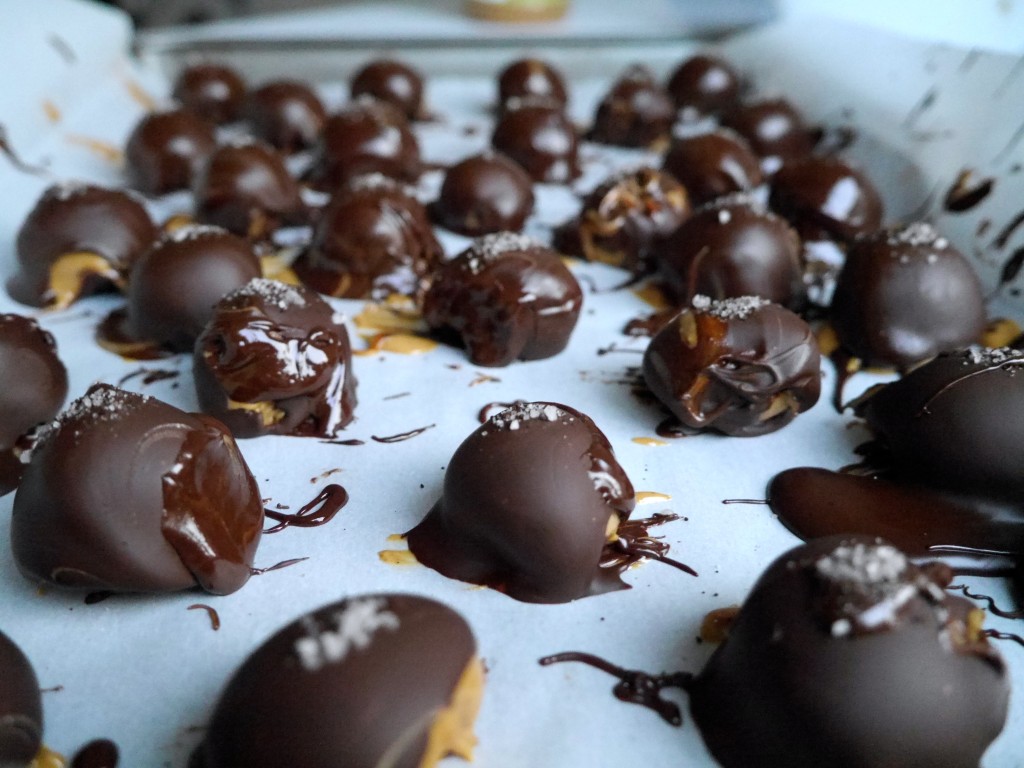
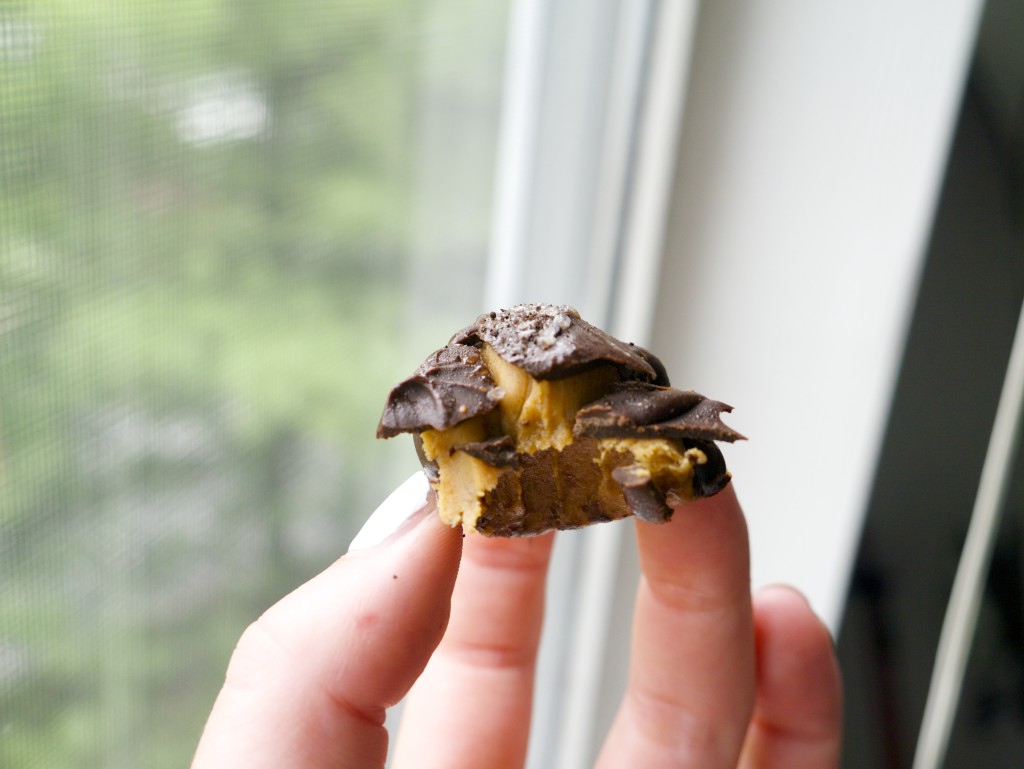
Here are the final products! Perfect little spheres of the most decadent sweet, salty, and creamy dessert ever. The best part is they’re actually healthy!
Dates have tons of fiber, peanut butter has protein and healthy fats, and dark chocolate has antioxidants. You can thank me later 😉
Vegan Salted Caramel Peanut Butter Truffles (makes about 30) recipe from here
- 1 pound of dates, pitted
- A scant teaspoon of salt, plus more for garnishing
- a bag of vegan dark chocolate (mine was 9 ounces and the brand Enjoy Life)
- 1/2 cup natural peanut butter (use the kind with the oil on top but make sure to stir it up!)
- few drops of vanilla
- Neutral oil for your hands
- Pulse dates, salt, and vanilla together until they form a paste. If they’re having trouble blending together, add a teaspoon of water at a time until a paste forms. Try not to add too much water because it will make it hard for the truffles to hold together. Taste to make sure the paste has enough salt.
- Rub your palms with a little bit of oil, and roll about a tablespoon of paste into a ball. Place on a parchment lined baking sheet and repeat with the rest of the paste.
- Pop that baking sheet in the freezer for 20 minutes.
- When the truffles are firm, place a teaspoon of peanut butter on each one, and swirl with the back of a spoon to spread over the whole truffle.
- Place in the freezer for another 20 minutes. While that’s freezing melt your chocolate in the microwave.
- Using a fork, scoop the truffle up and dunk in the chocolate. Shake the excess off and sprinkle with a little bit of salt.
- Repeat with all the truffles and then put them in the freezer to store.
- You can thaw them before serving, but I think they’re best straight from there!

