I am so excited to write this post and naturally have over thought it like I do everything in my life. The title alone caused me some anxiety, see below for some of my internal dialogue: “How to make the best cheese board maybe? No, best sounds too elitist, and certainly there has to be someone out there who makes one a little bit better?” “How to make the ultimate cheese board? No, ultimate makes me sound like I’m channeling Guy Fieri too much, and that could be divisive.” “How to build the perfect cheese board? Hmm maybe build is a little too cold of a word for a recipe.” So friends here you have the winner: How to Make the Perfect Cheese Board.
Why do I say perfect? I’ve been making these kinds of boards for years; for girls night, to bring to my parents house as a small token of gratitude for three years of post college living rent free, to holiday parties, etc. and it has always been a wild success. It’s a guarantee someone will Instagram it (the ultimate form of flattery), and there’s something on here for everyone.
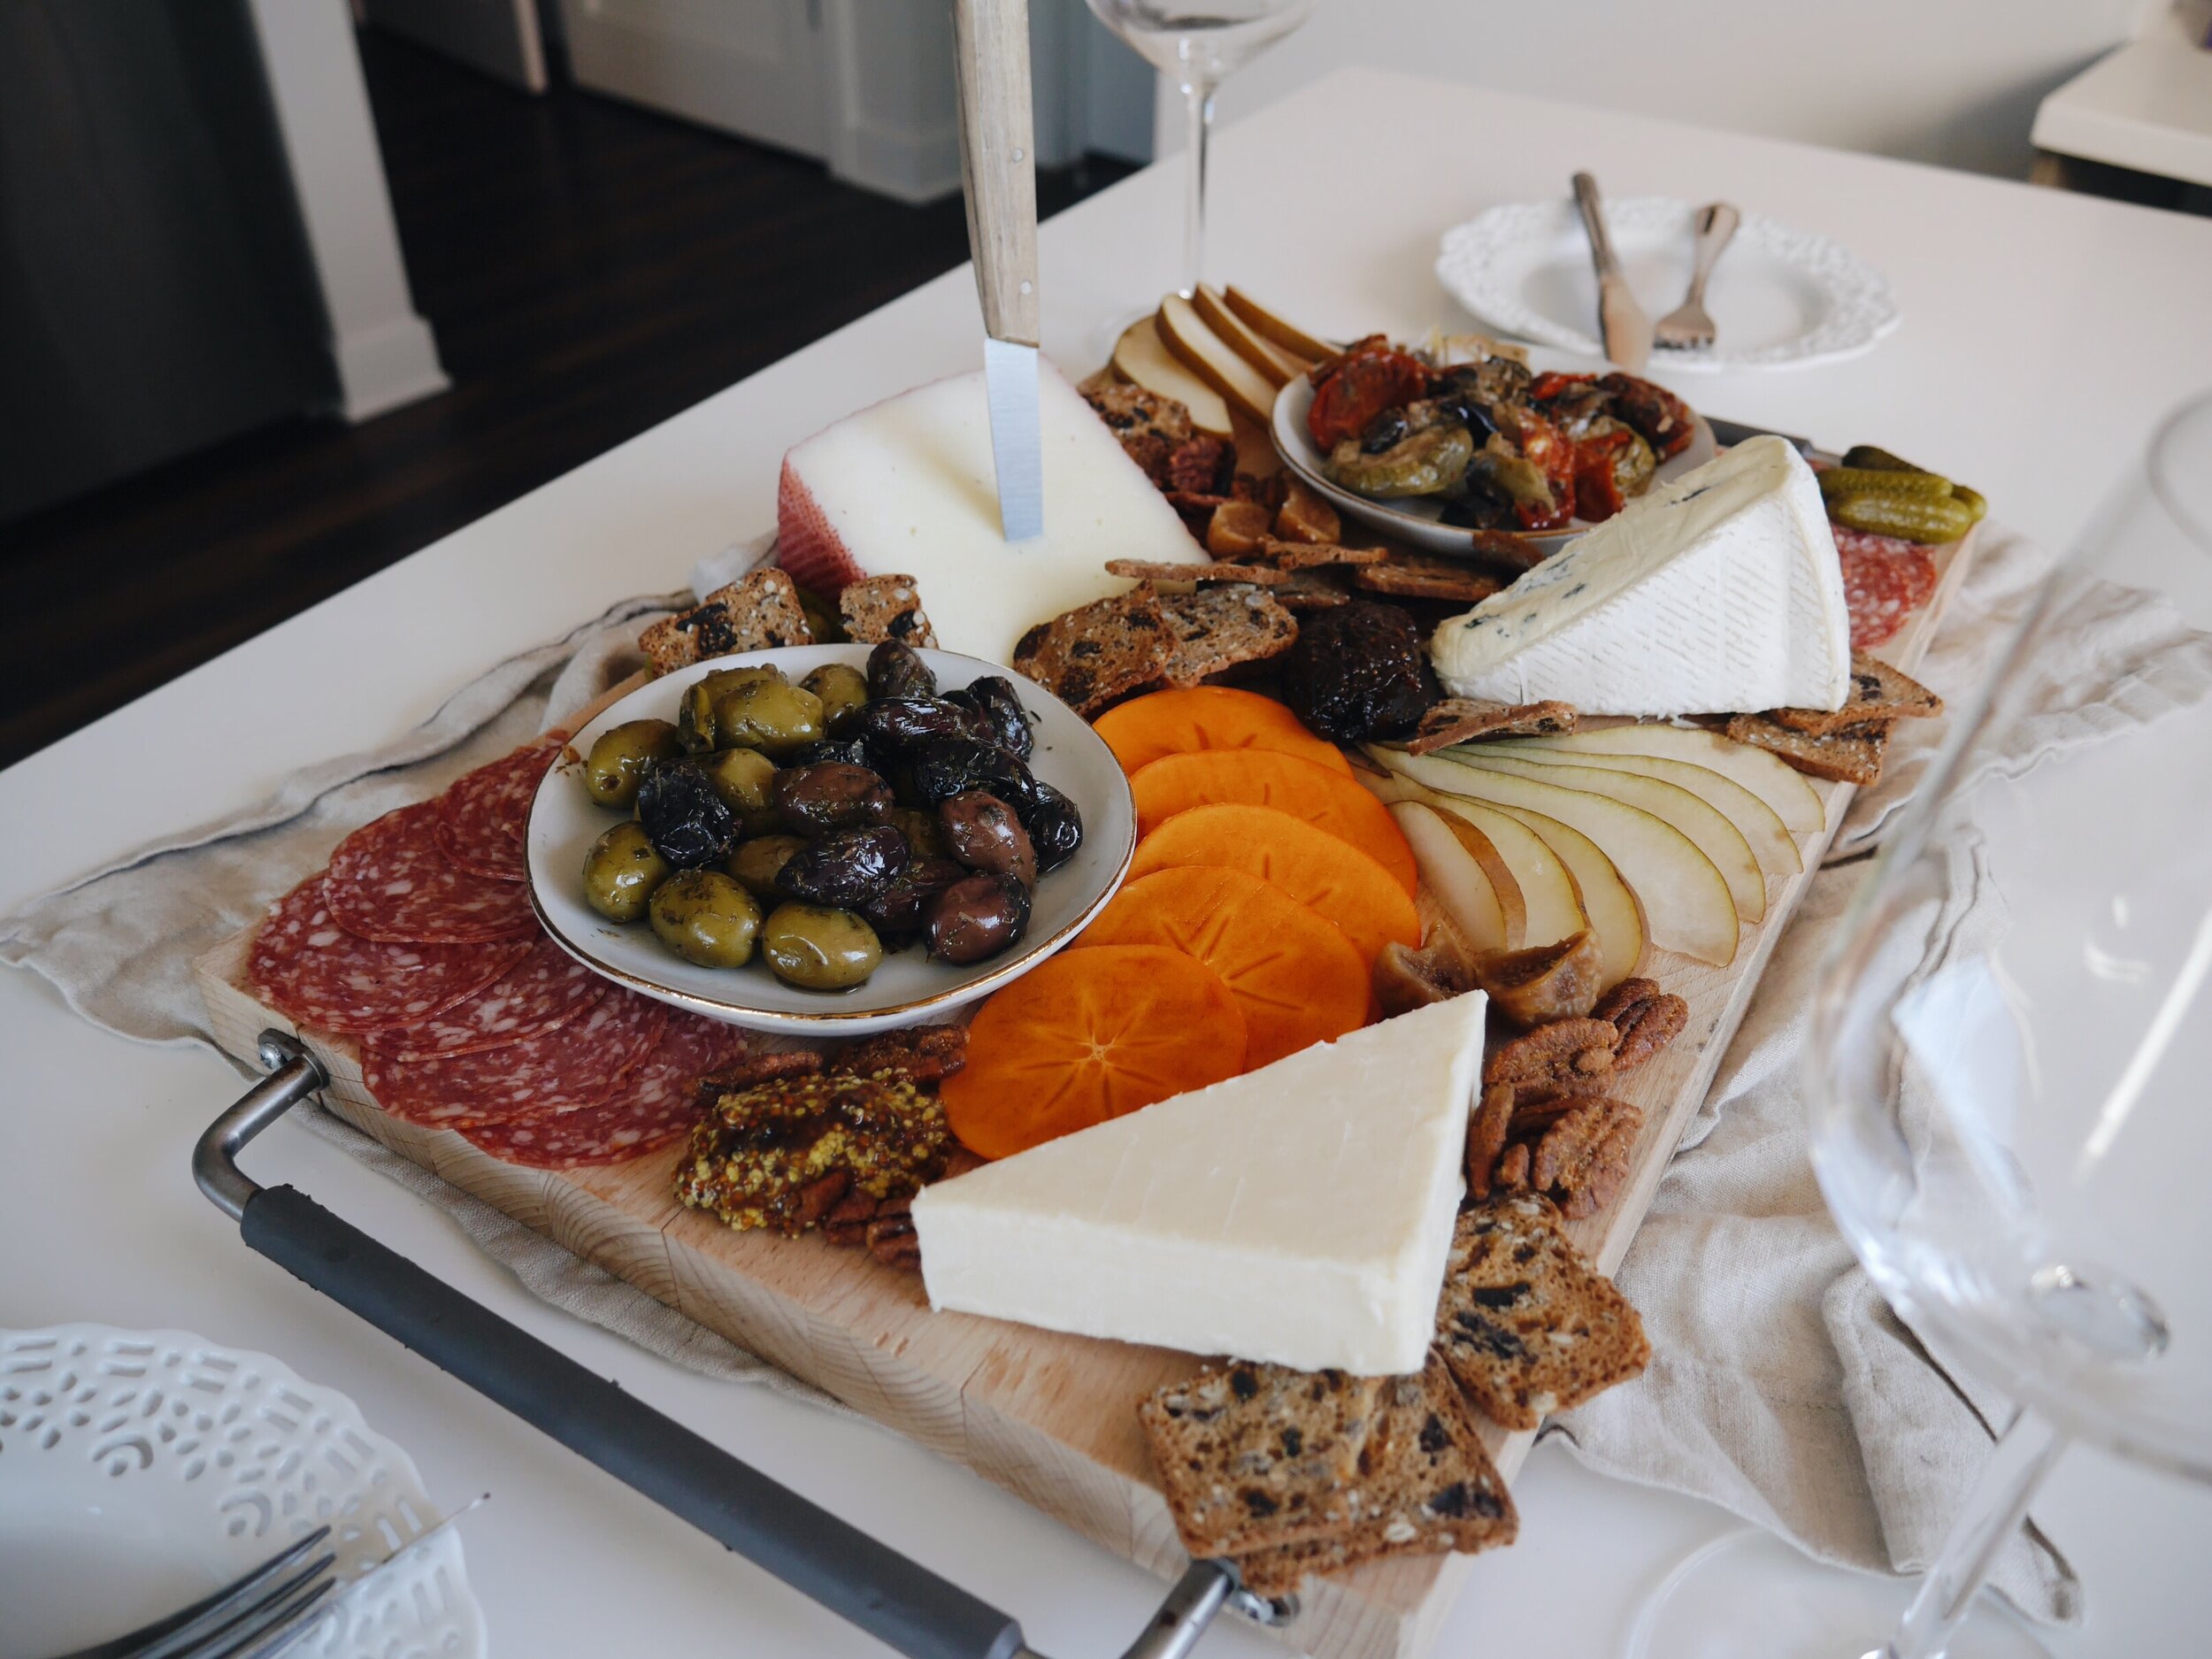
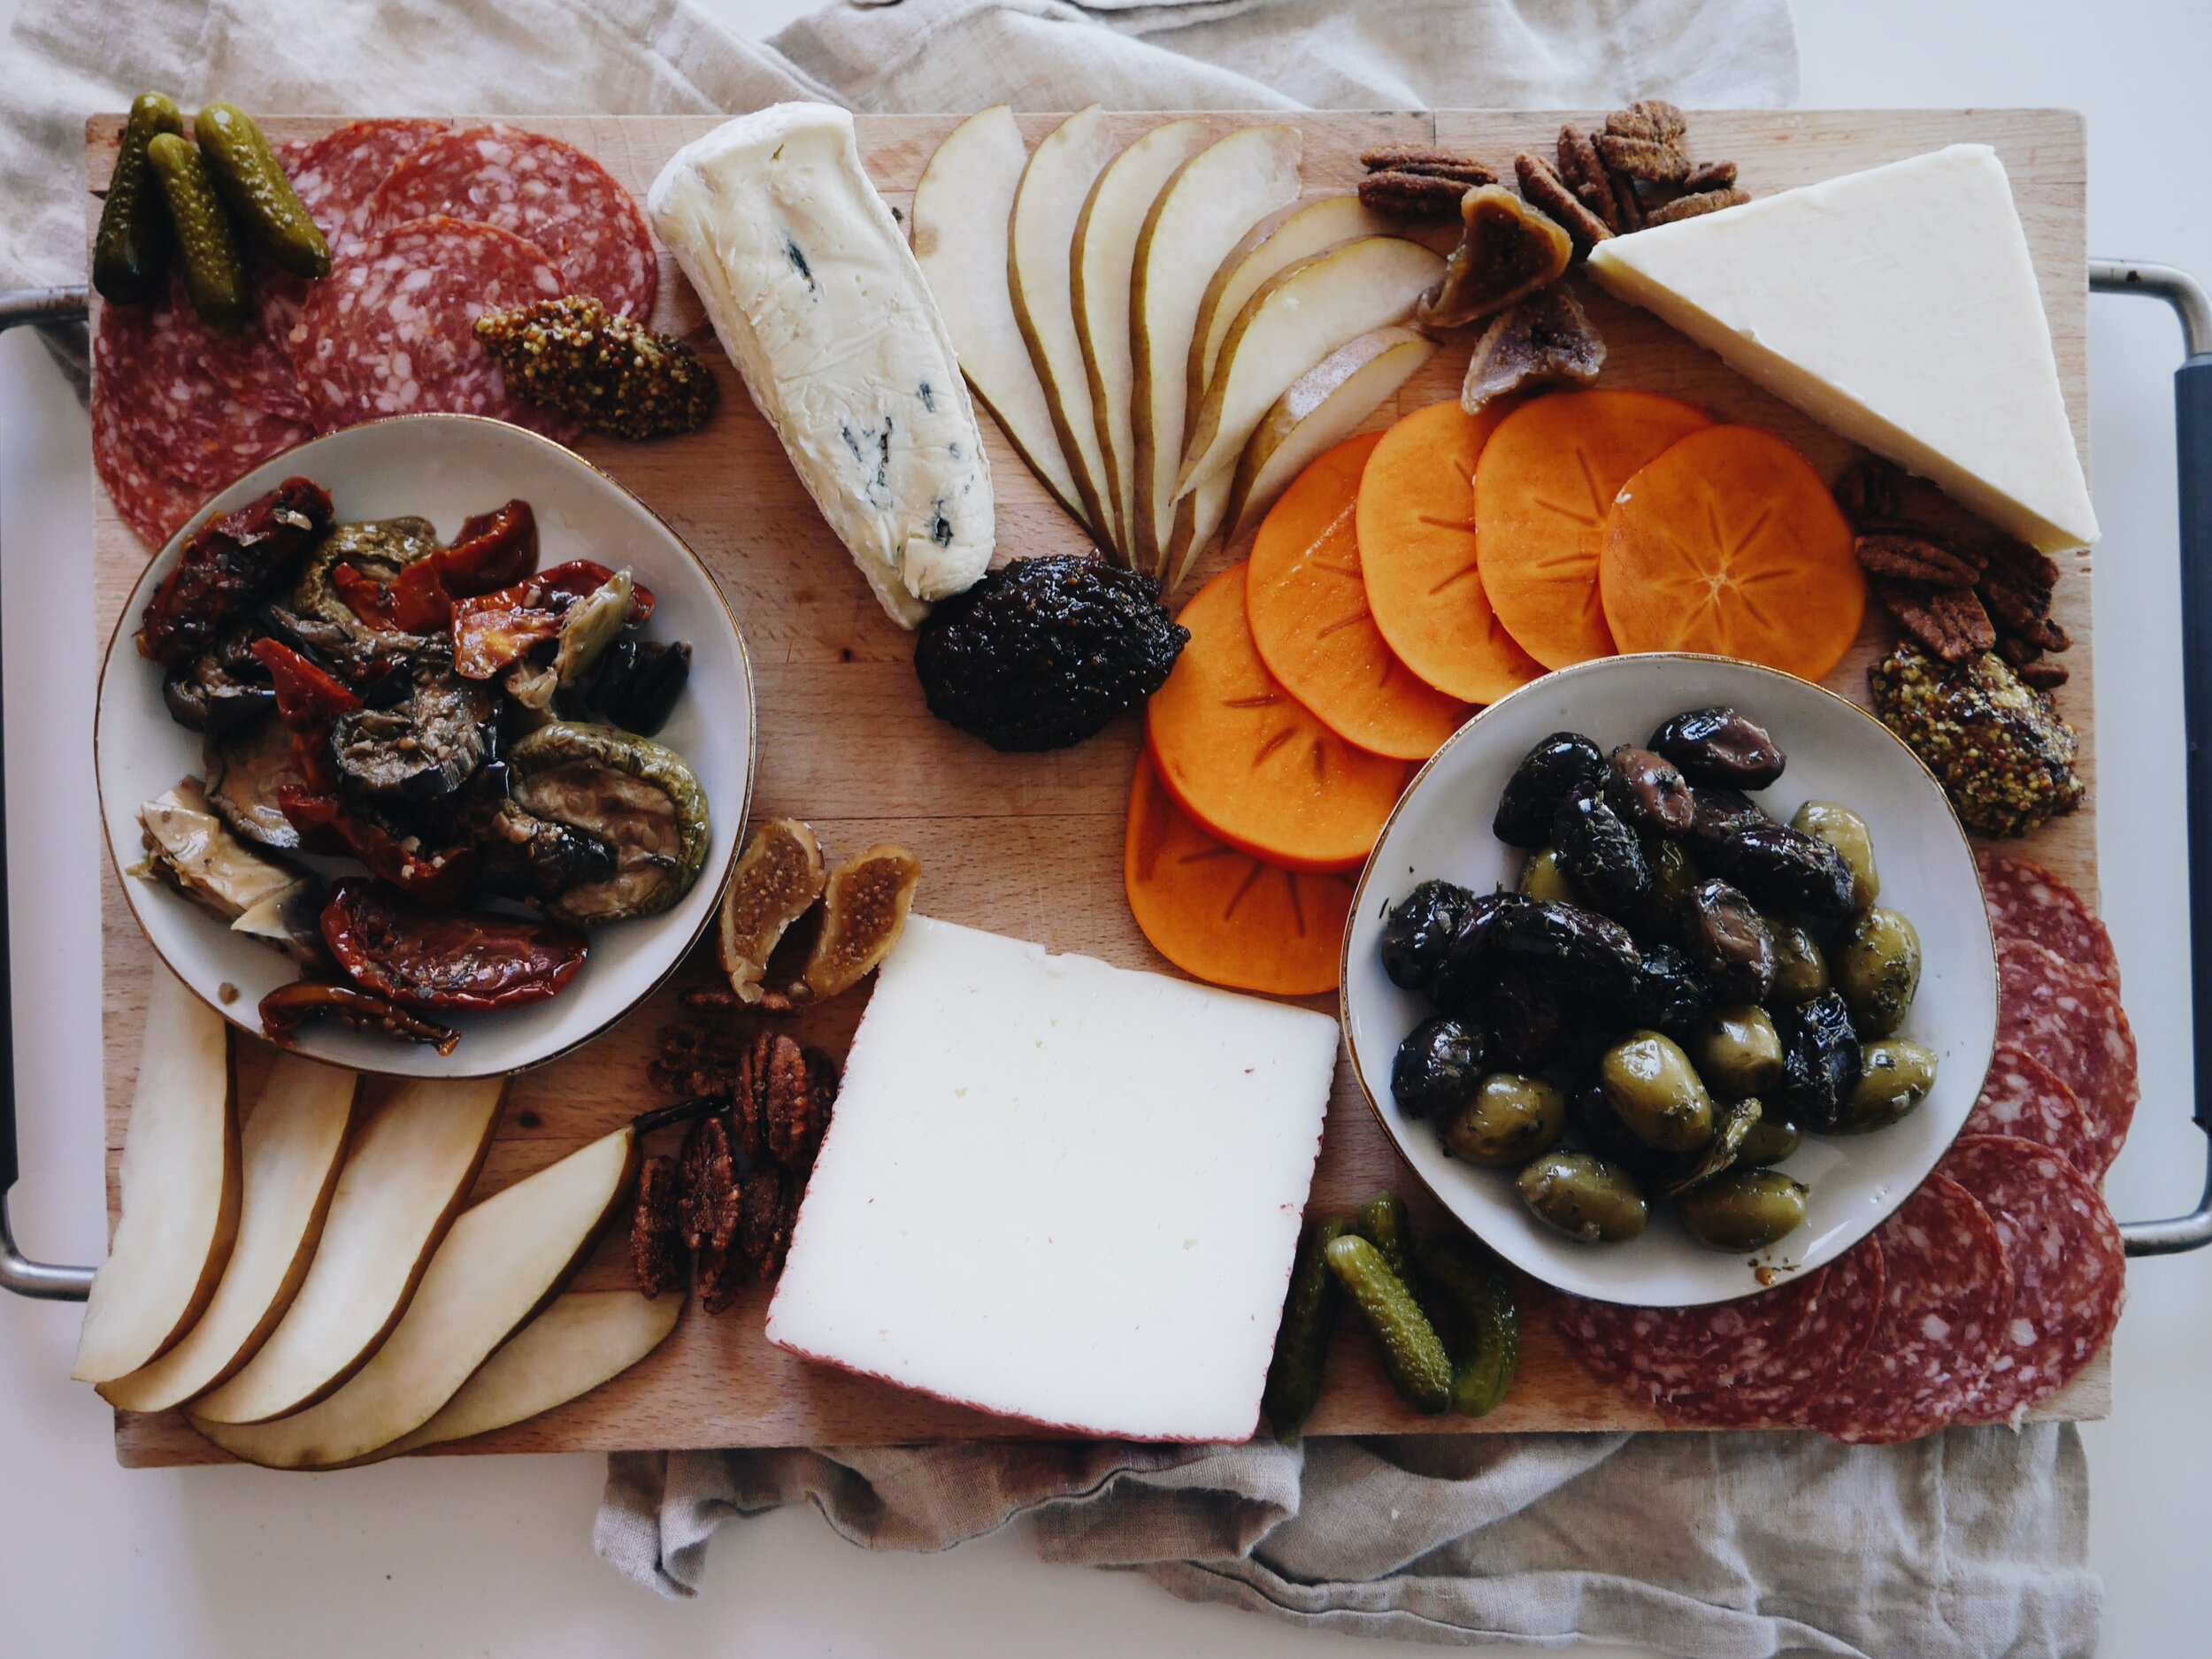
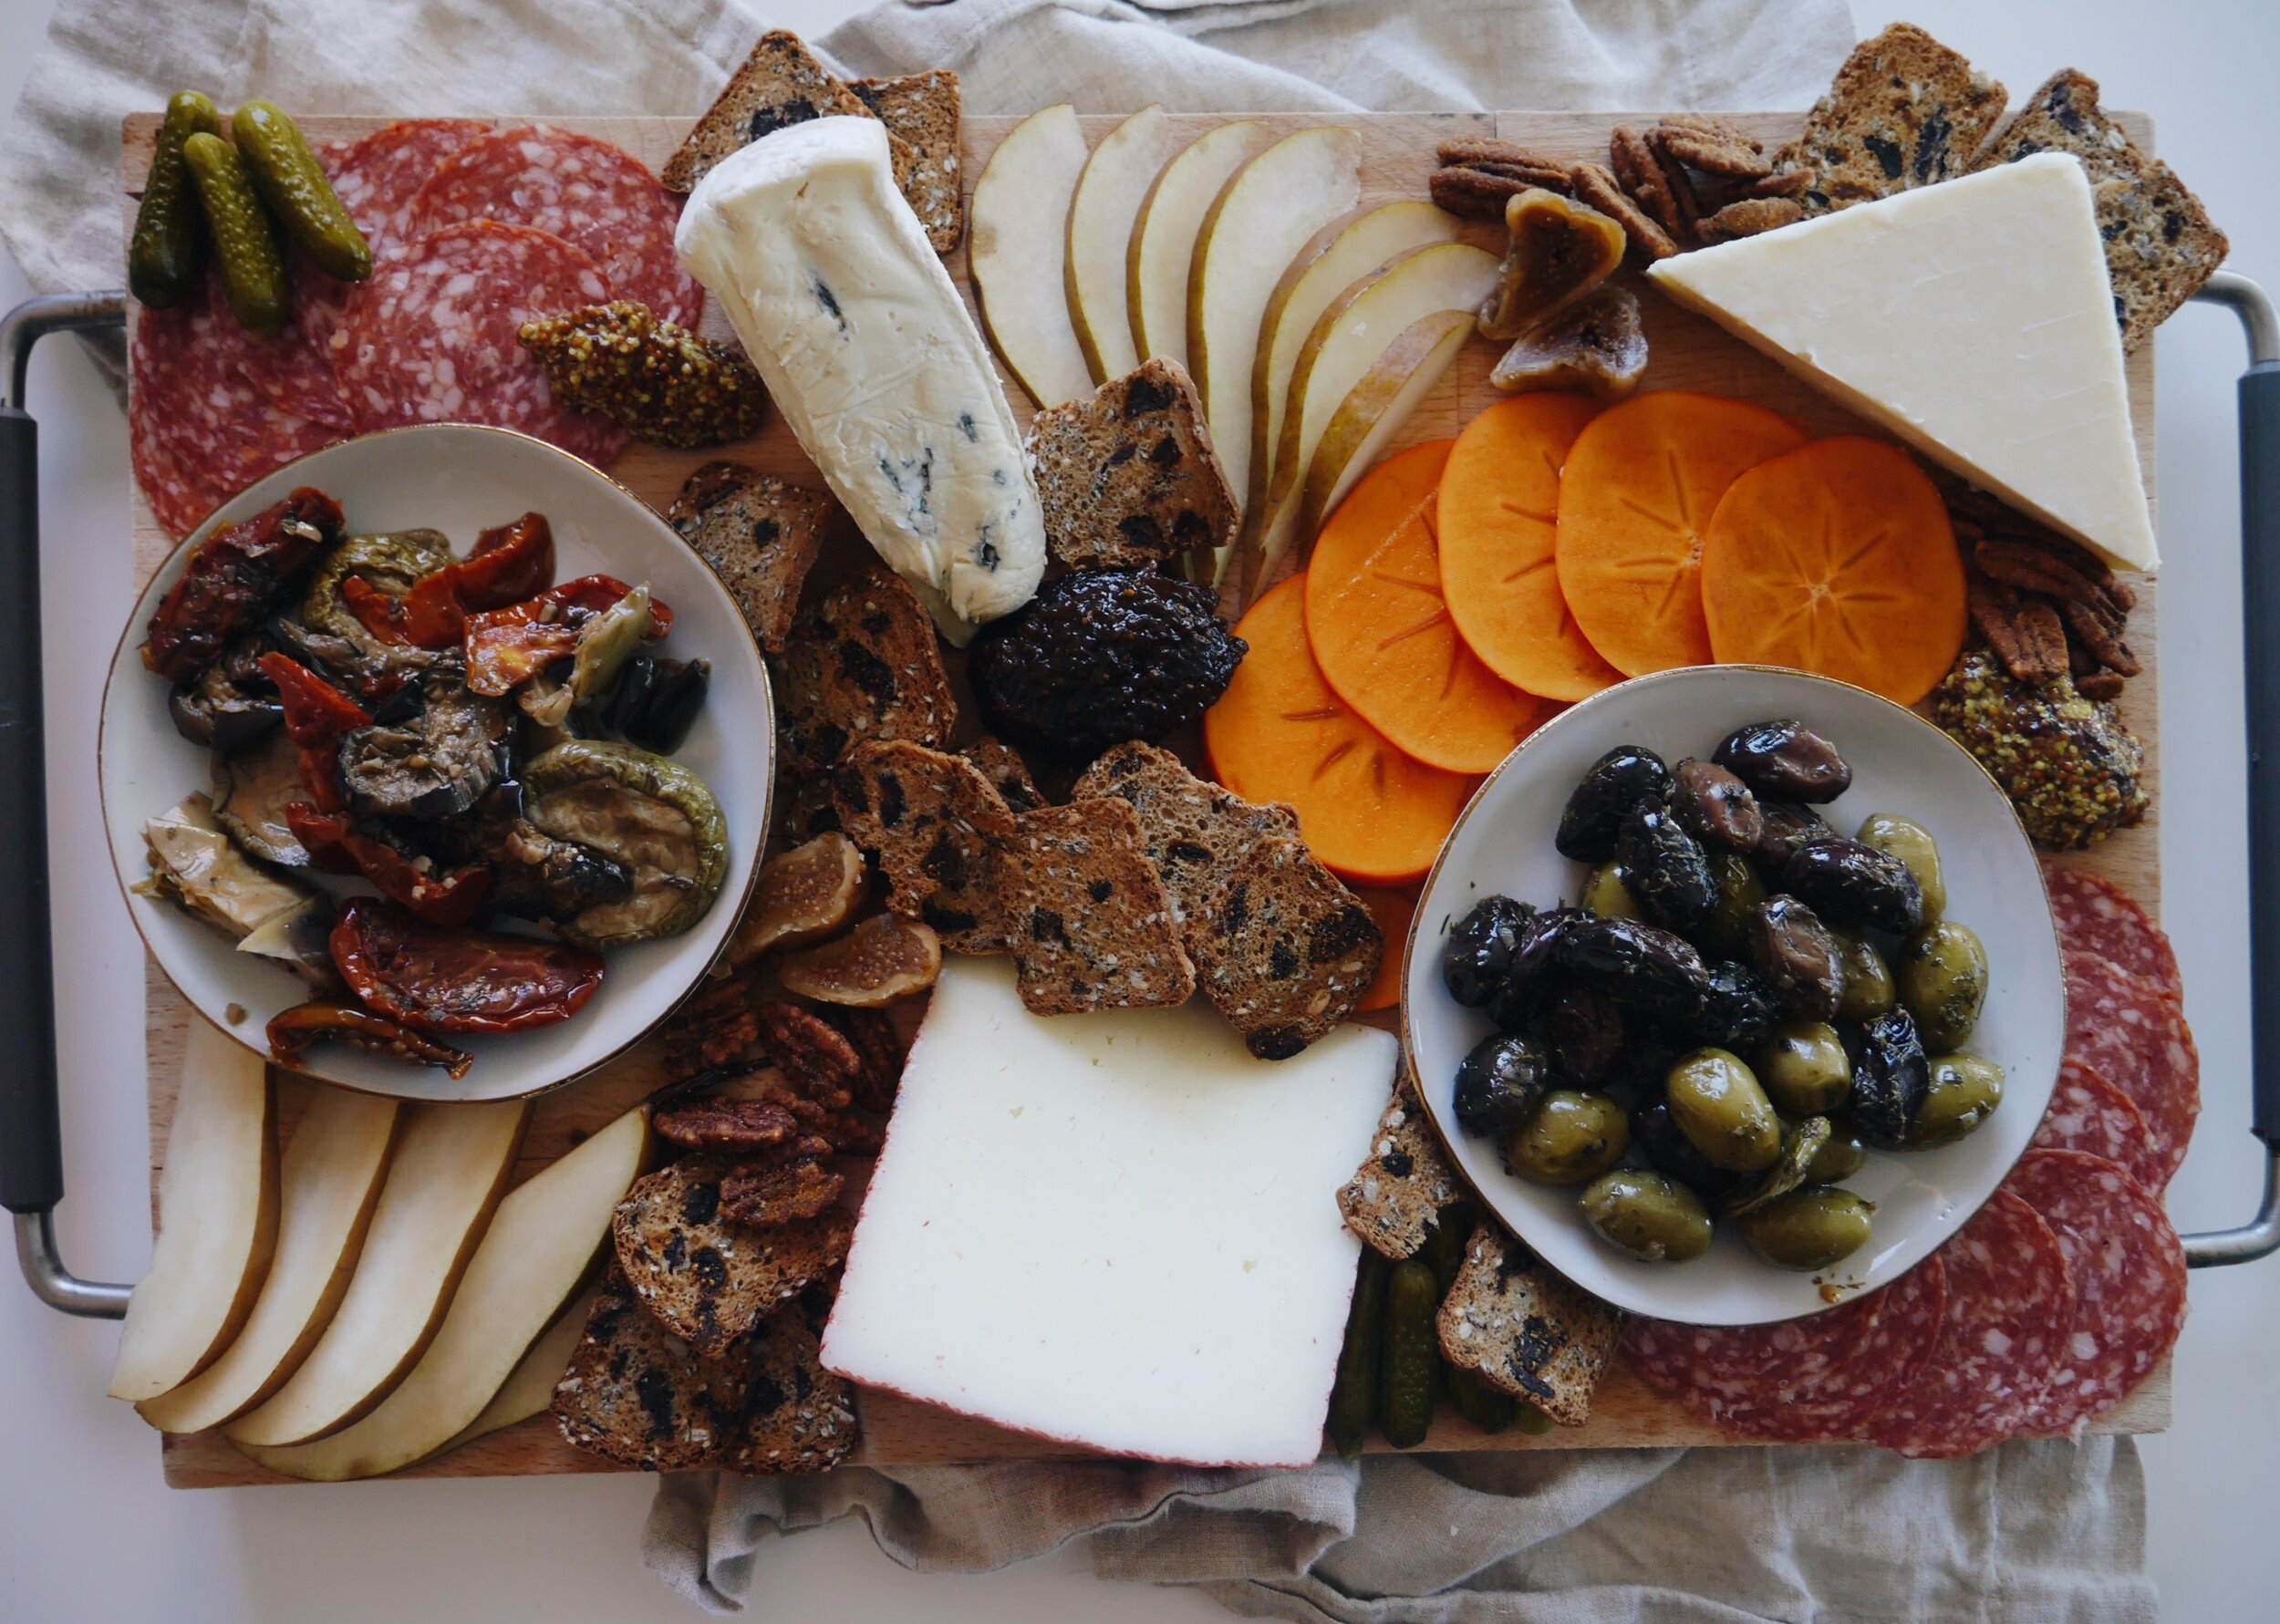
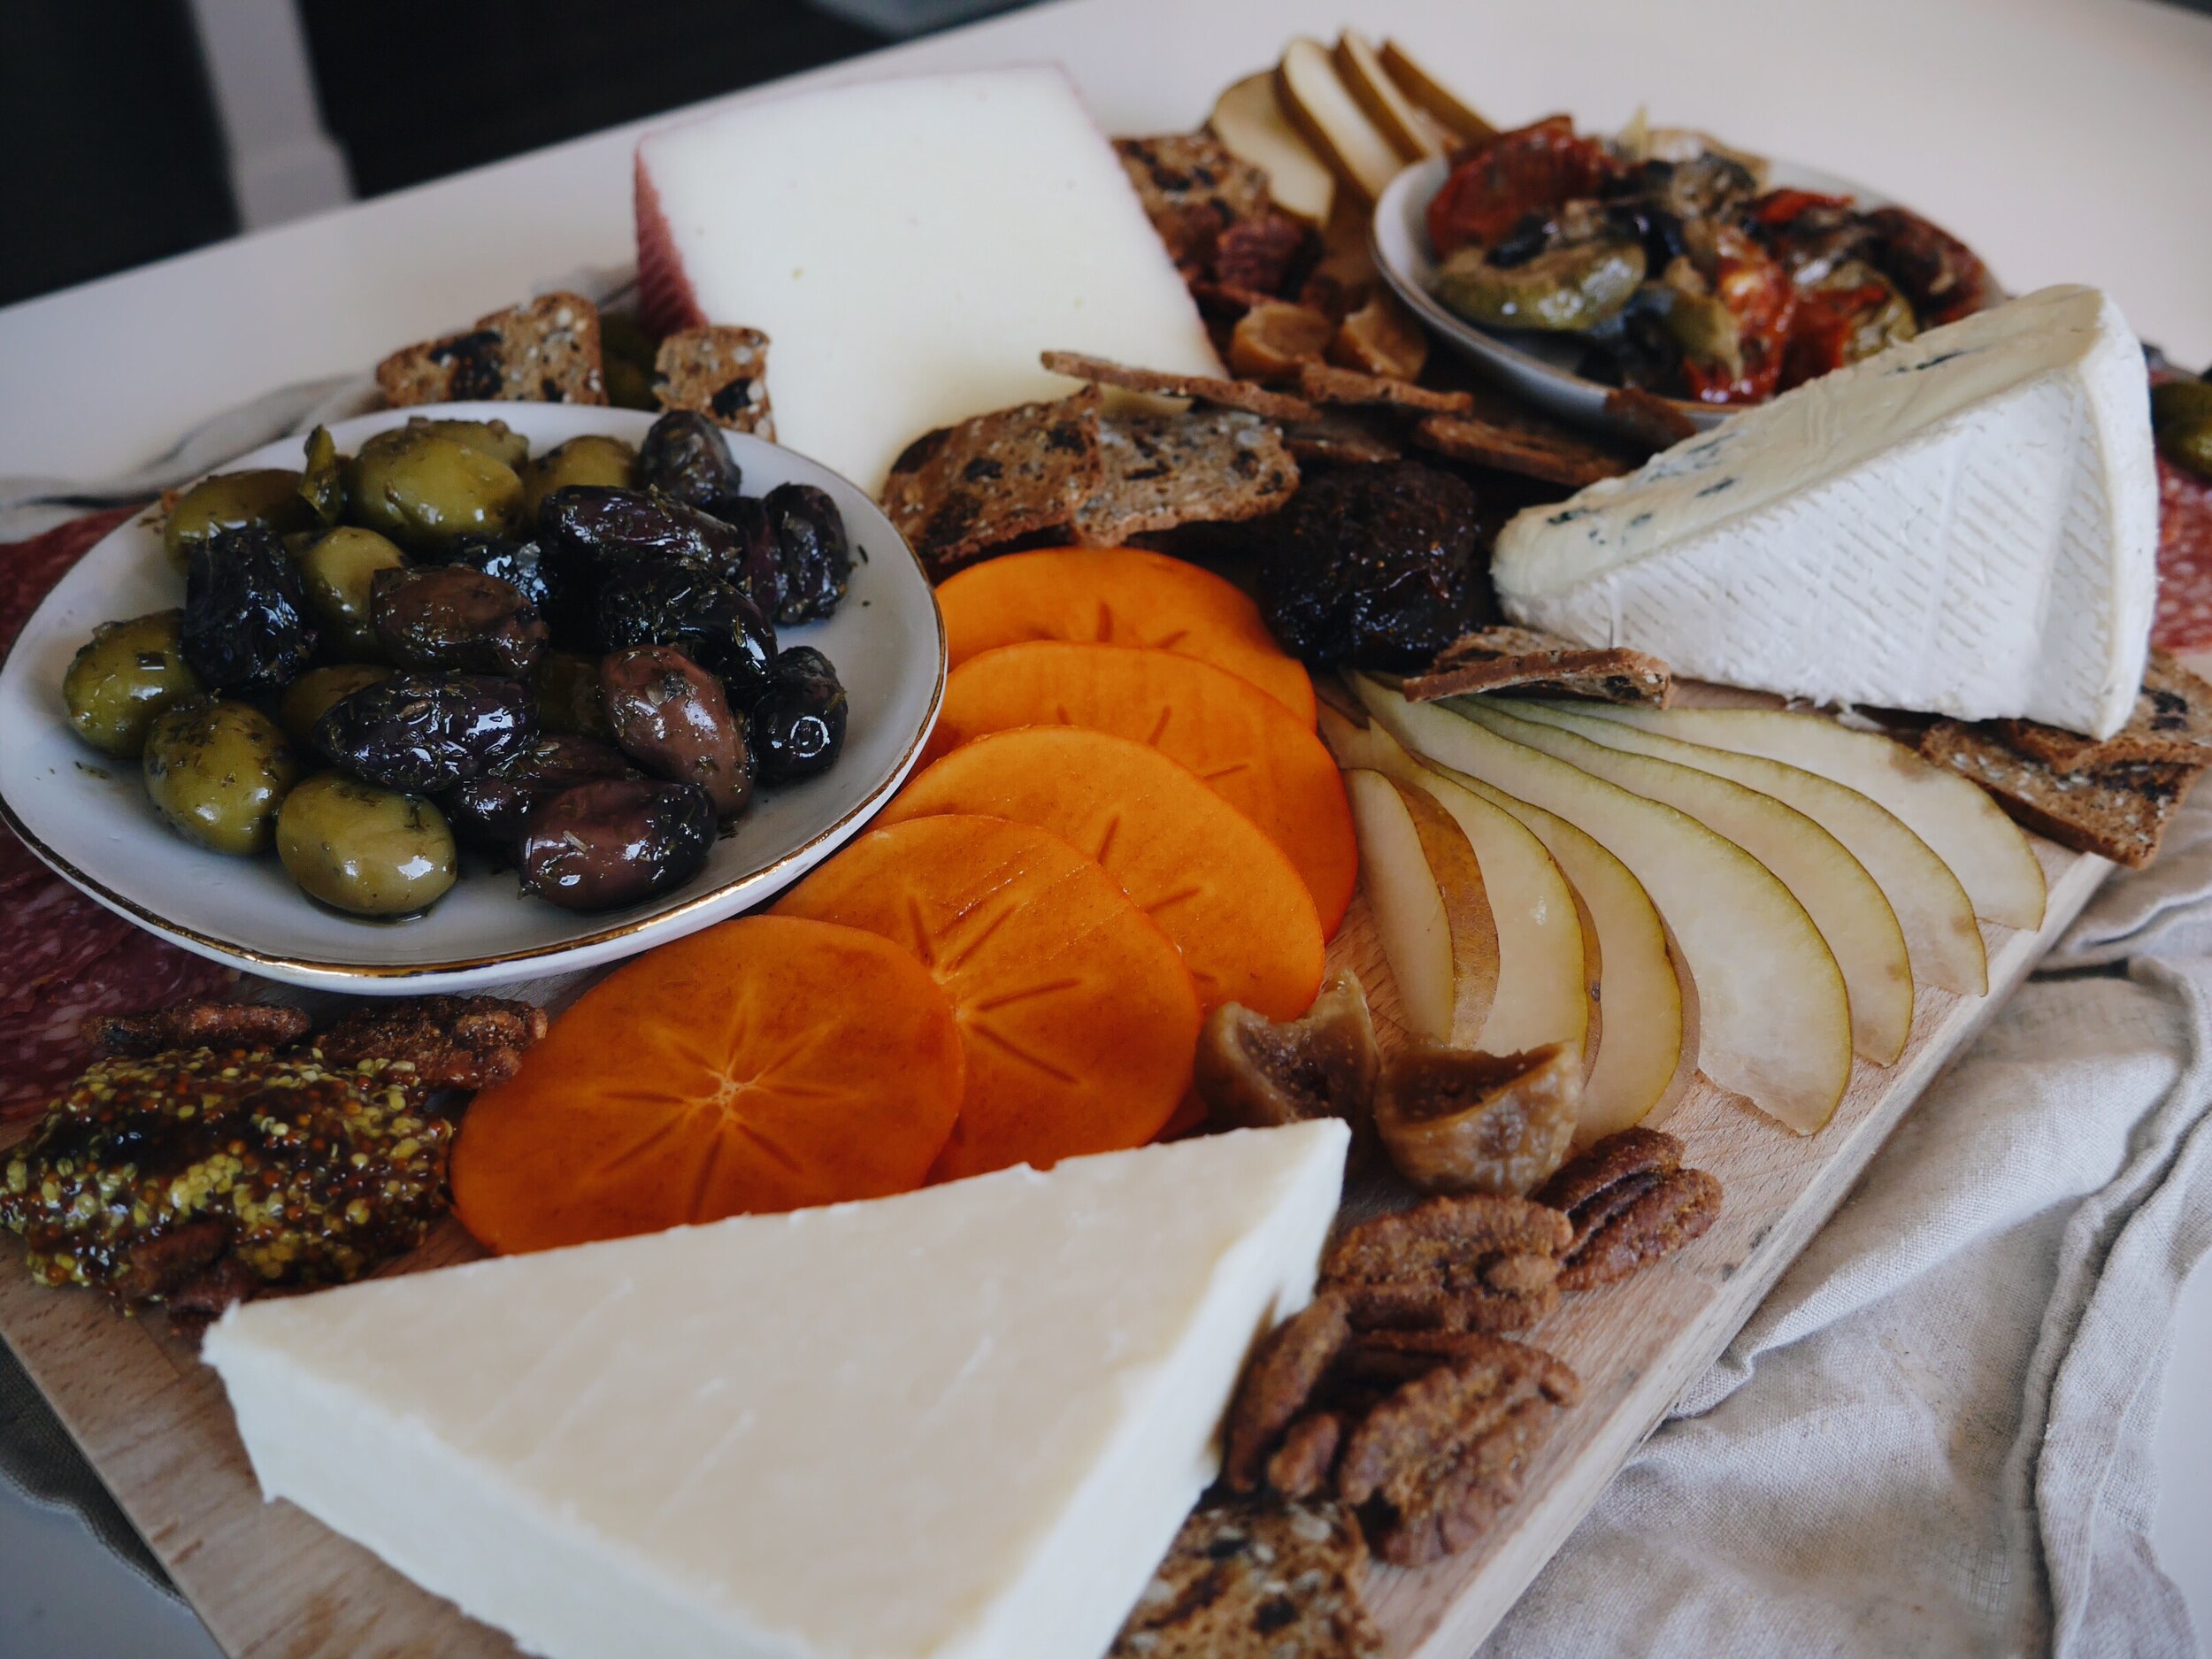
You all were kind and asked me a ton of questions on Instagram, so I’ll make sure to address them all here! But first, let’s take a look at the final product:*swoon* I love the mix of colors, textures, different types of cheeses, sweet and savory flavors, and the presentation sure doesn’t hurt.
The first question I wanted to address was on board recommendations. I’ve used everything from a beautiful marble slab, to a slice of a tree trunk (above), to a cutting board. For this post I chose a wood cutting board that most people already have, to show that you don’t need a fancy surface to create an incredible board.
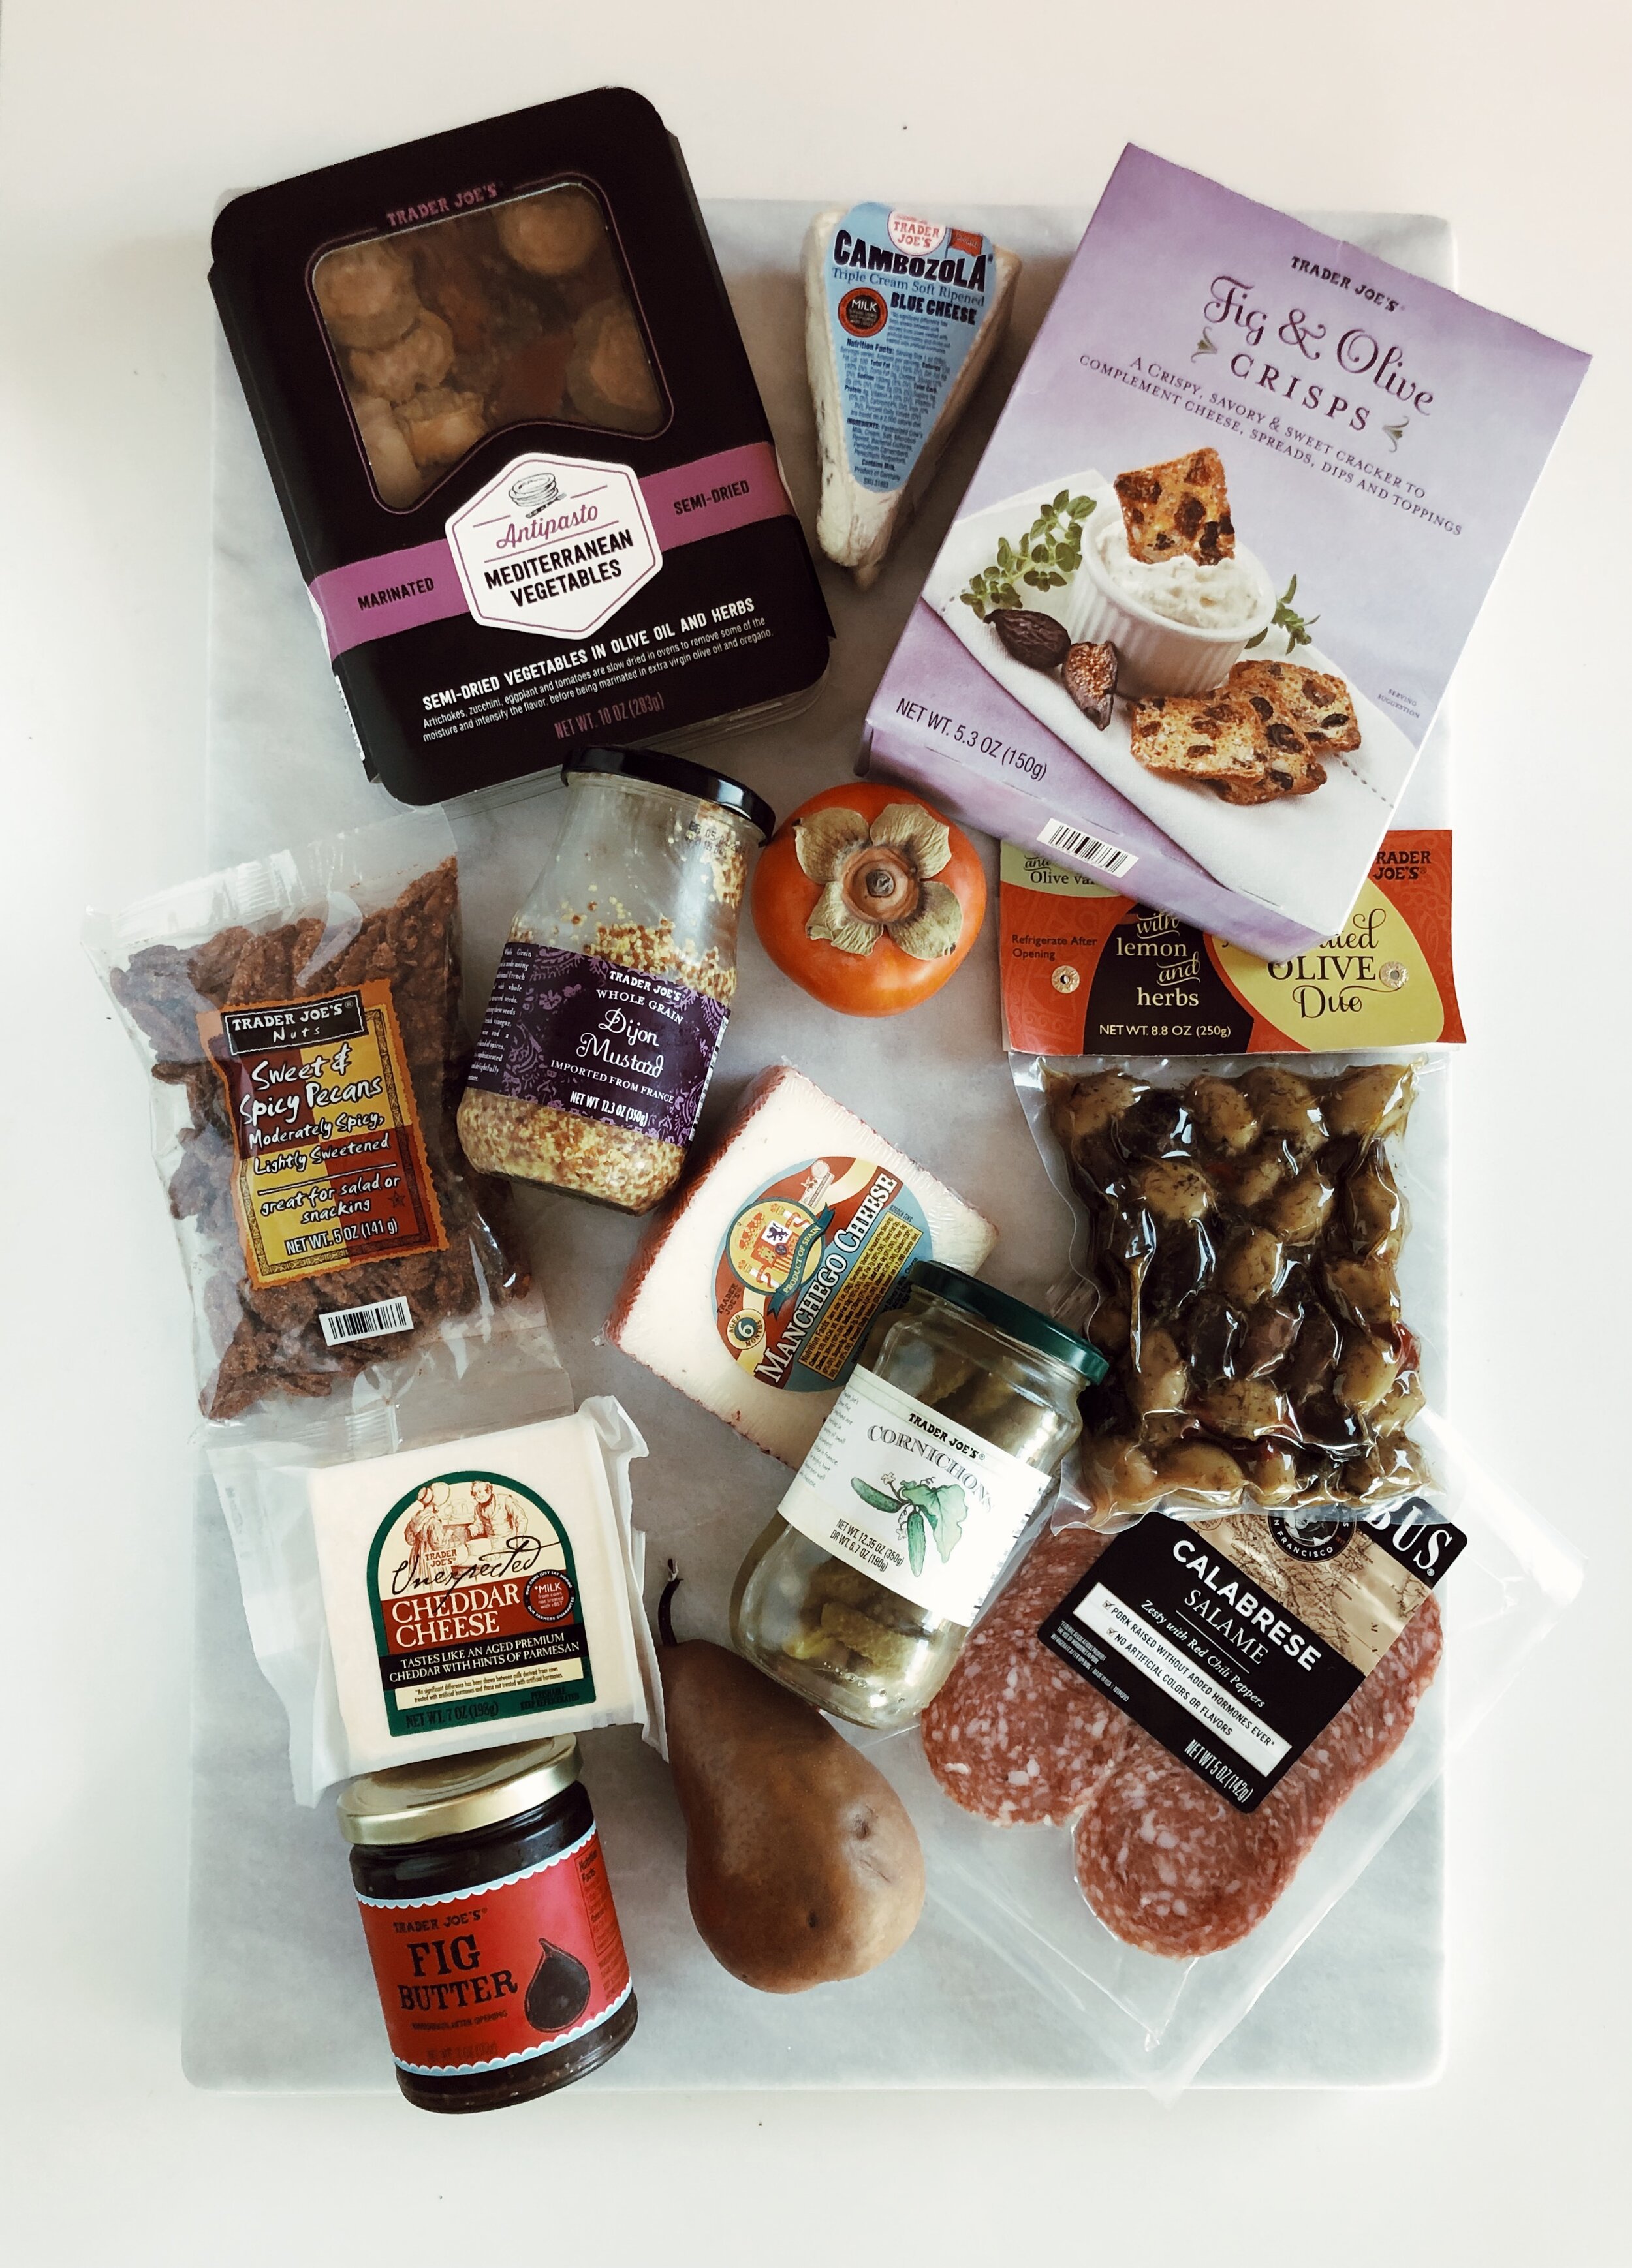
Next up is probably the most important, the ingredients! You already know my obsession with Trader Joe’s, and it doesn’t stop here. They have an incredible and reasonably priced cheese section, a great variety of pickles, jams, and mustards, and a solid charcuterie section.
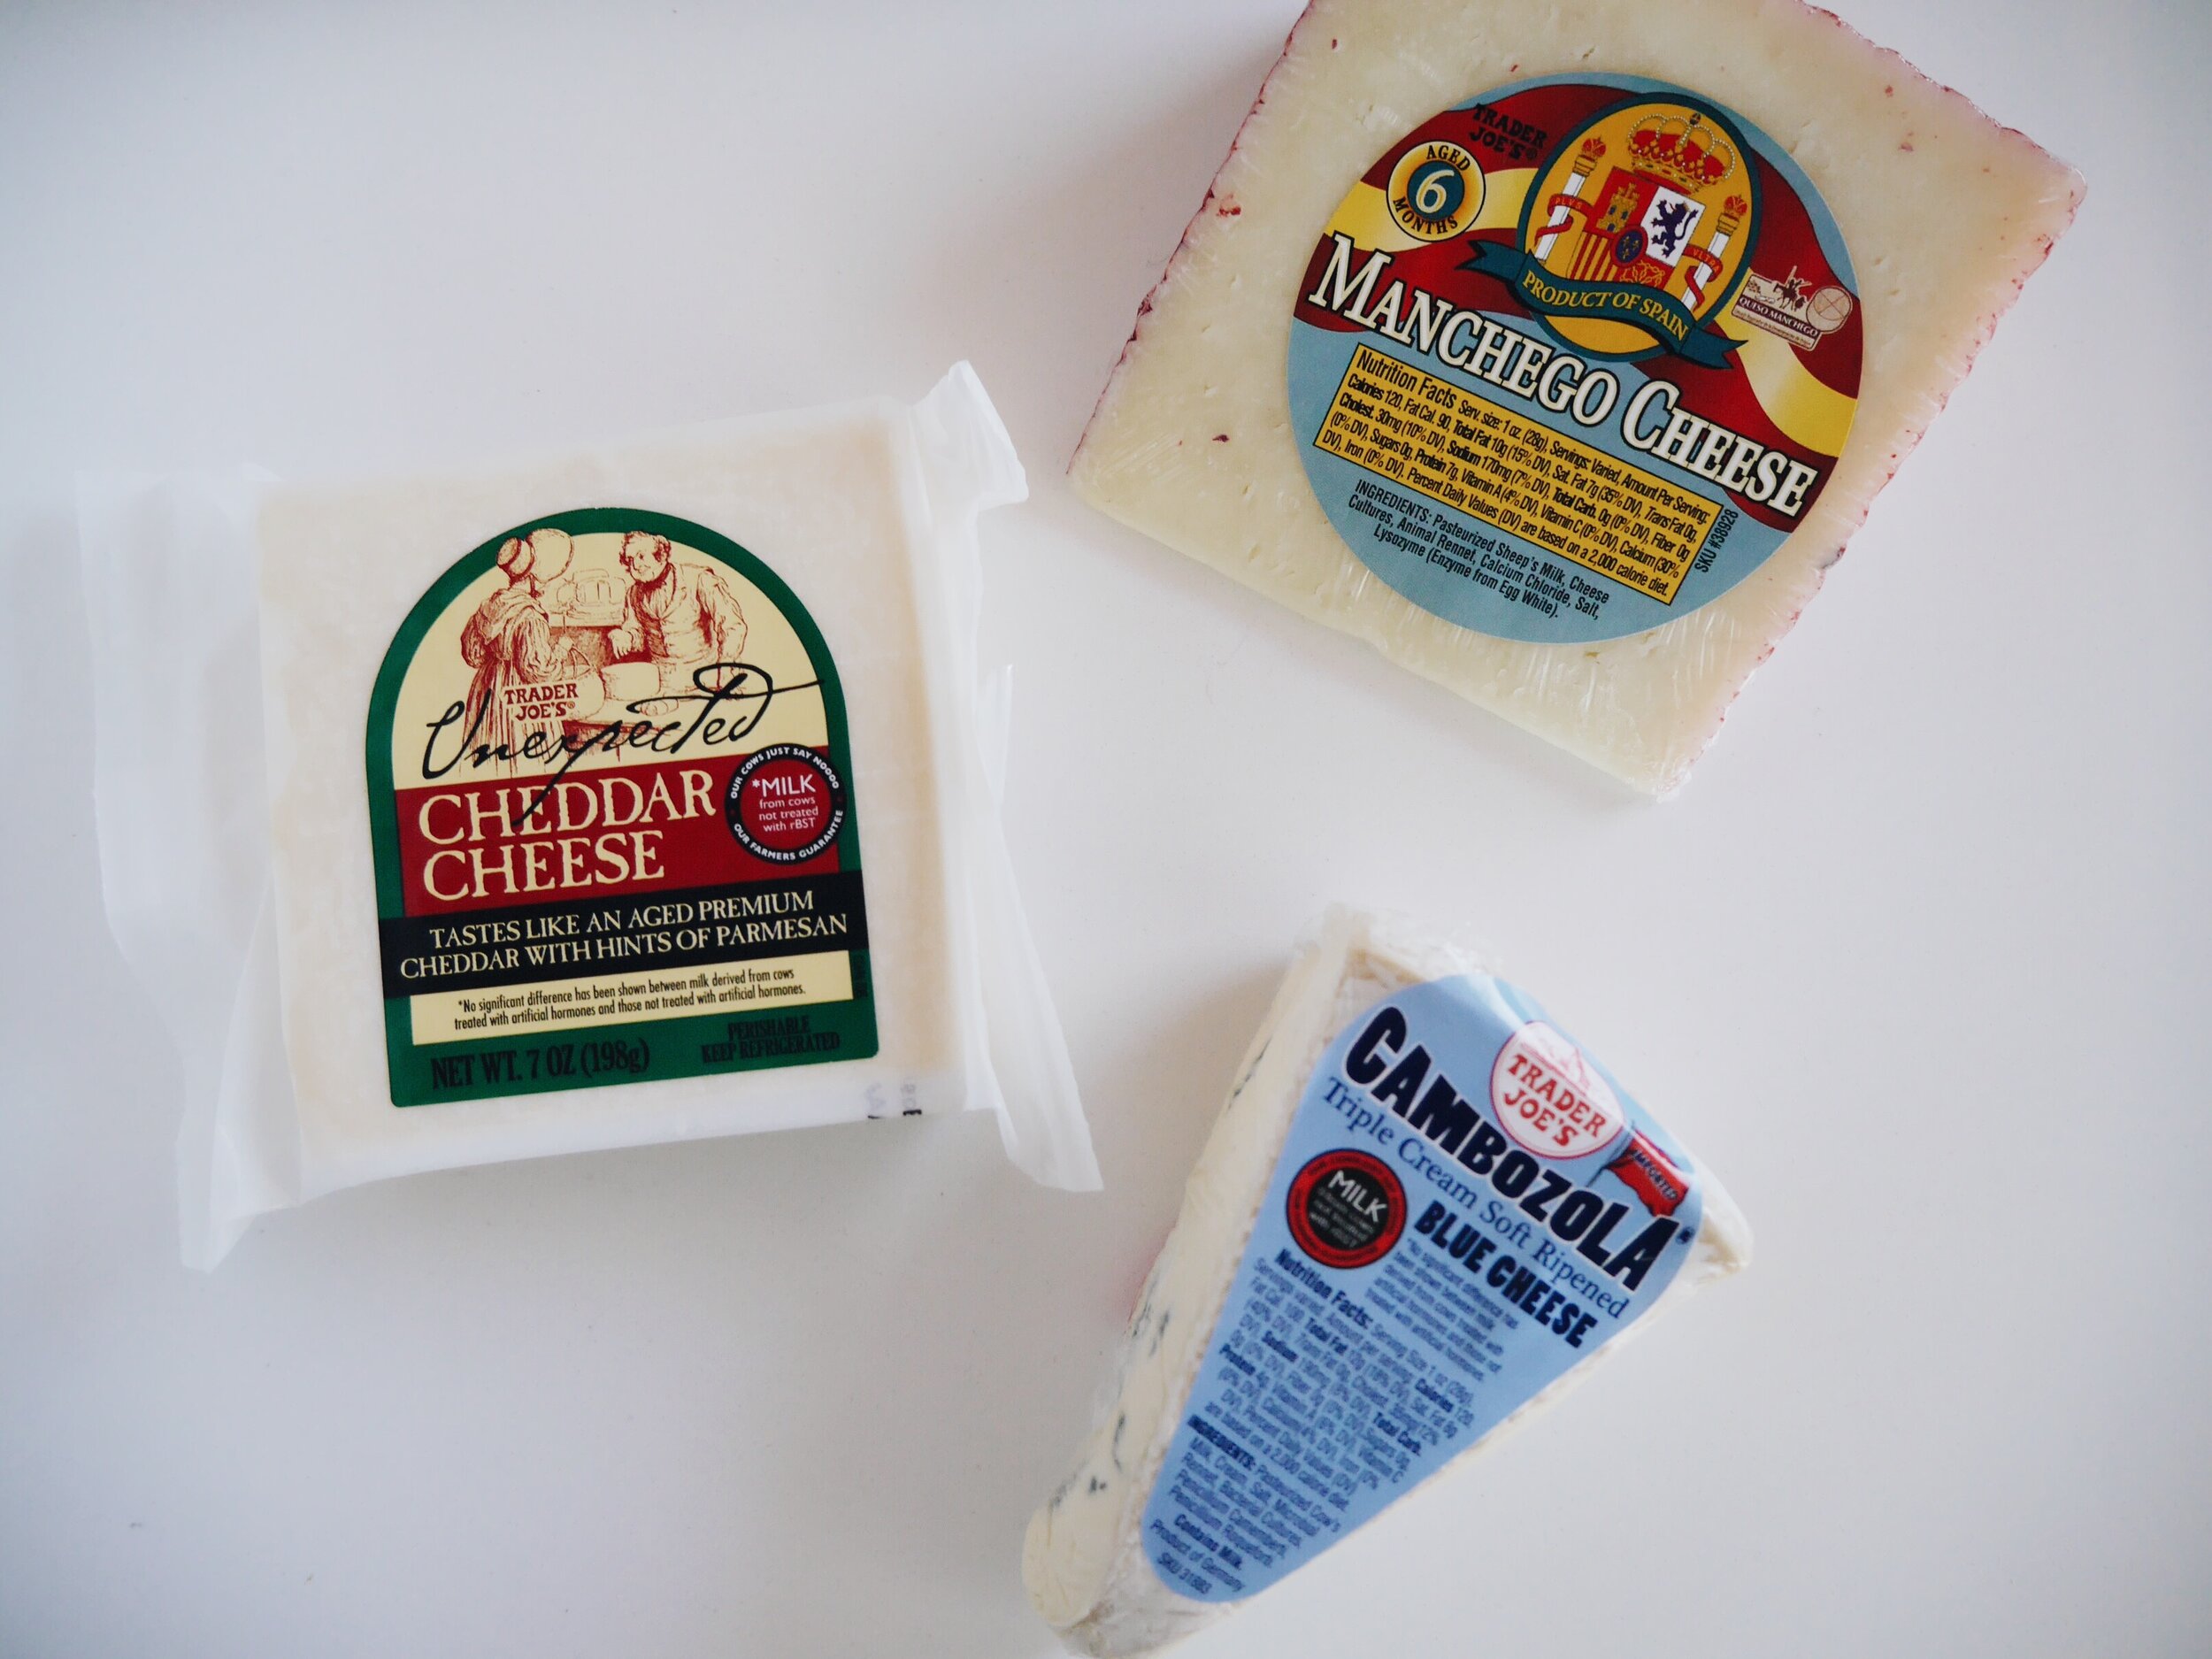
The next question was on what cheeses to buy, and above are some of the ones I swear by.
-
The Manchego is a firm and nutty sheep’s milk cheese from Spain that provides a buttery flavor and pairs perfectly with a jam or a spicy salami.
-
The Unexpected Cheddar is insanely good. I’d love to describe it for you but I really think Trader Joe’s does it best: “At first bite, it tastes like an aged Cheddar. And then something unexpected happens. The smooth creaminess of the Cheddar gives way to a tangy flavor and slightly crumbly texture, a subtle hint of salt crystallization is discovered, and it begins to taste like an aged Parmesan. Surprising, astonishing, and unanticipated.”
-
The 1,000 day aged Gouda (not pictured, but a must). This one has these amazing crystals that provide a delicious nutty crunch and pairs so well with any jam.
-
Blueberry vanilla goat cheese. This brightly colored log scares people a little at first, but as soon as they try it they’re hooked. It’s crumbly and tough to cut into neat slices, so I leave it on the board and let people slice it themselves.
-
Finally the Cambozola is my personal favorite because people are so intimidated when they see the blue veins running through it (probably traumatized from a blue cheese topped “steak” experience at Applebee’s, but I promise this is nothing like your standard blue cheese. It’s creamy with the texture of a brie, but a little bit sharp like a Gorgonzola. Spread on a cracker with a bit of fig jam and mustard is heaven!
So with that being said, here are my top 10 ingredients for any good cheese board and it may be helpful to screenshot this for when you go to the grocery:
-
Cheese: I recommend the above, and that should serve about 10 people. If you have a larger crowd I would suggest adding a brie since it’s a crowd pleaser.
-
Mustard: an excellent foil to the rich cheese. I like a grainy dijon mustard.
-
Jam or fruit butter: the TJs fig butter is my favorite, but I also like a plum jam, honey, or anything seasonal and fun you can find.
-
Crackers: The fig and olive or raisin and rosemary crackers from TJs are the best. They’re way cheaper than some of the infused crackers you’ll find at Whole Foods, and they look beautiful on a platter too. If you’re making this board for a group of guests, you may want to include some gluten free ones as well. I also love the mini pita bite crackers
-
Pickles or caper berries: love the brininess and crunch. The mini cornichons are what I use. Please stay far away from bread and butter pickles.
-
Seasonal Fruit: it adds a nice fresh component and seasonal flair. In summer I love stone fruit like nectarines and peaches, in fall I like honey crisp apples and pears, in winter try persimmons and citrus, and in spring fresh berries.
-
Nuts: the sweet and spicy pecans are my favorite since they’re unexpected with the kick of cayenne.
-
Olives and anything antipasto: I love a mix of olives and other oil marinated things. TJs has great marinated Mediterranean vegetables in their condiments section.
-
Dried Fruit: dried figs, citrus, apples, or berries are all solid choices.
-
Charcuterie: I left this one for last since we’re technically making a cheese board and it can be just as good without meat, but if you’d like to add meats to yours I love a good Calabrese Salami, and try to get one nitrate and nitrite free. TJs also has sampler packs with a mix of proscuitto, capicola, and salami which is a good way to try a few kinds!
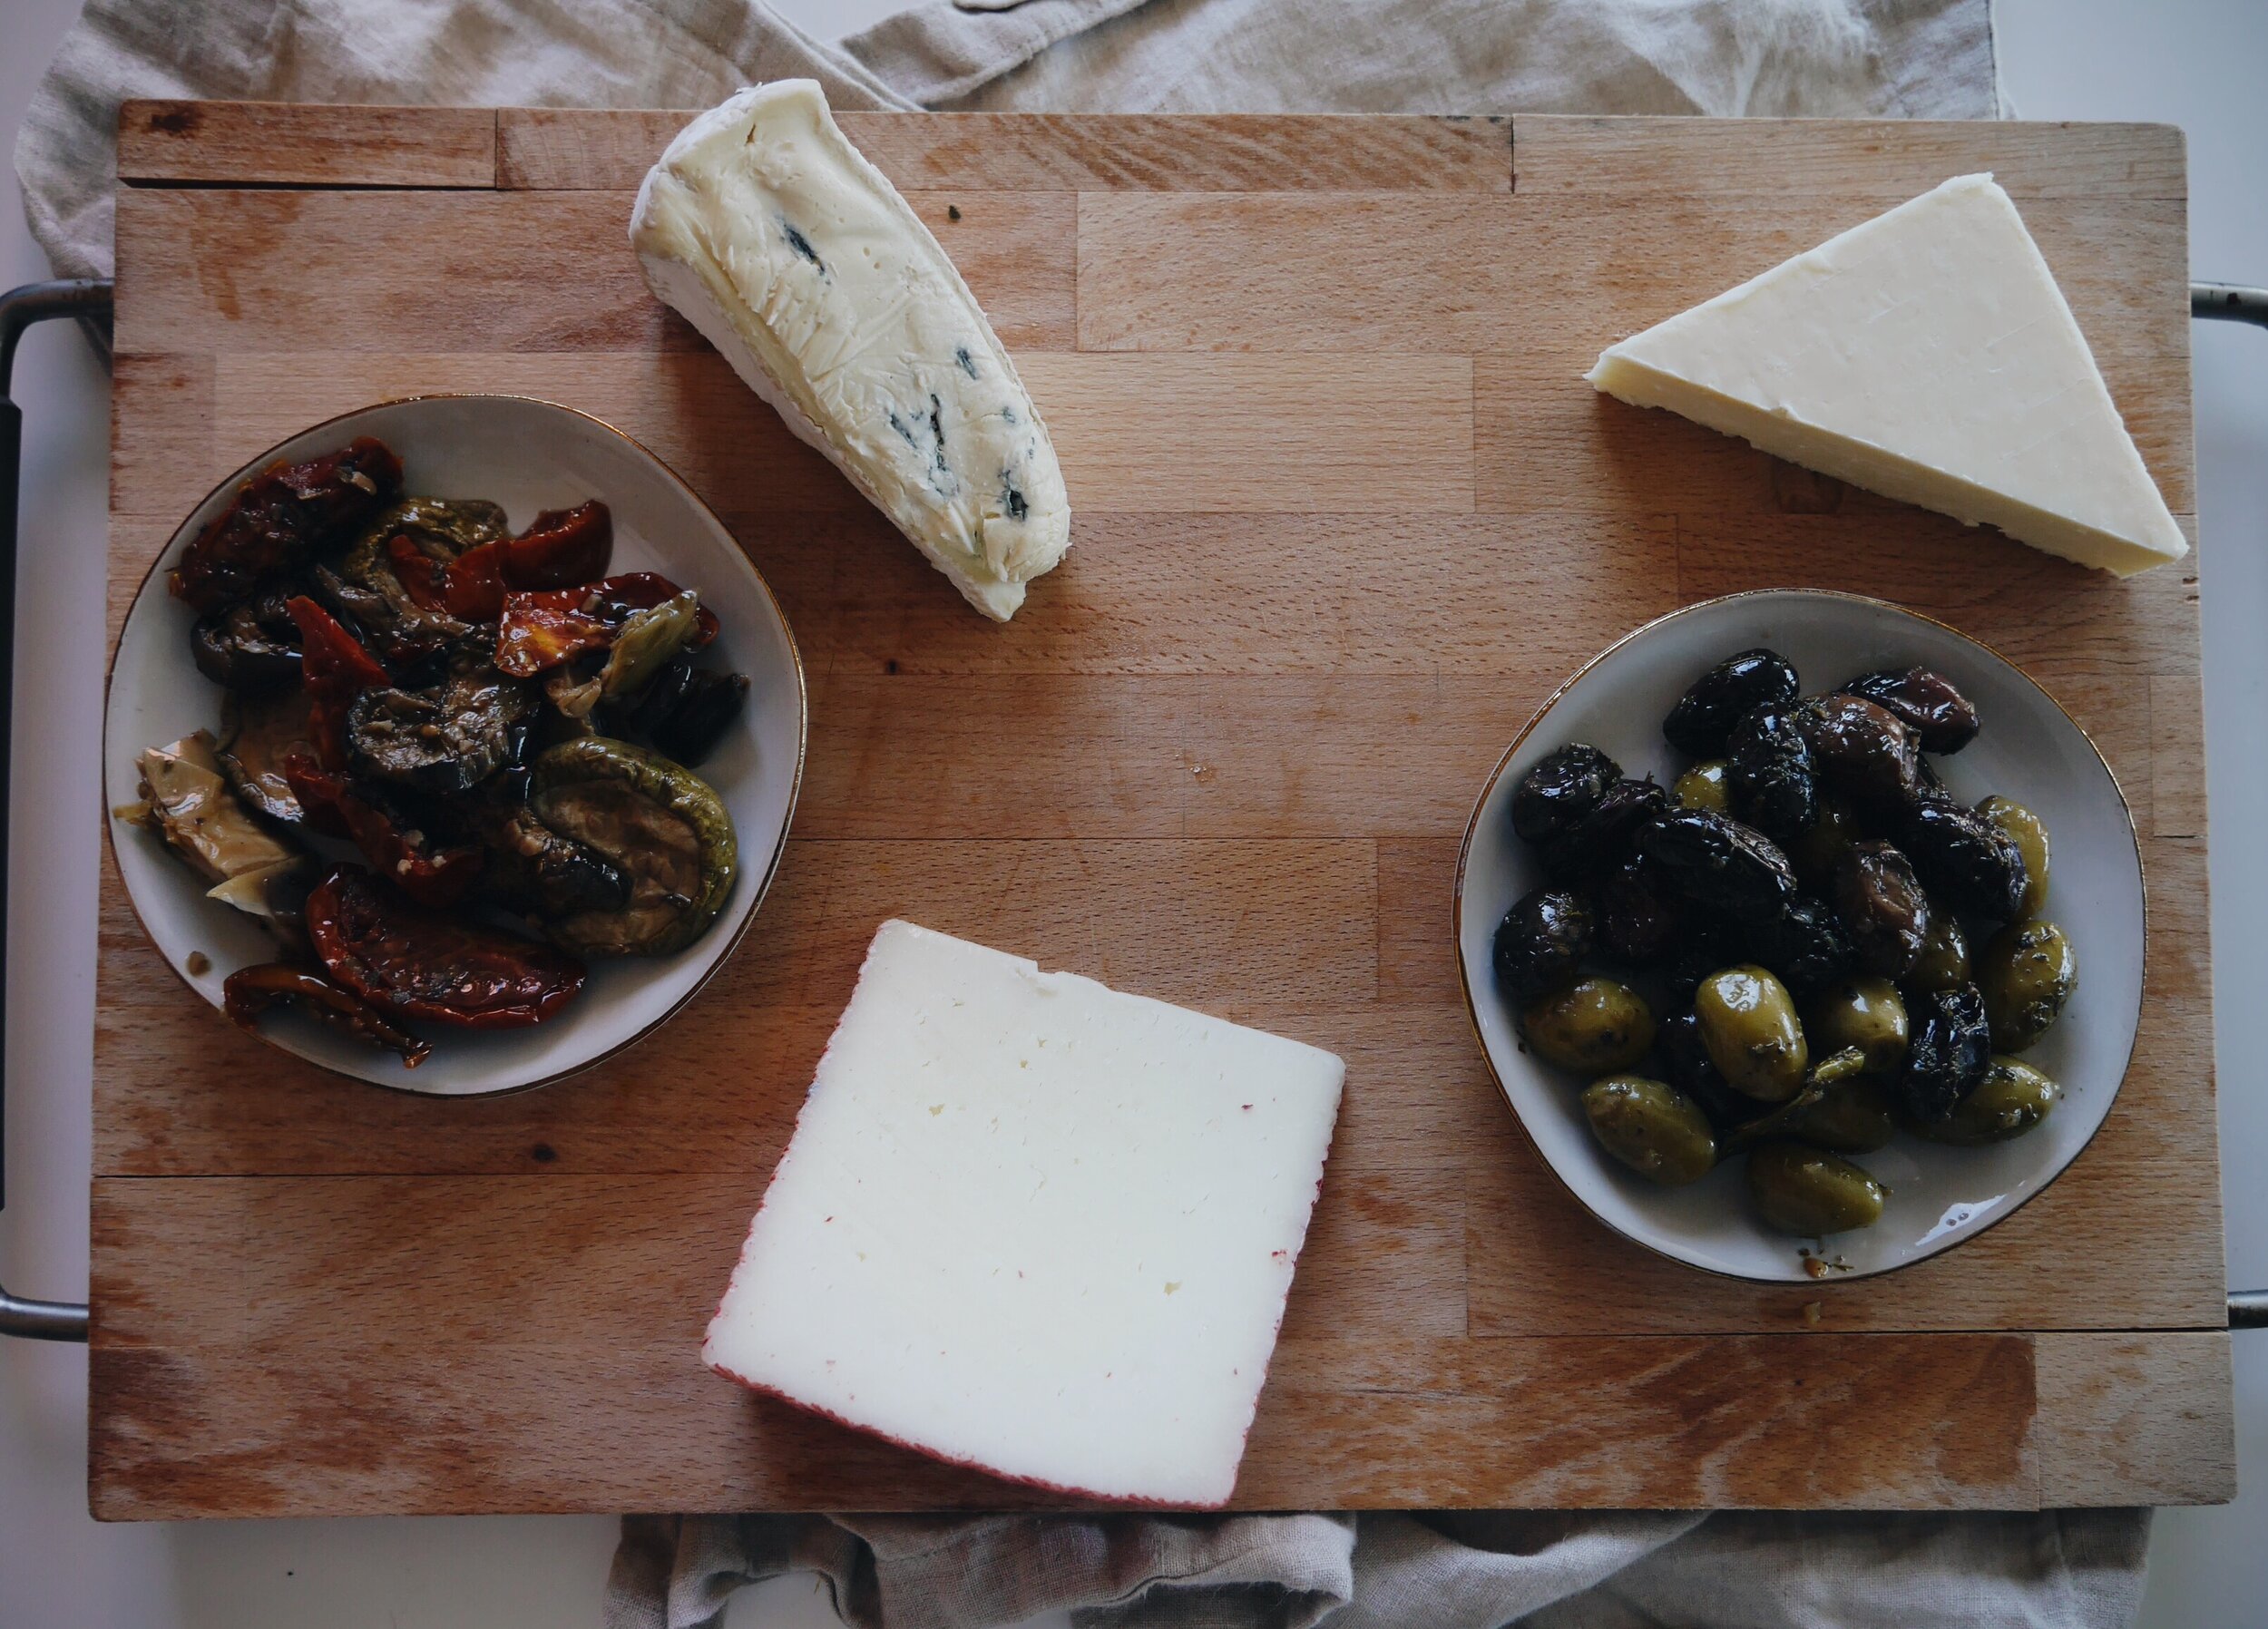
The next question I got asked by many of you was on how to present the ingredients. I wanted to walk you through the order that I follow since I think it makes for the best presentation. Start out with any marinated vegetables and place them in small bowls. This keeps the oil and juices from running all over the board and making your pear slices taste like olives.
Then place the cheeses on the board. The unexpected cheddar was a large square block, so I cut it in half diagonally and saved the rest for another time. I like to visually spread them out on the board so the cheeses aren’t all grouped in one section. Also, I recently have started slicing some of the firmer cheeses so it’s easier for people to take a piece.
Next, slice up your fruits and arrange them around the cheese and bowls. I like to keep sweet together and savory together, so when I arrange the salami at this step I put it next to olives, and away from the fruit. Fan the fruit slices out for presentation and feel free to repeat the same fruit in multiple places on the board.
Next we do the toppings. Place the pickles and mustard near the meat, since people will likely eat those things together. The jam should go near the fruit, and sprinkle in nuts and dried fruit all around the board. Like I mentioned with the fresh fruit, feel free to repeat these ingredients around the board so people on the other side of the table don’t have to reach across. It’s really coming together at this point!
Finally, add your crackers into any open spaces to fill the gaps. I would stick cheese knives into the cheeses at this point. You can make the cheese board a few hours ahead and store it in the fridge covered in plastic wrap, but don’t add the crackers until you’re ready to serve since they’ll get soggy from the moisture.
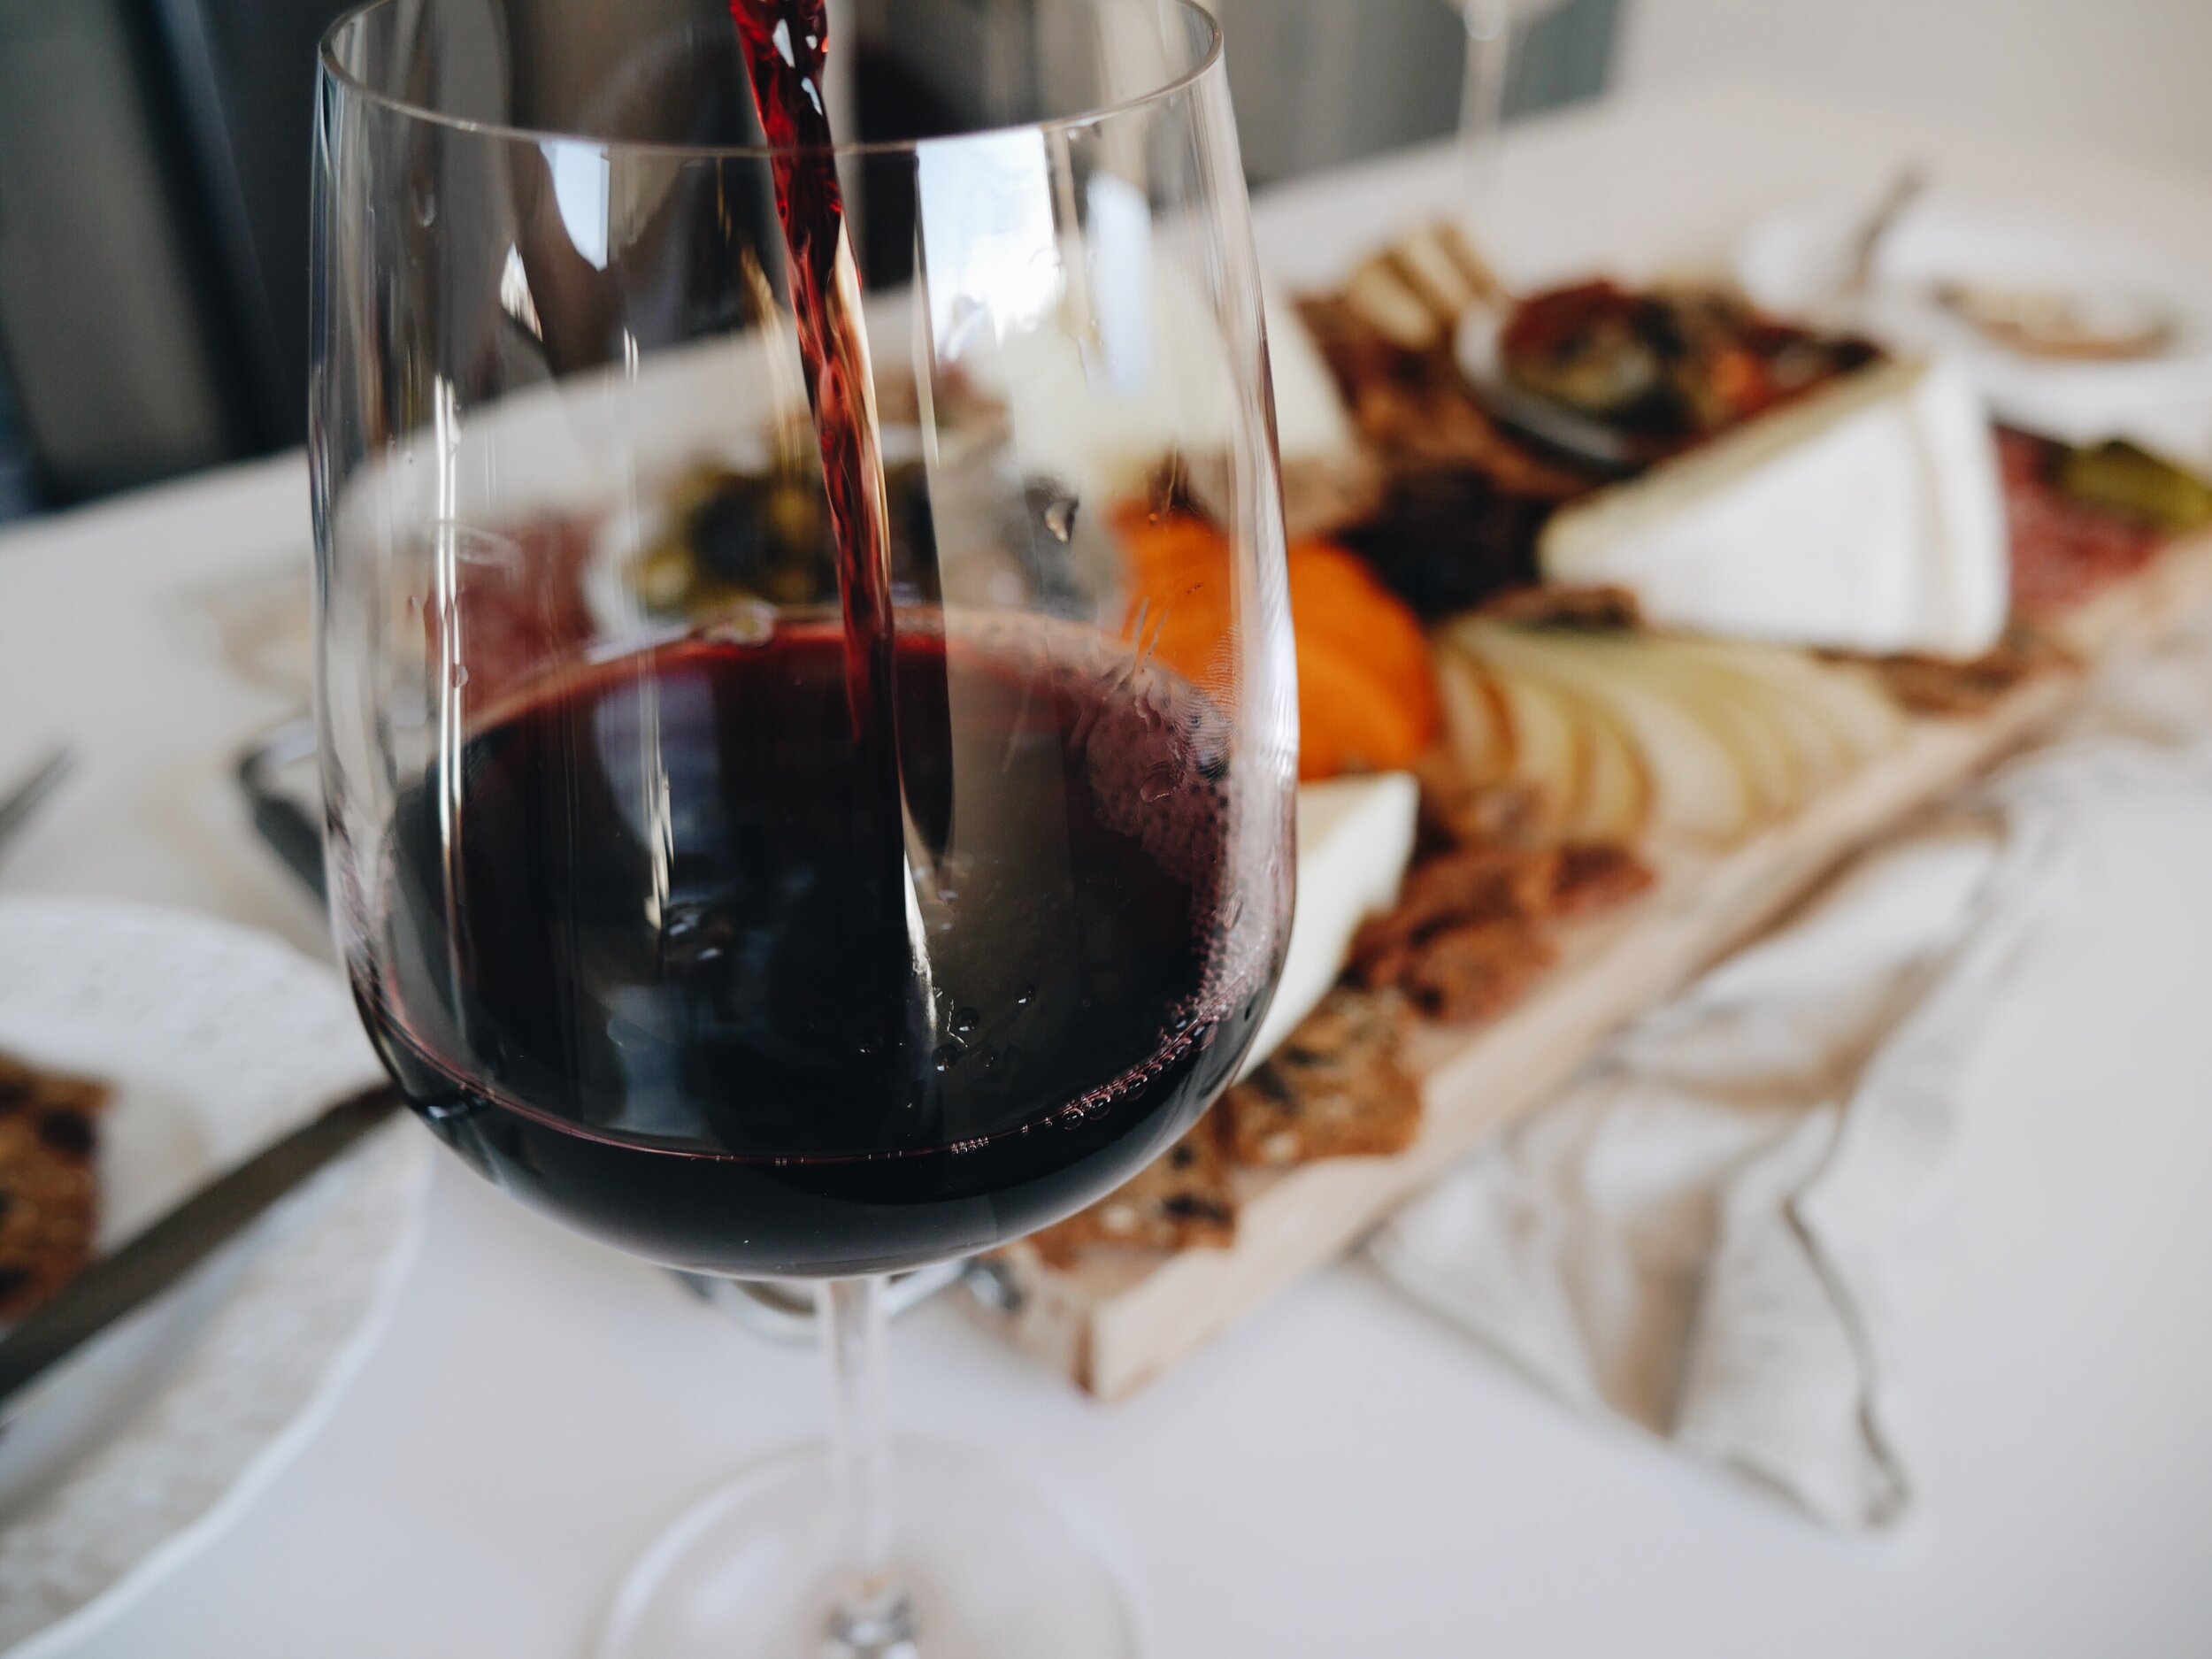
Phew! There you have it! You’re now an expert at making a cheese board, so pour yourself a nice glass of wine (Pinot Noir for me 🙂 ), and enjoy the fruits (cheeses?) of your labors. For those of you that made it to this point, can you please let me know in the comments below if this was helpful?
If there are any questions I didn’t answer I’m happy to add an appendix section for other cheese board facts that you may find helpful! Lastly, if you make a cheeseboard using any of these tips, please tag me @haileywhiskedaway on Instagram!
Enjoy the holidays and know that you will be the star of the party if you show up with one of these!




[…] I was coming, and ordered us a charcuterie board and a few great beers to try. While I still prefer my cheese board, this was a welcome addition of food after drinking. We had such a great time with our group that we […]
Making this as part of my Christmas antipasto! Gracie!
Can’t wait to see what you make! Merry Christmas Annalisa!
Hailey, The accompaniments in bowls makes good sense and olives tasting like peach slices is like ugh. Good info and ill up my cheese board game next time for sure, thanks again.
Hey Hailey! I’ve been following your blog for ages now and love the new post – I feel the same way about cheeseboards and just by the way you write about it, I can tell we get the same twinkle in our eyes when it comes to pairing beautiful foods and awesome ingredients together. Keep crushing it – the world needs more inspiration and perfect cheeseboards!
Hi Madison! Thank you so much for the comment!! I really appreciate the kind words and it’s great to find someone who’s also very passionate about food. I can’t wait for you to start your blogging journey so I can check out your work as well! Have a great week 🙂
Thank you for the layout advice… so helpful to visualize the layering steps! 🙏😘
Thanks so much for the comment, Mandy!! I’m glad you found it helpful and I’d love to see a picture if you make one on the cheese board from Rishil! I hope you have a great holiday season with your family 🙂